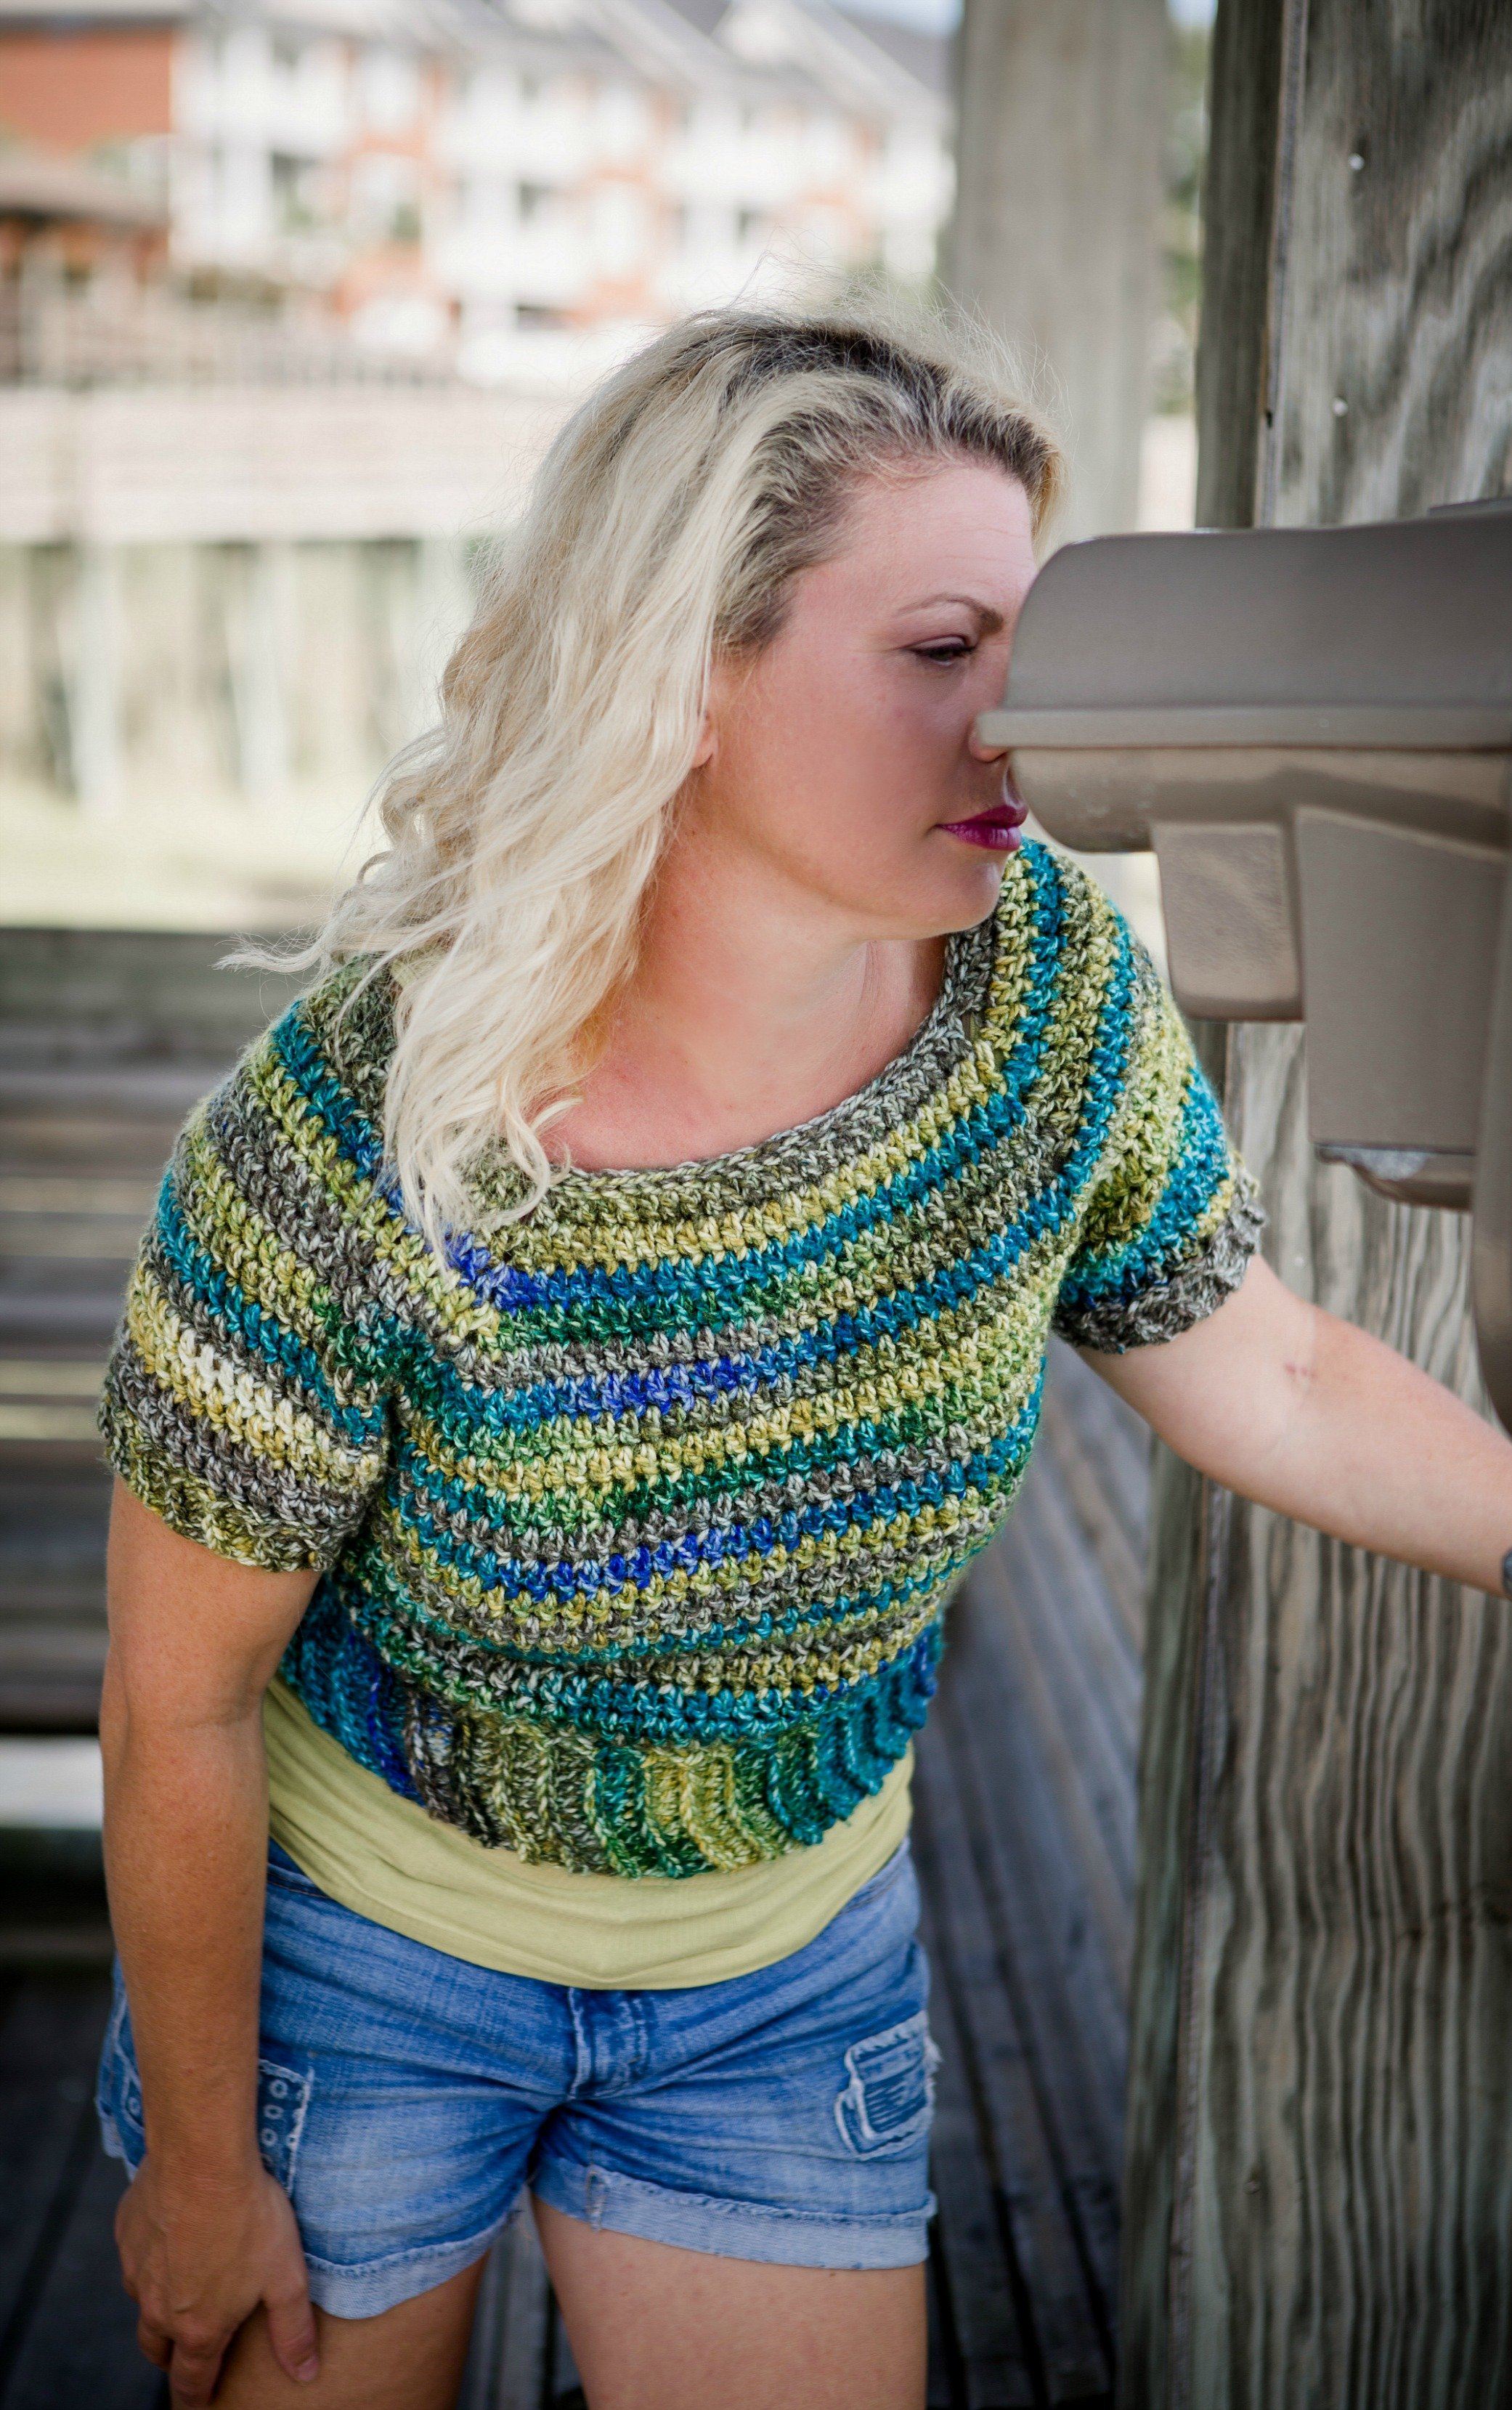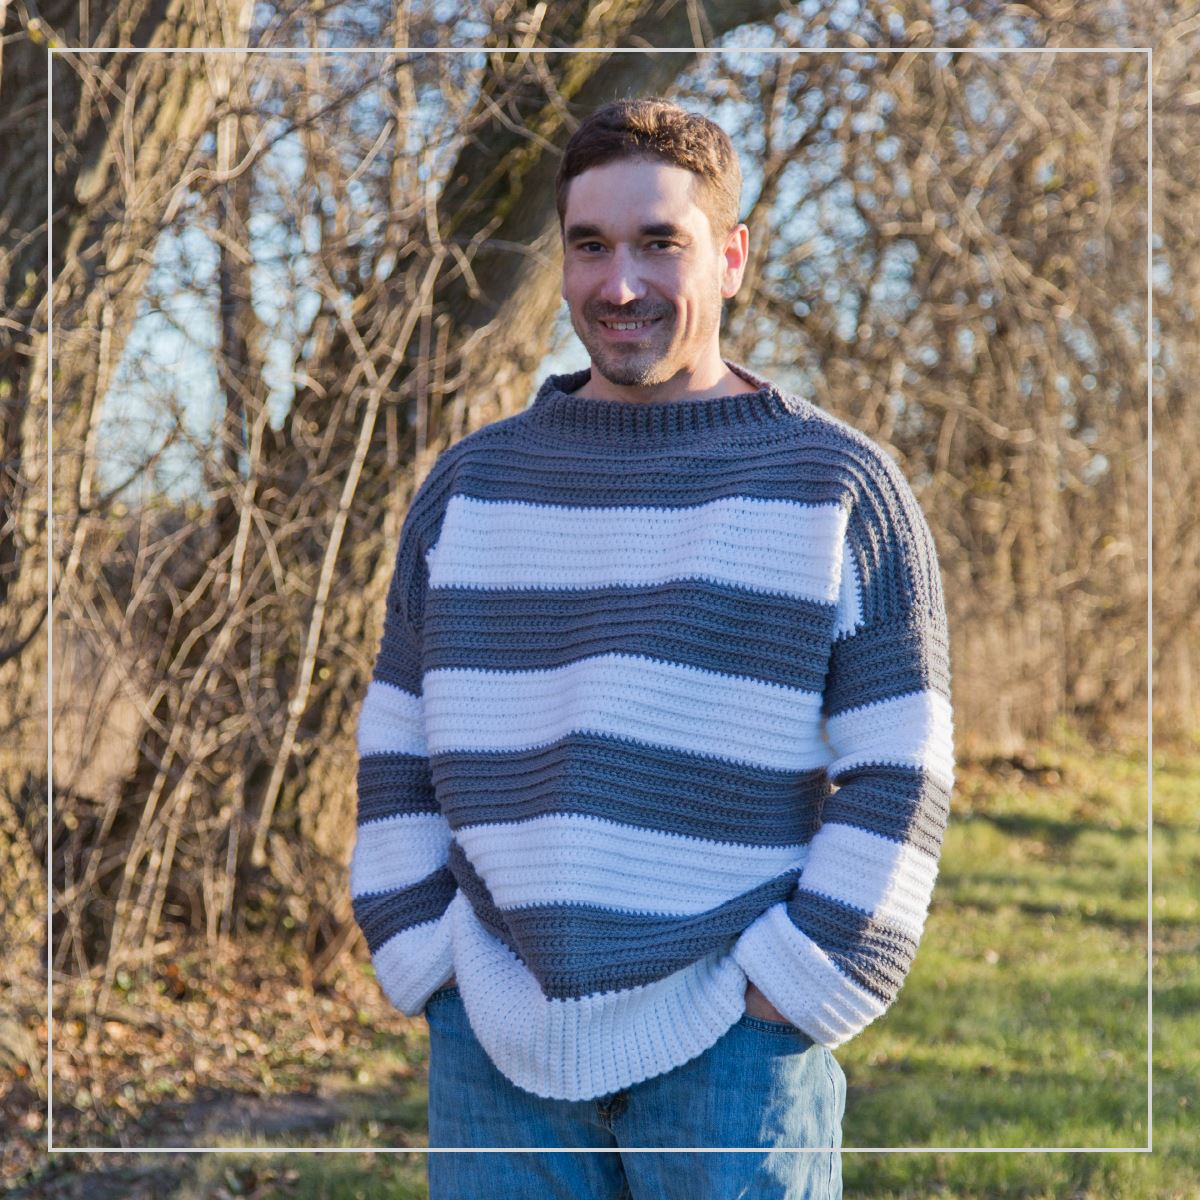
Are you ready to cozy and comfy in the cooler seasons? This sweater will bring that to life for you. Created using just 2 simple stitches, packed with simple textures, will make you sailing through this like a breeze. It’s like sitting on the couch with a nice fresh cup of coffee and cuddling with a blanket, just pull on this sweater and it will do that charm for you, giving you that toasty warm feature you get with your favorite blanket. This will be your new favorite item. Wear this out on those cooler mornings to grab your favorite drink or any adventure your heart is set on. This will be your new favorite paired to any outfit or just taking the day to relax. This sweater is totally Unisex making it for anyone, to enjoy the warmth this will provide.

ABOUT OUR DESIGNER

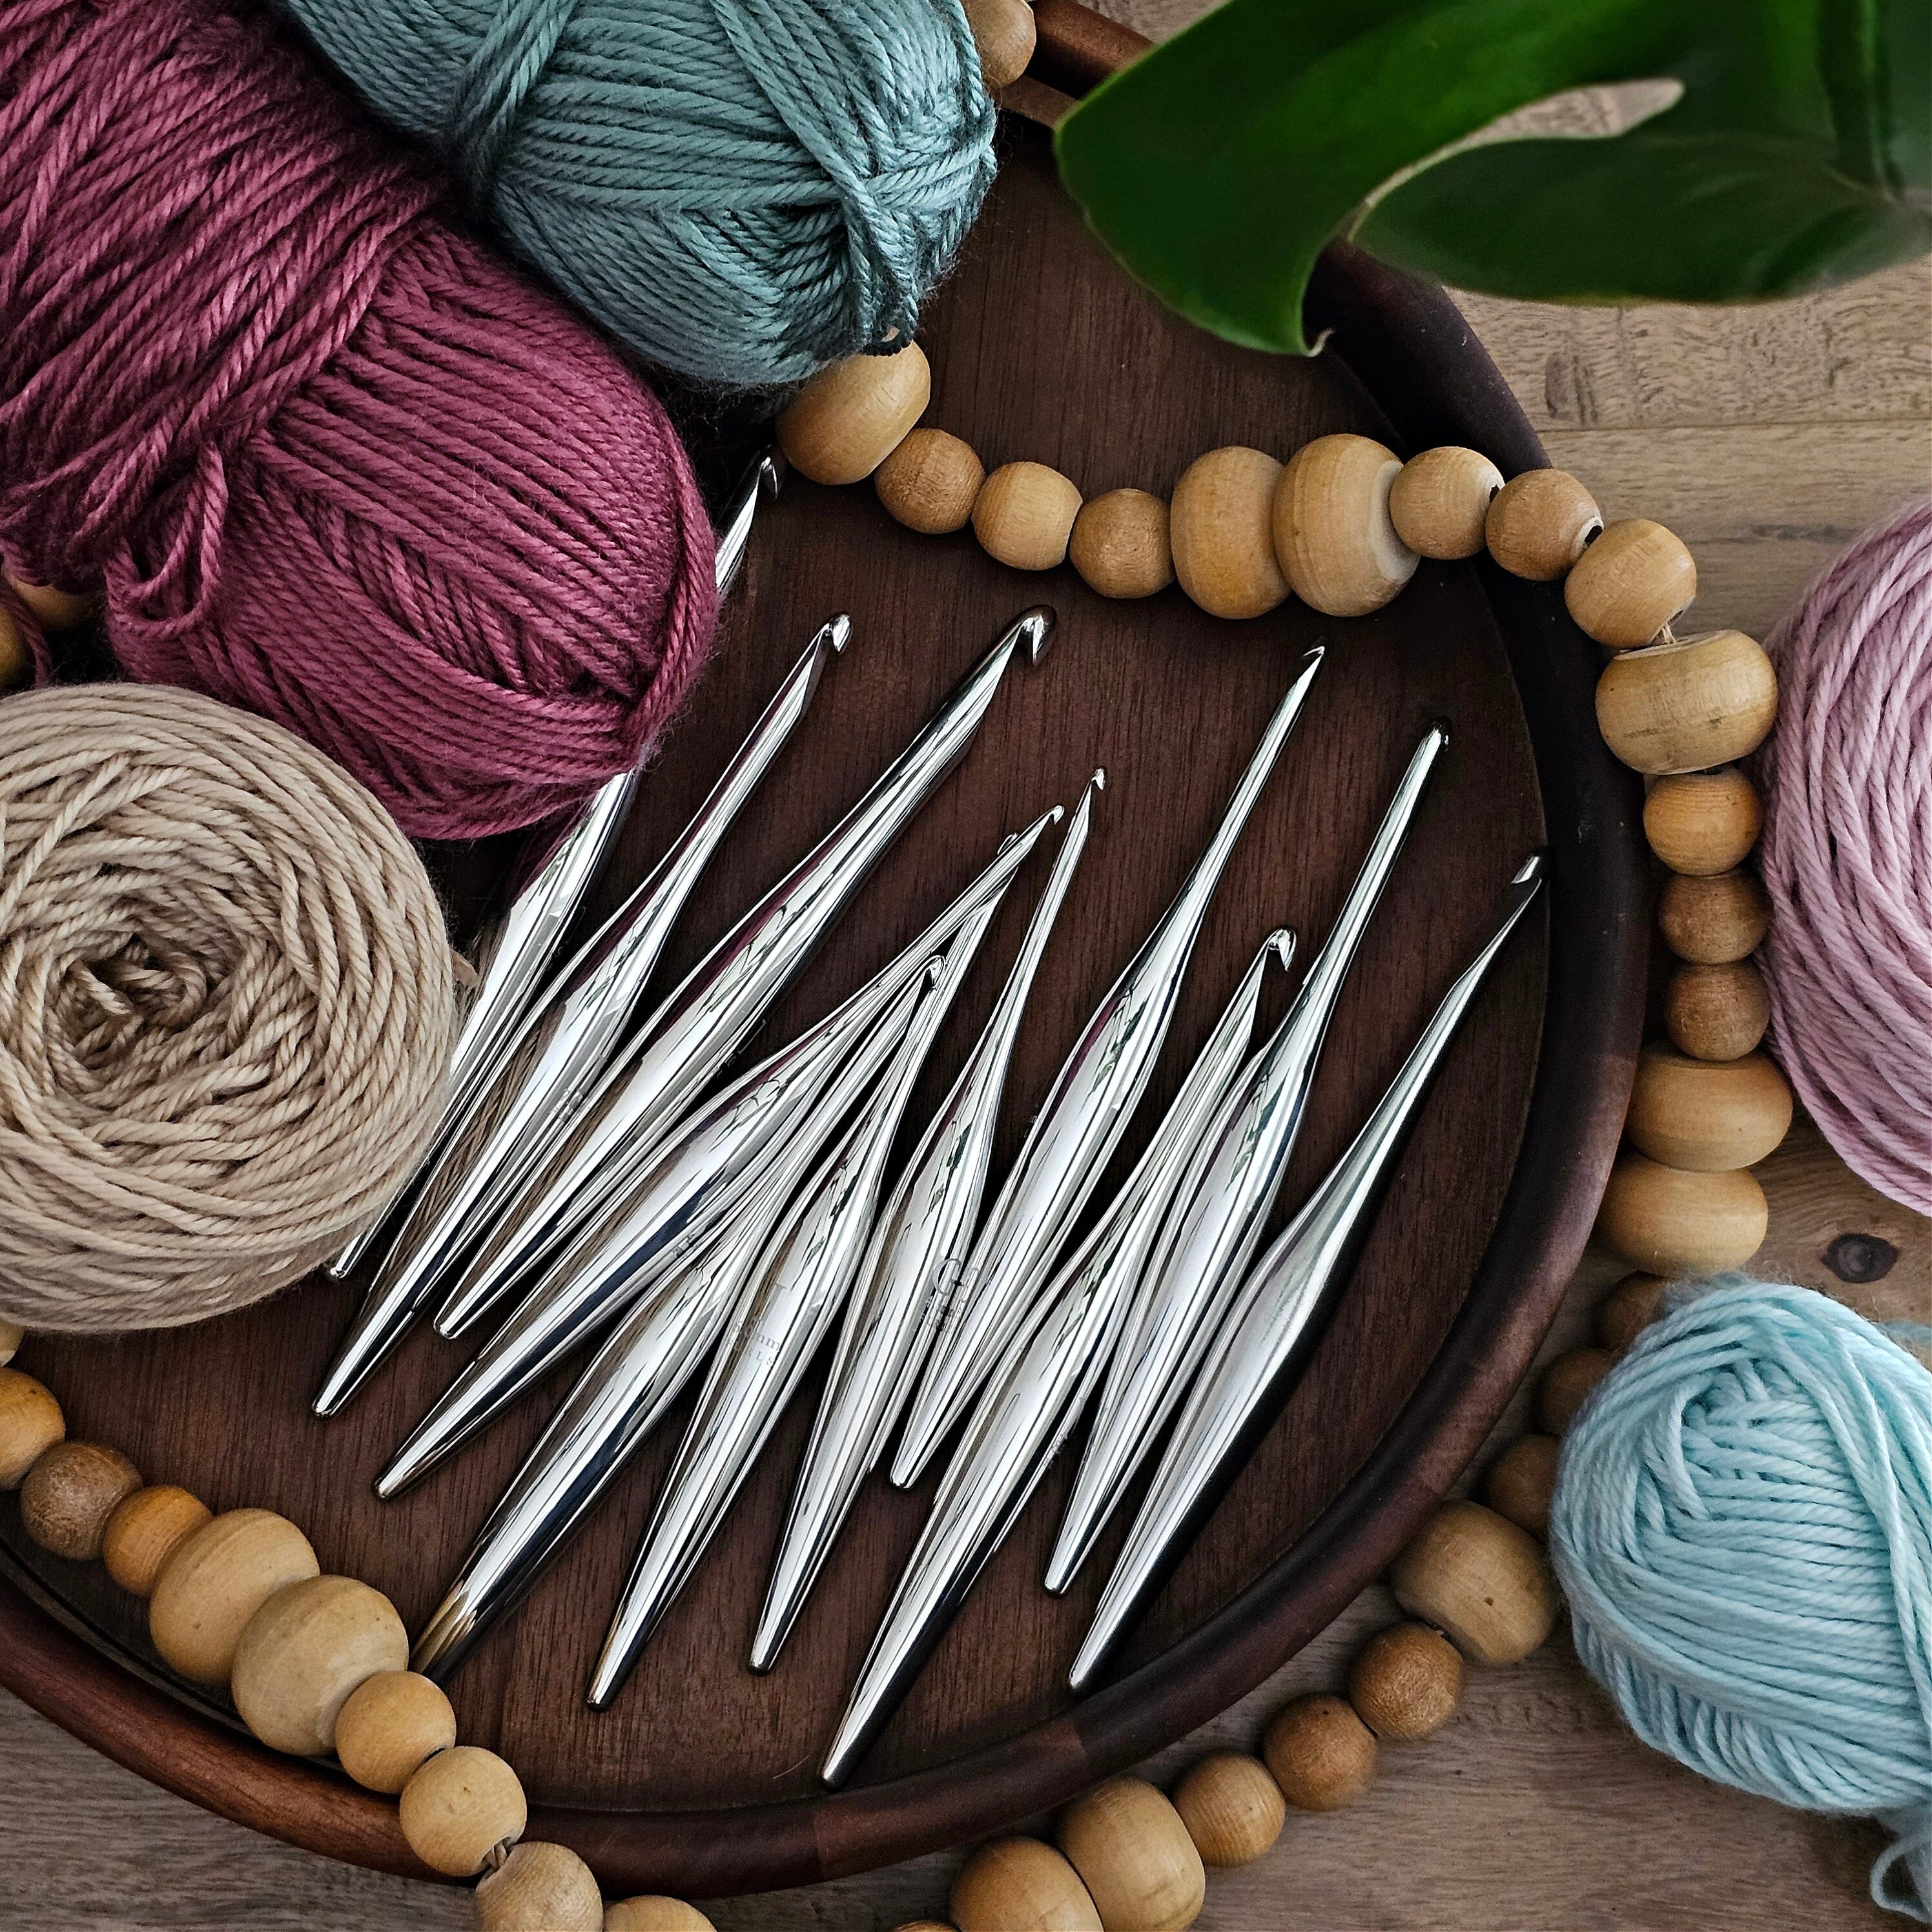
SUPPLIES
Yarn:
-
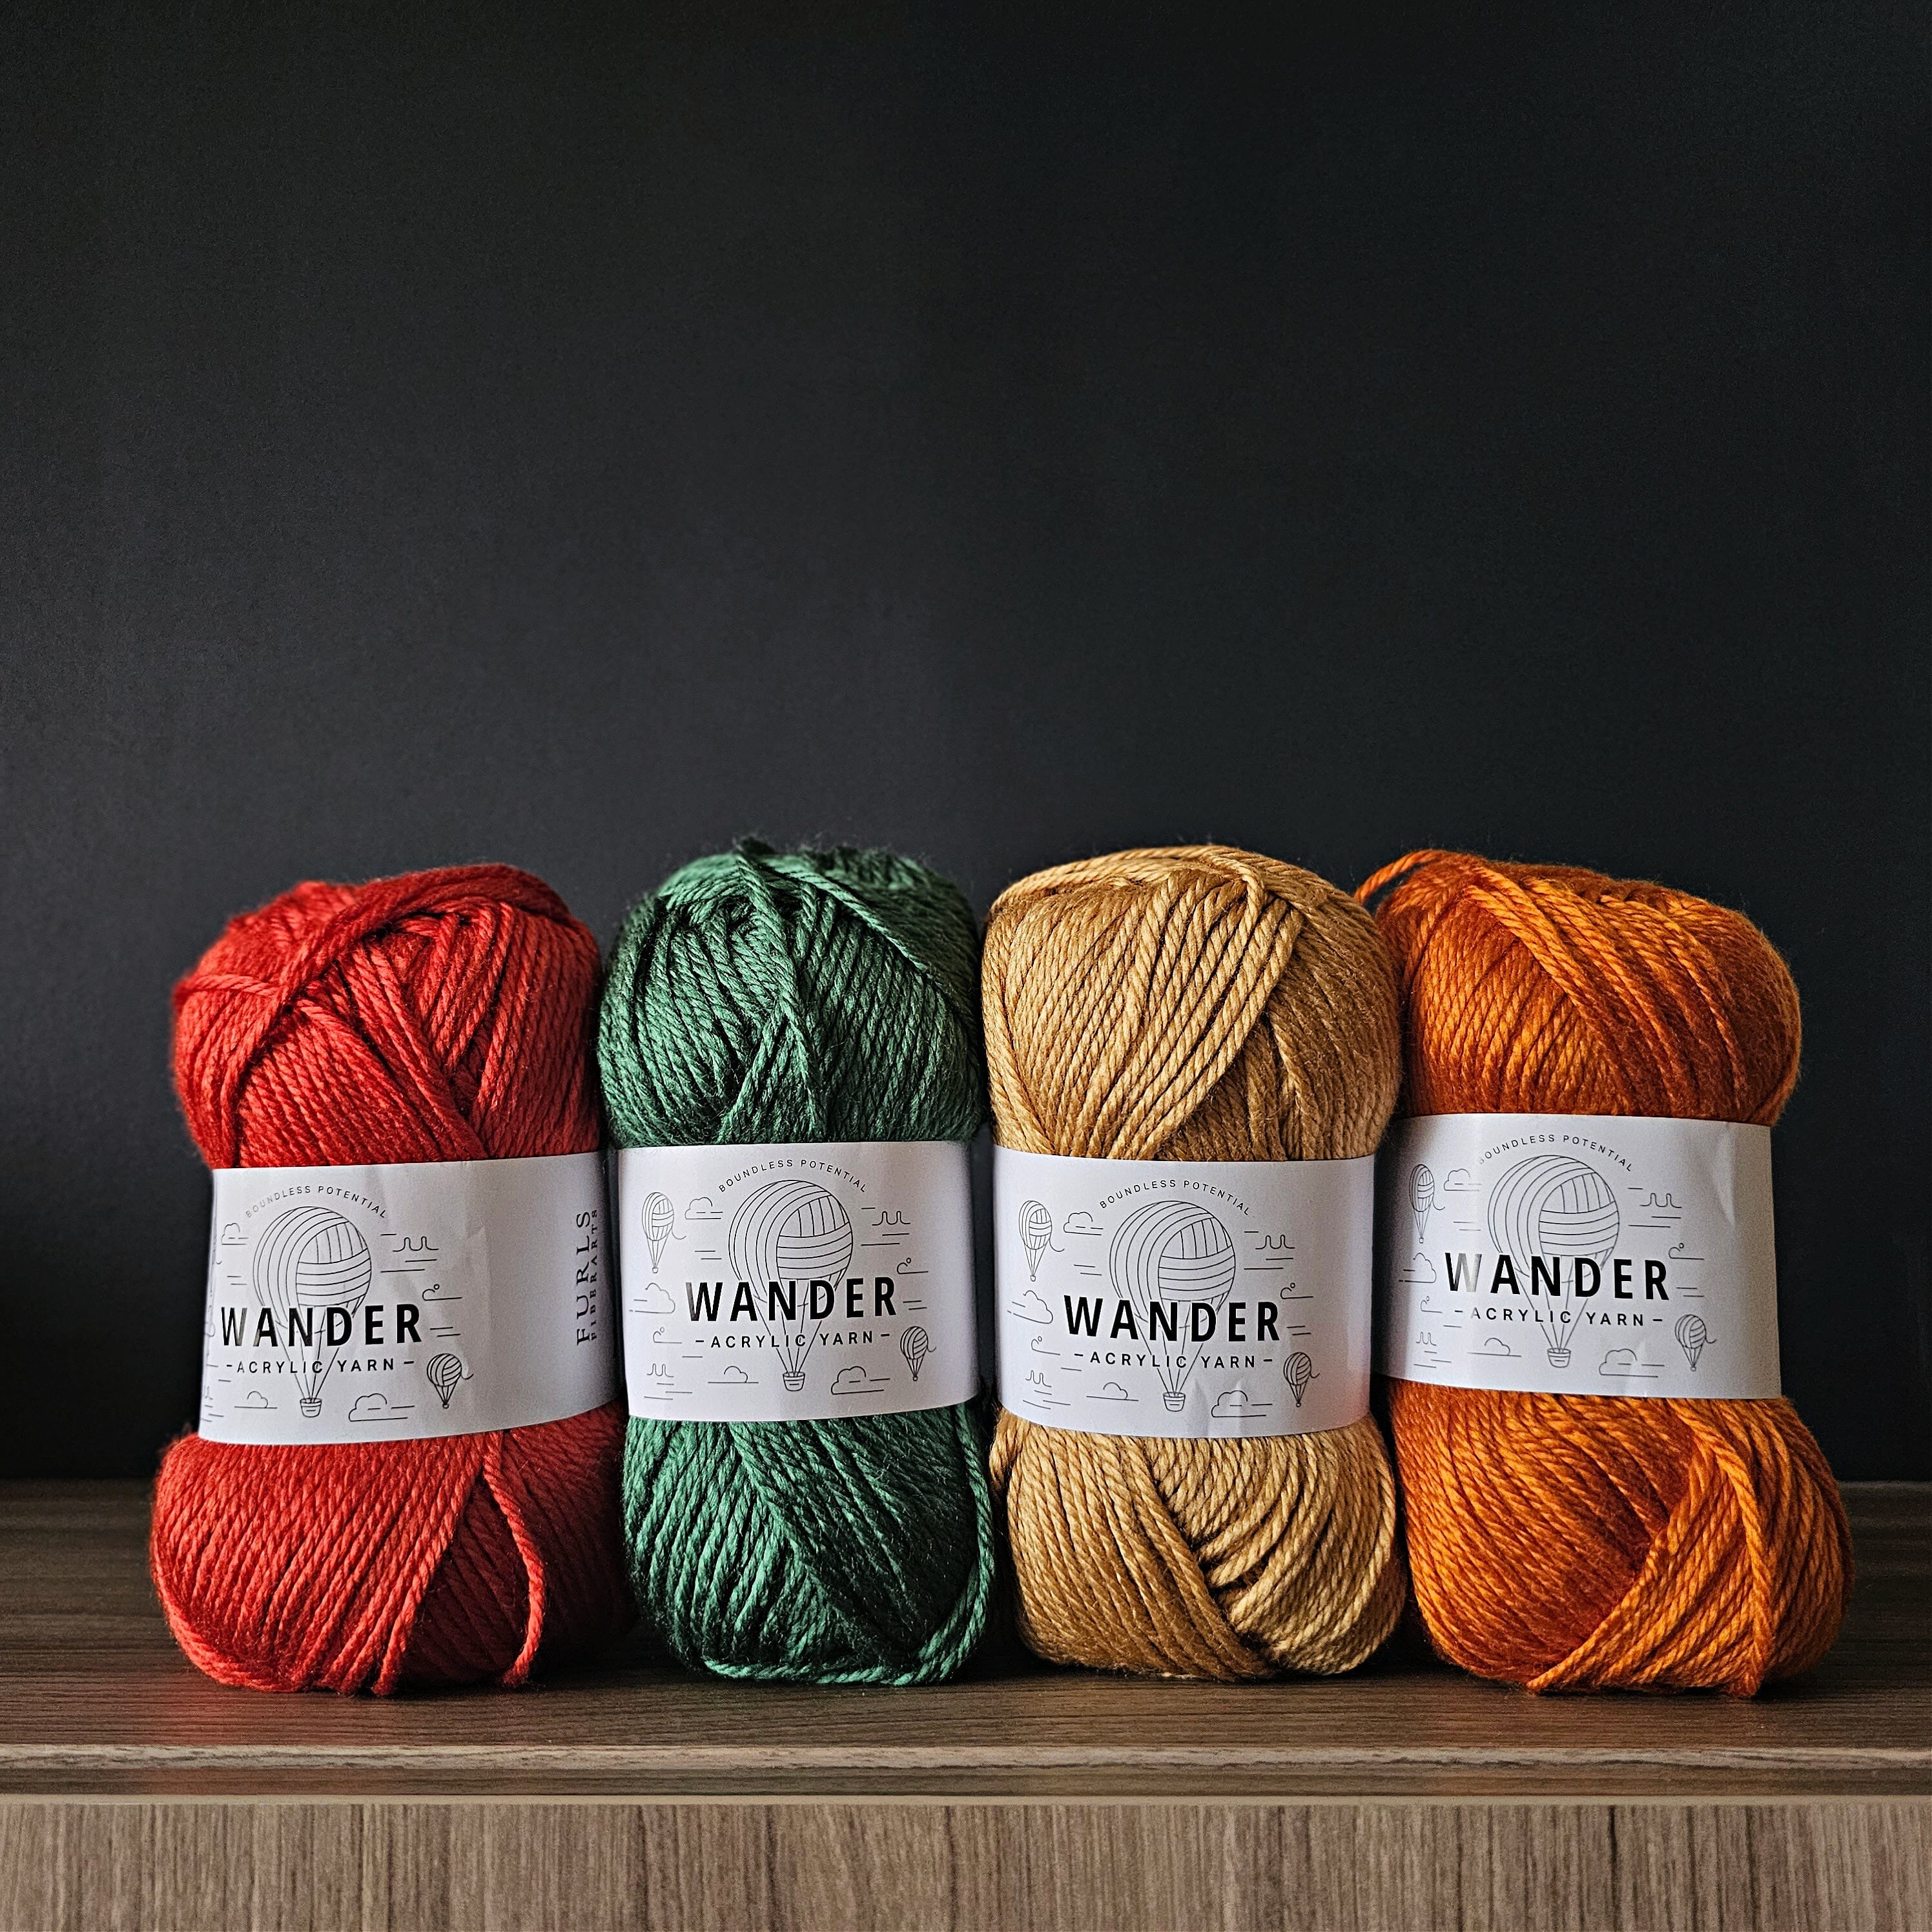
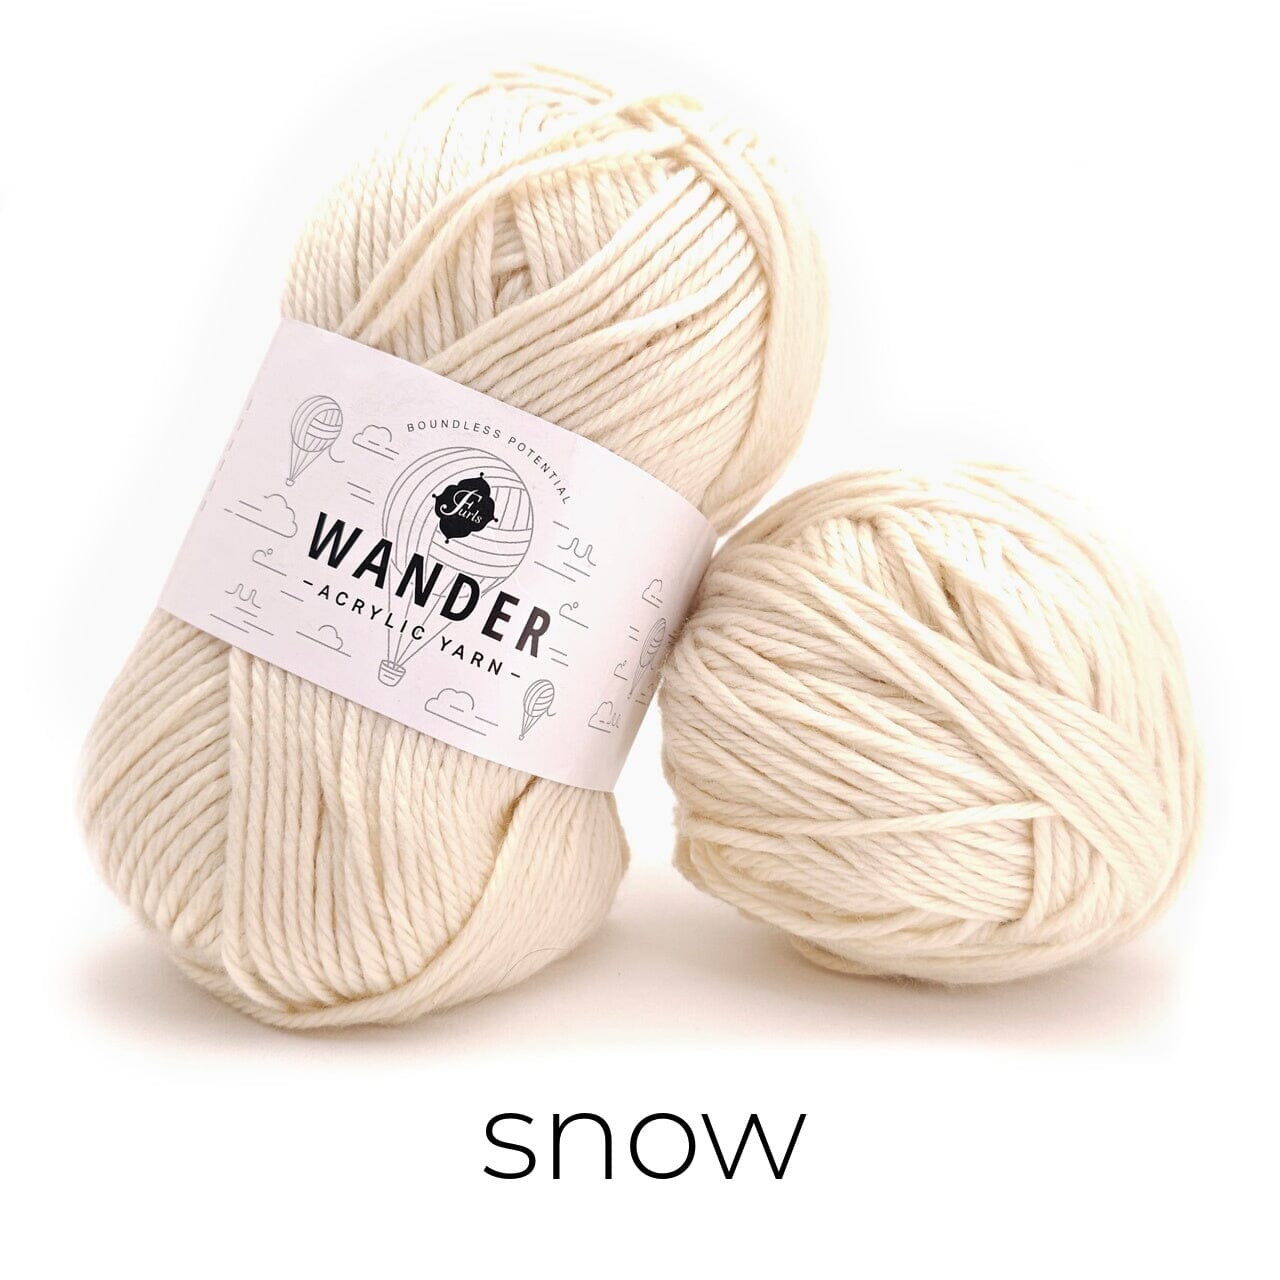
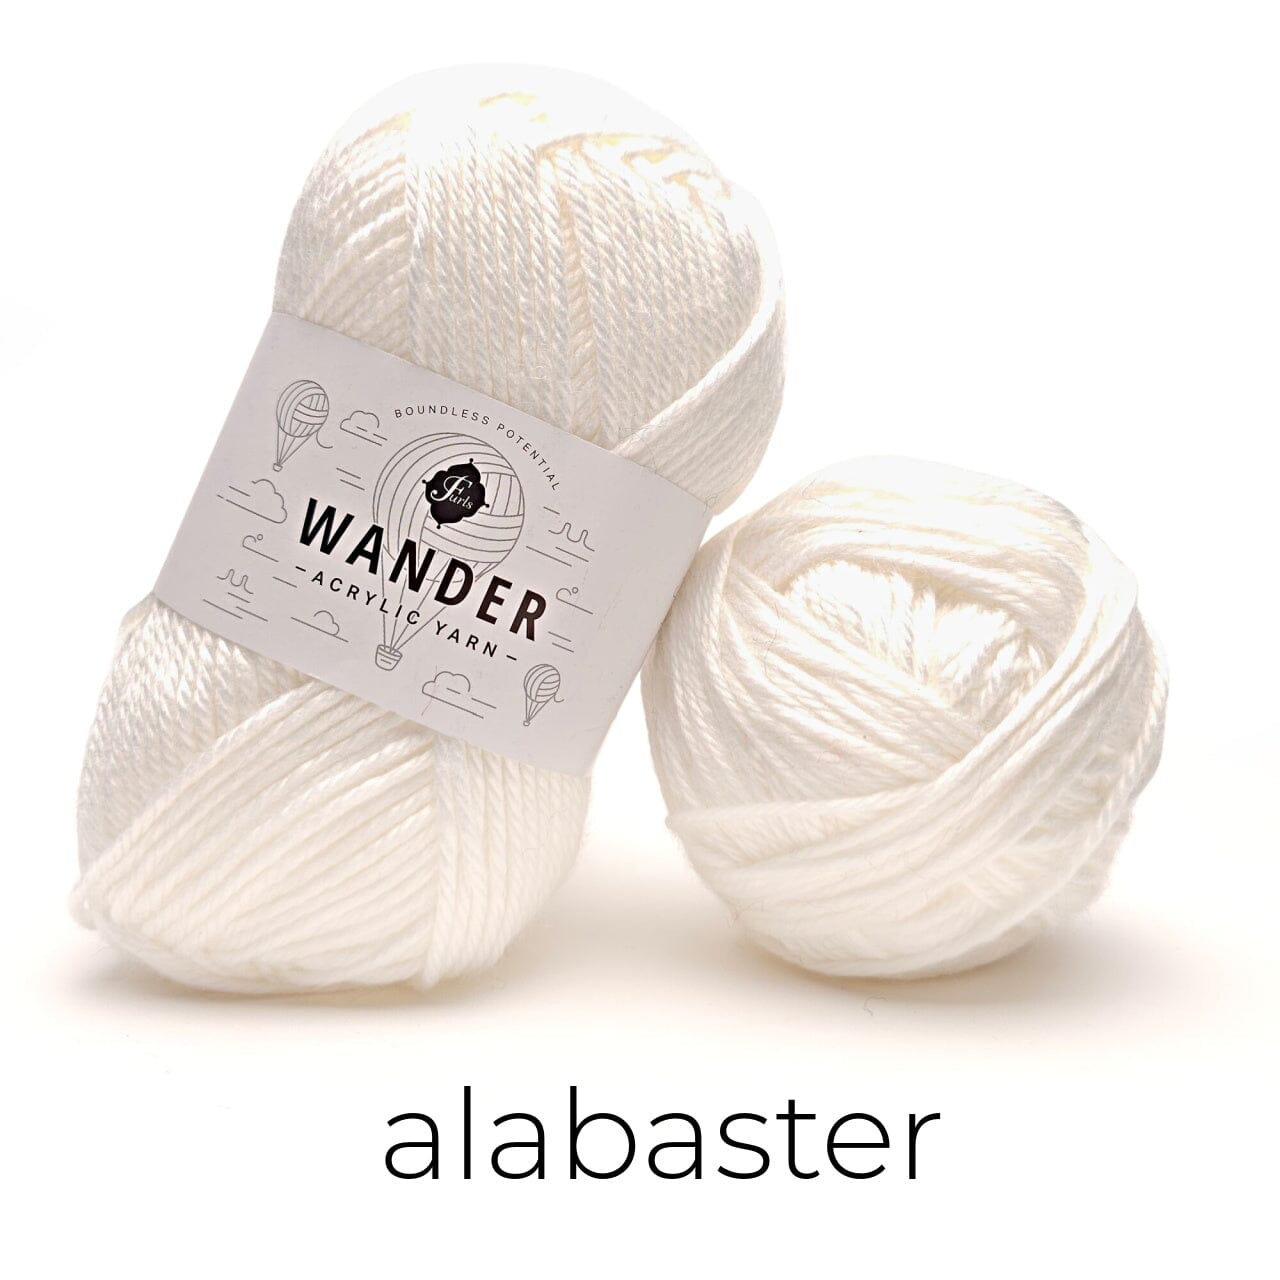
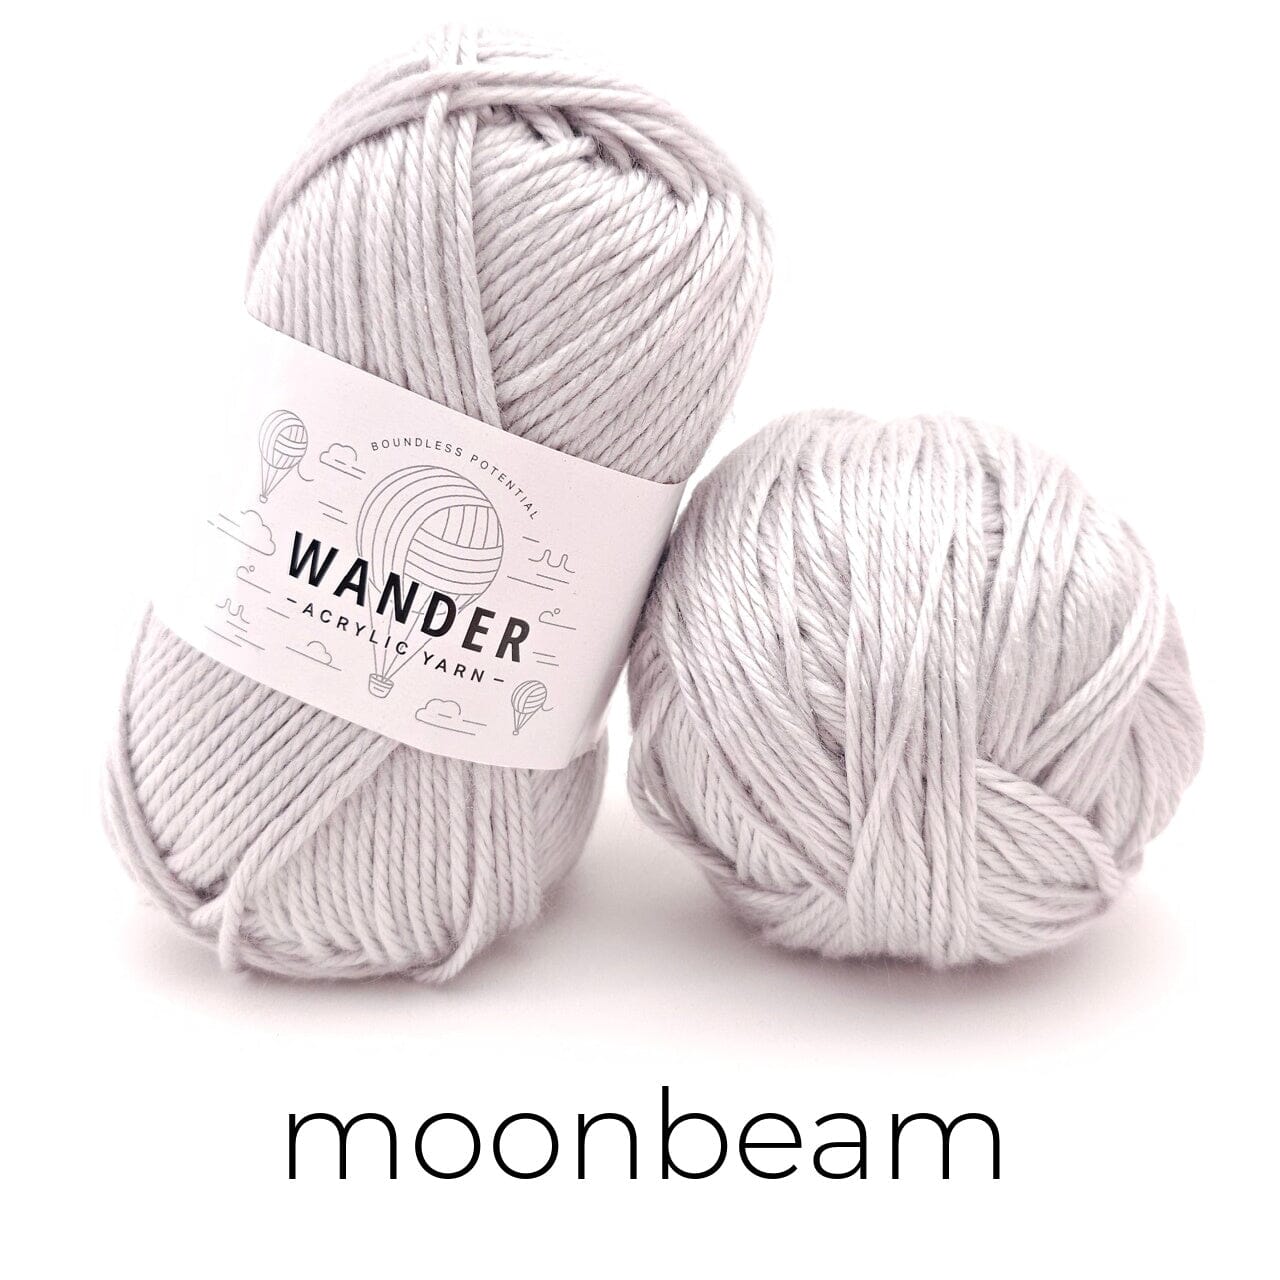
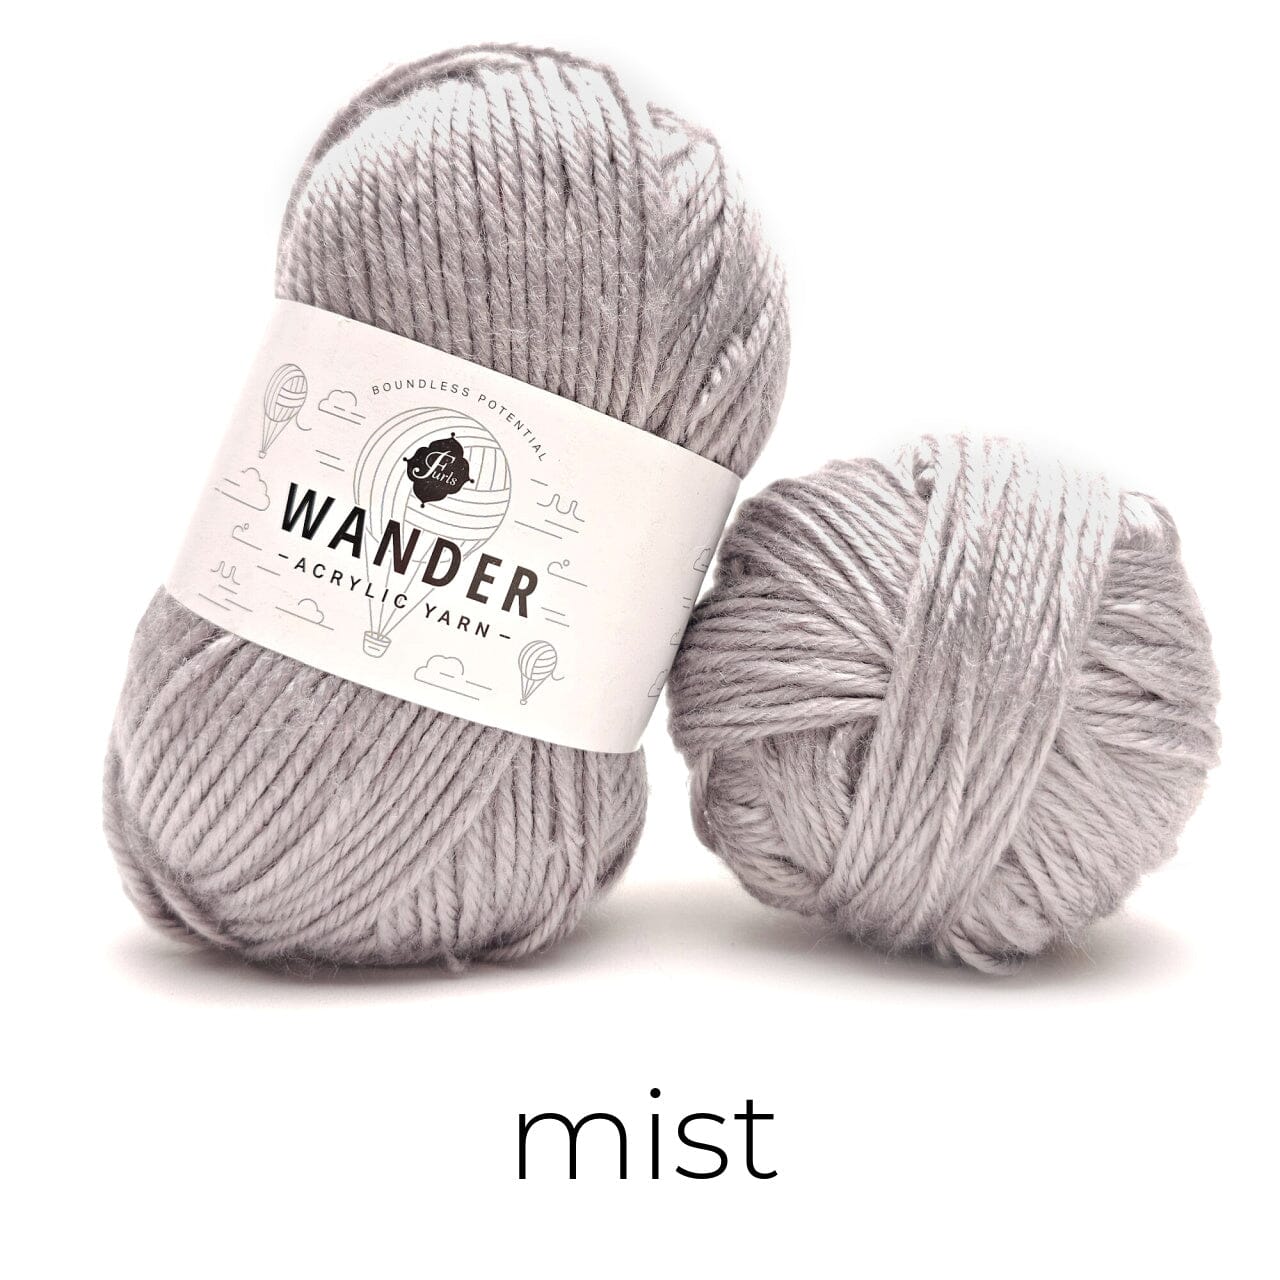
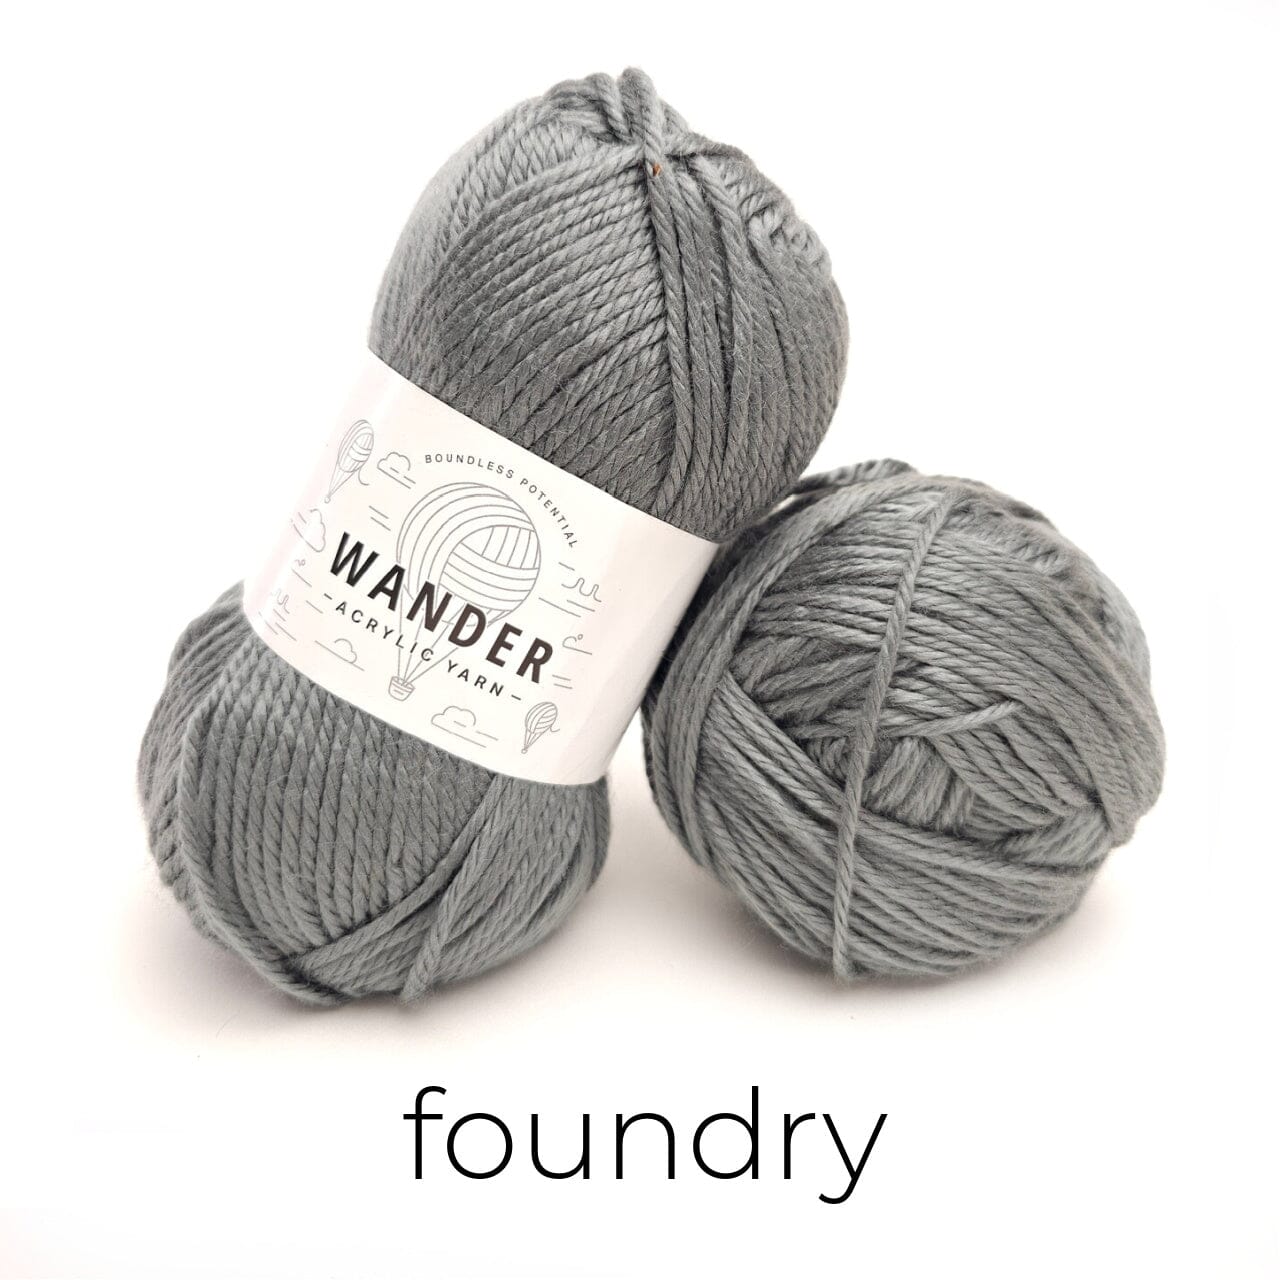
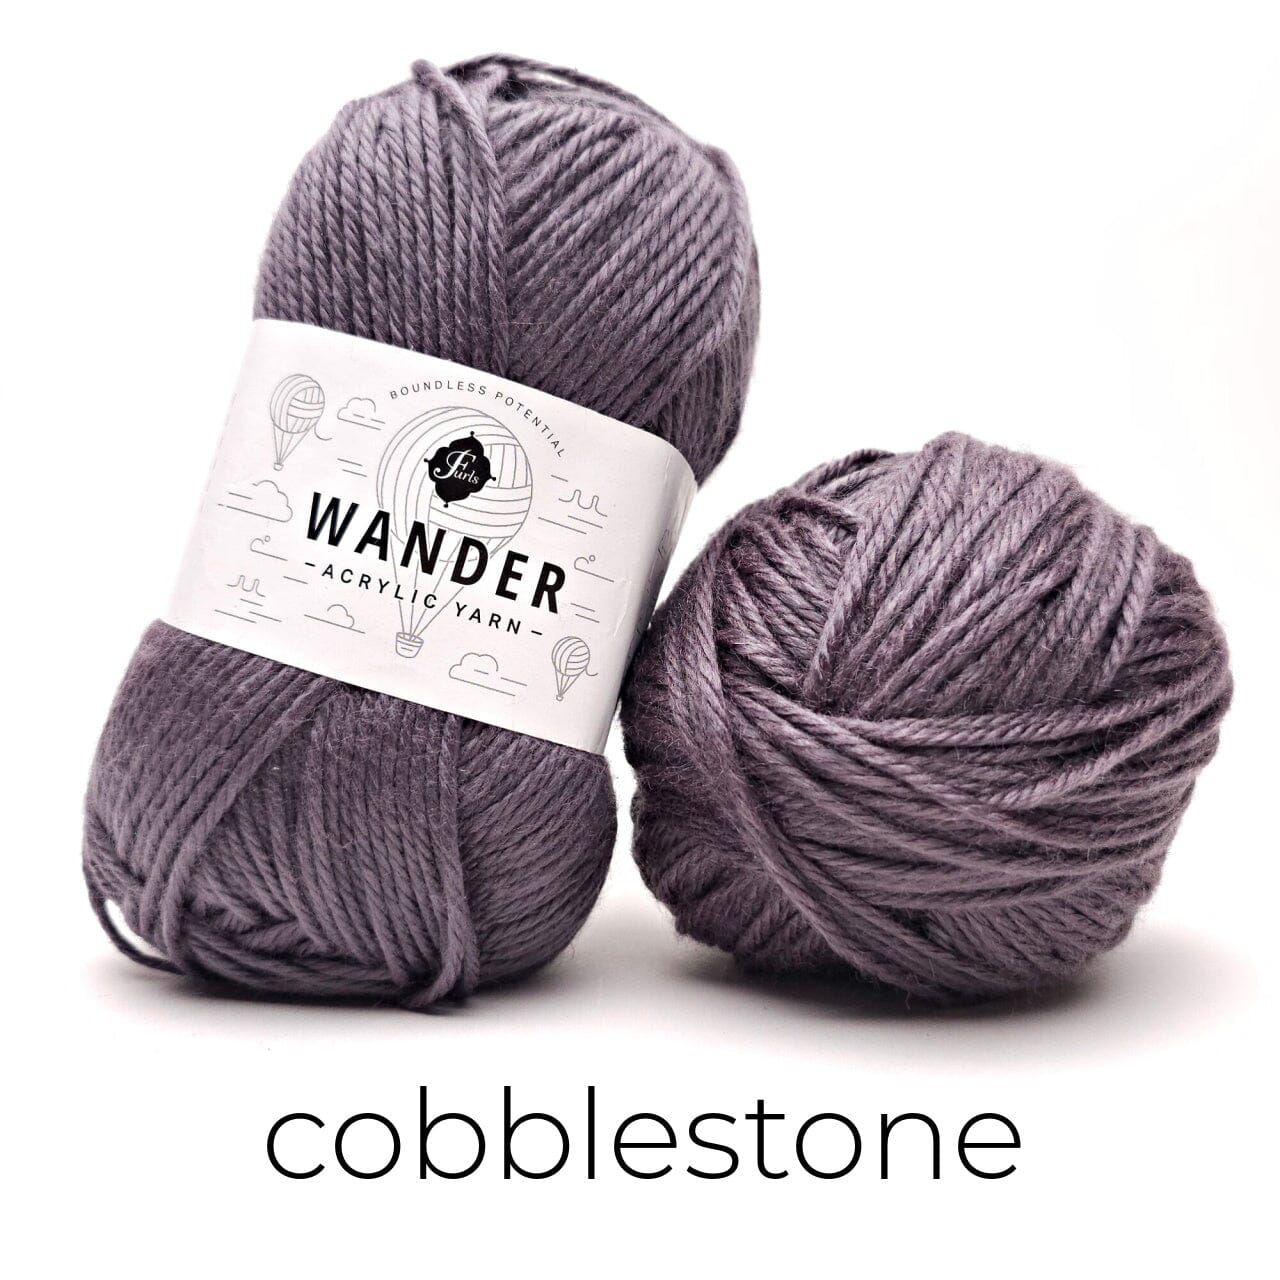
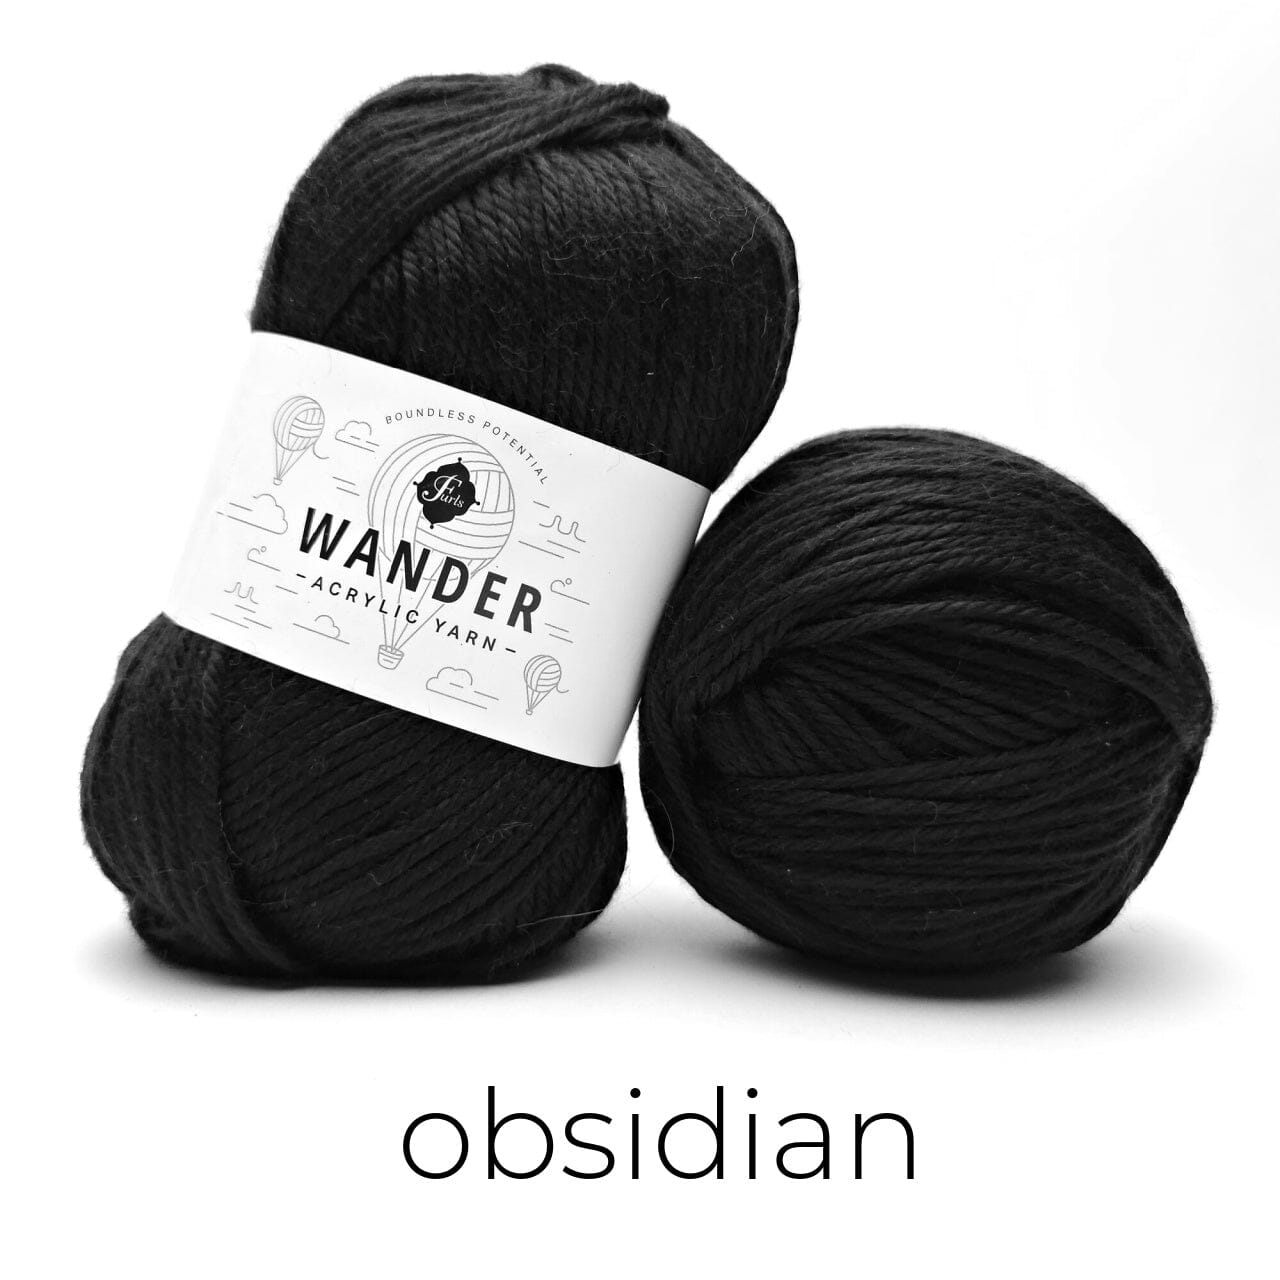
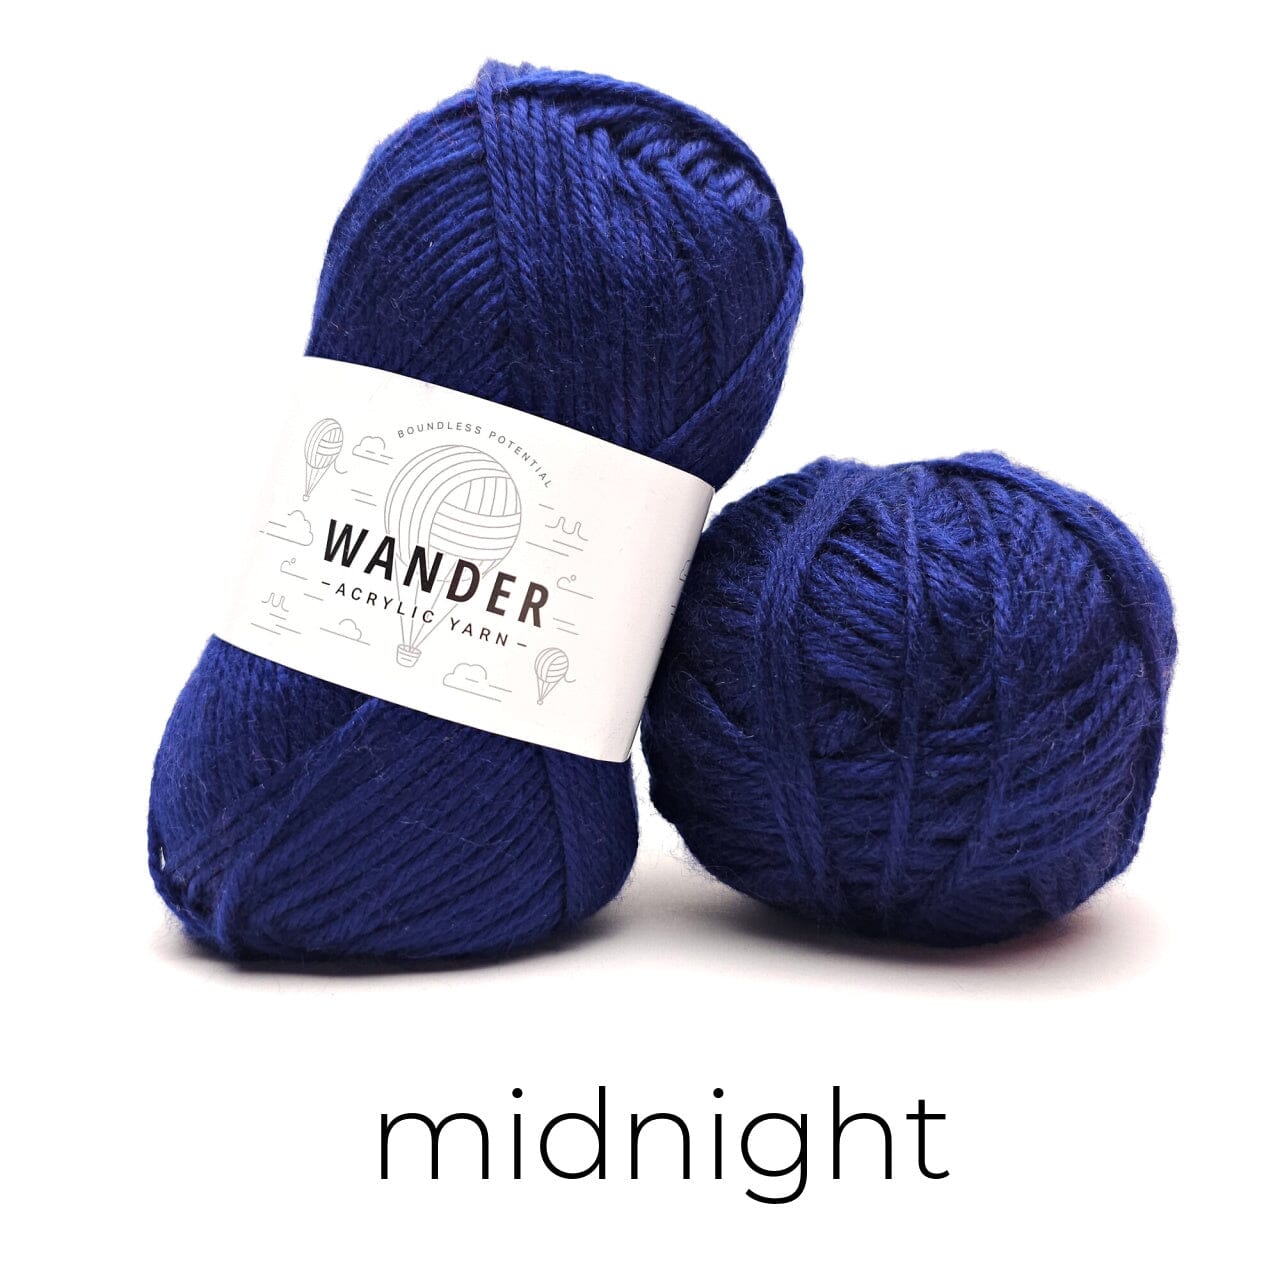
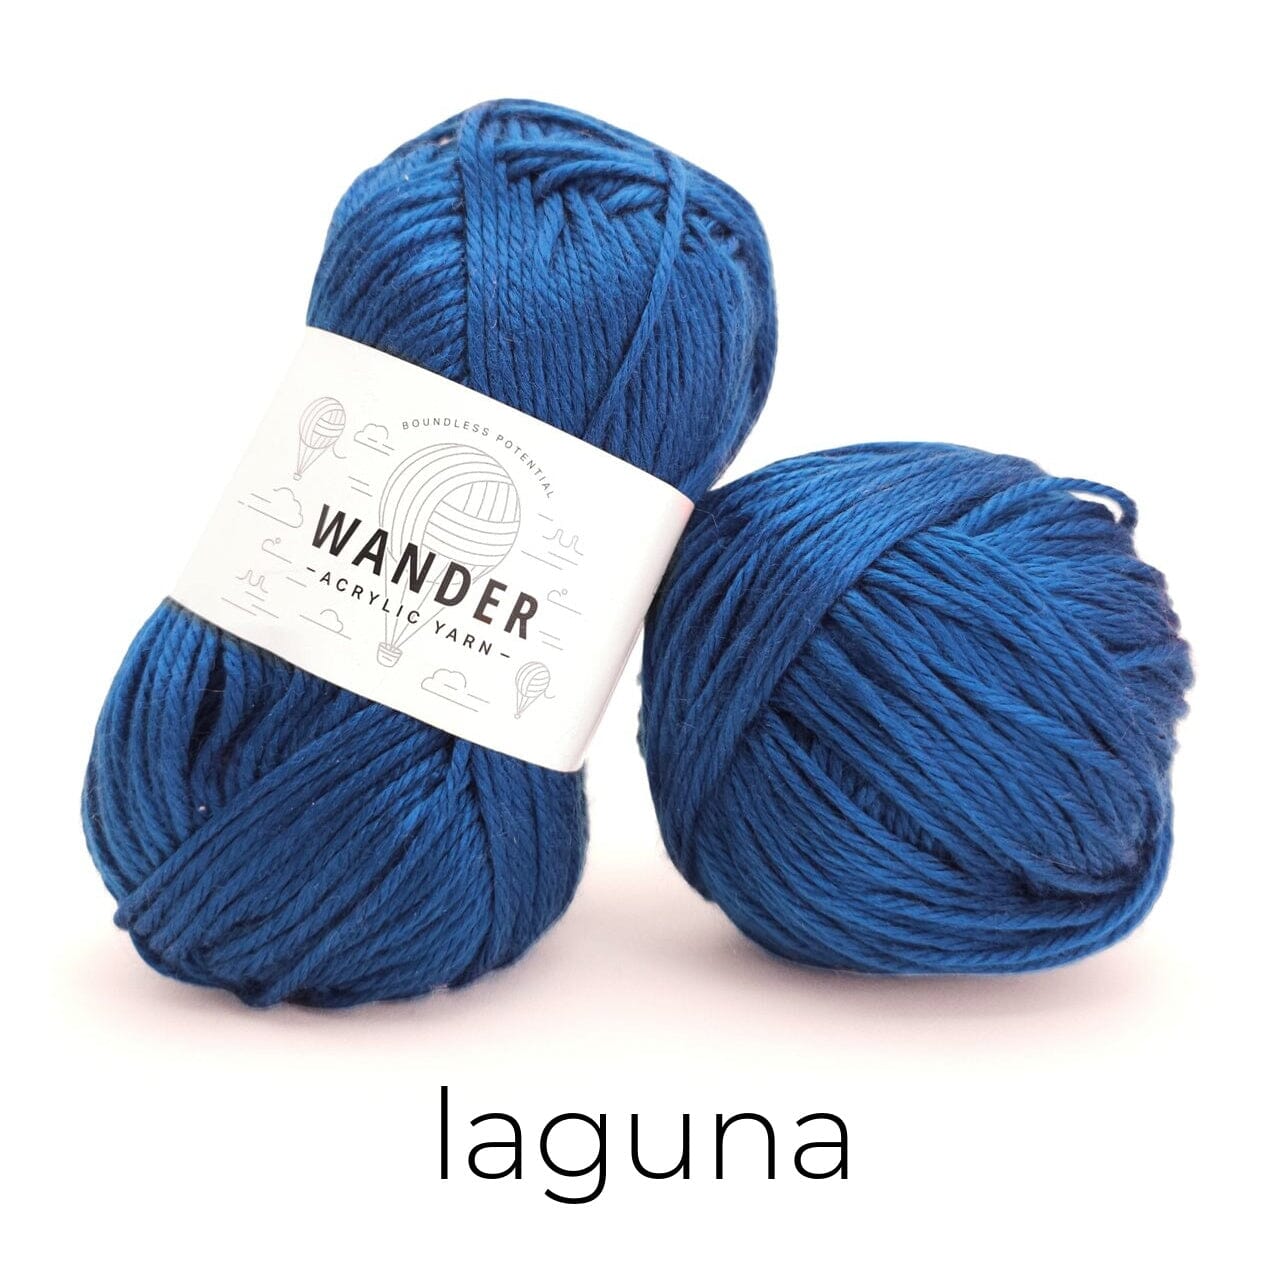
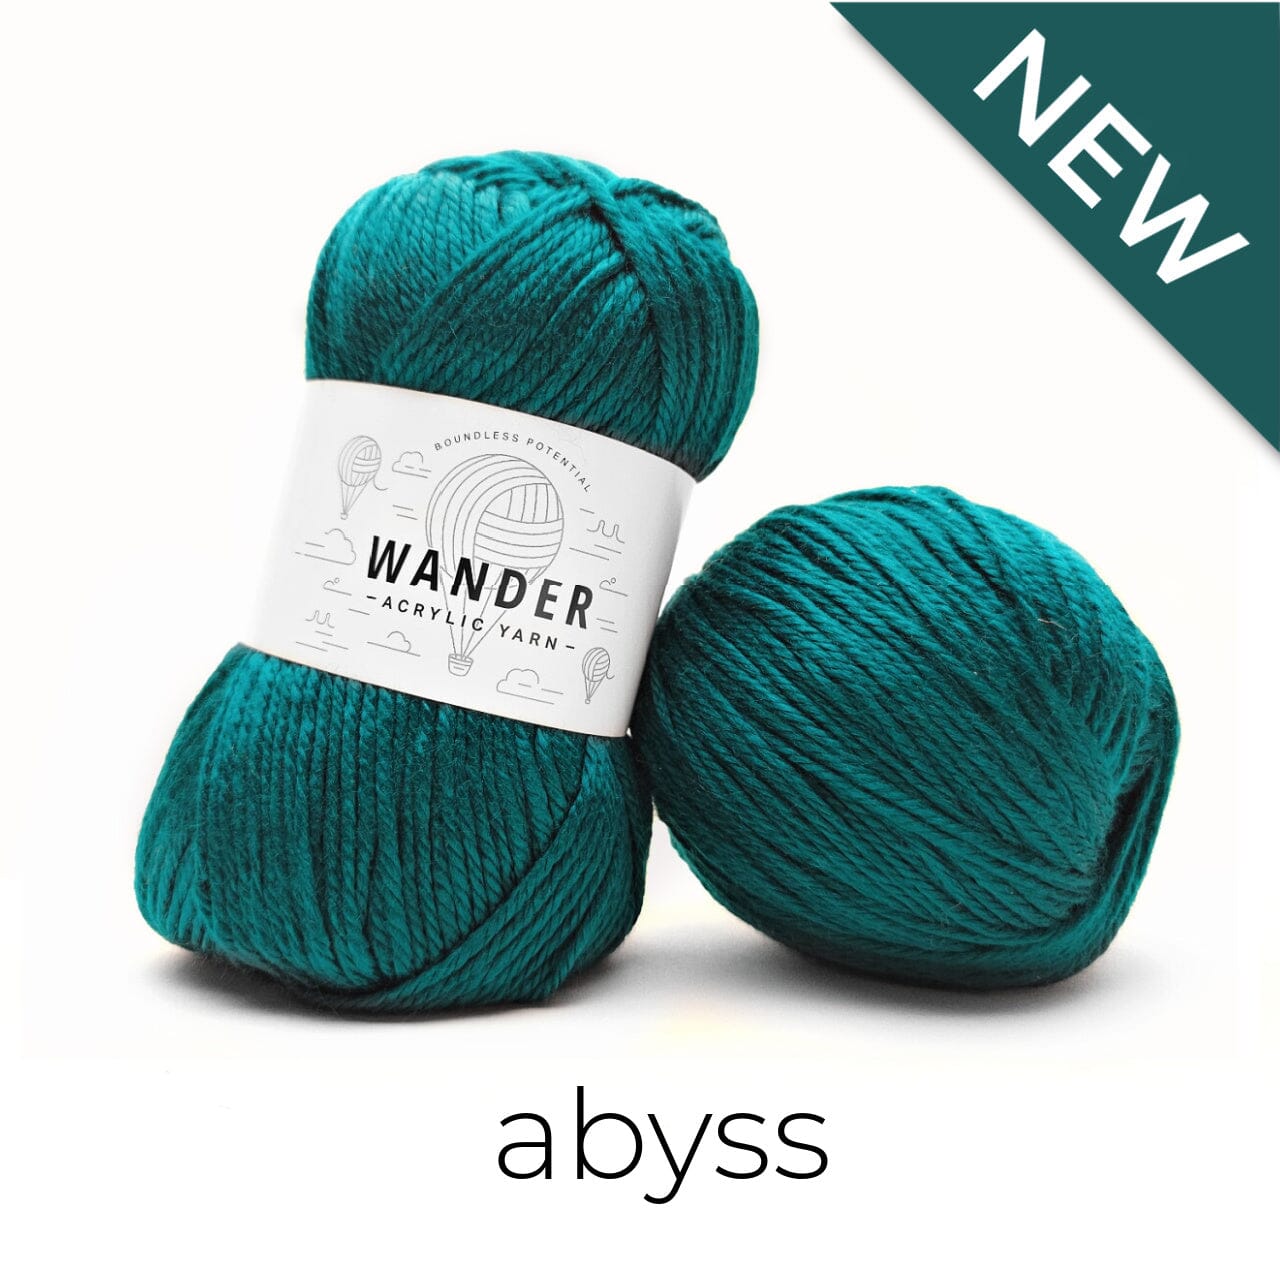
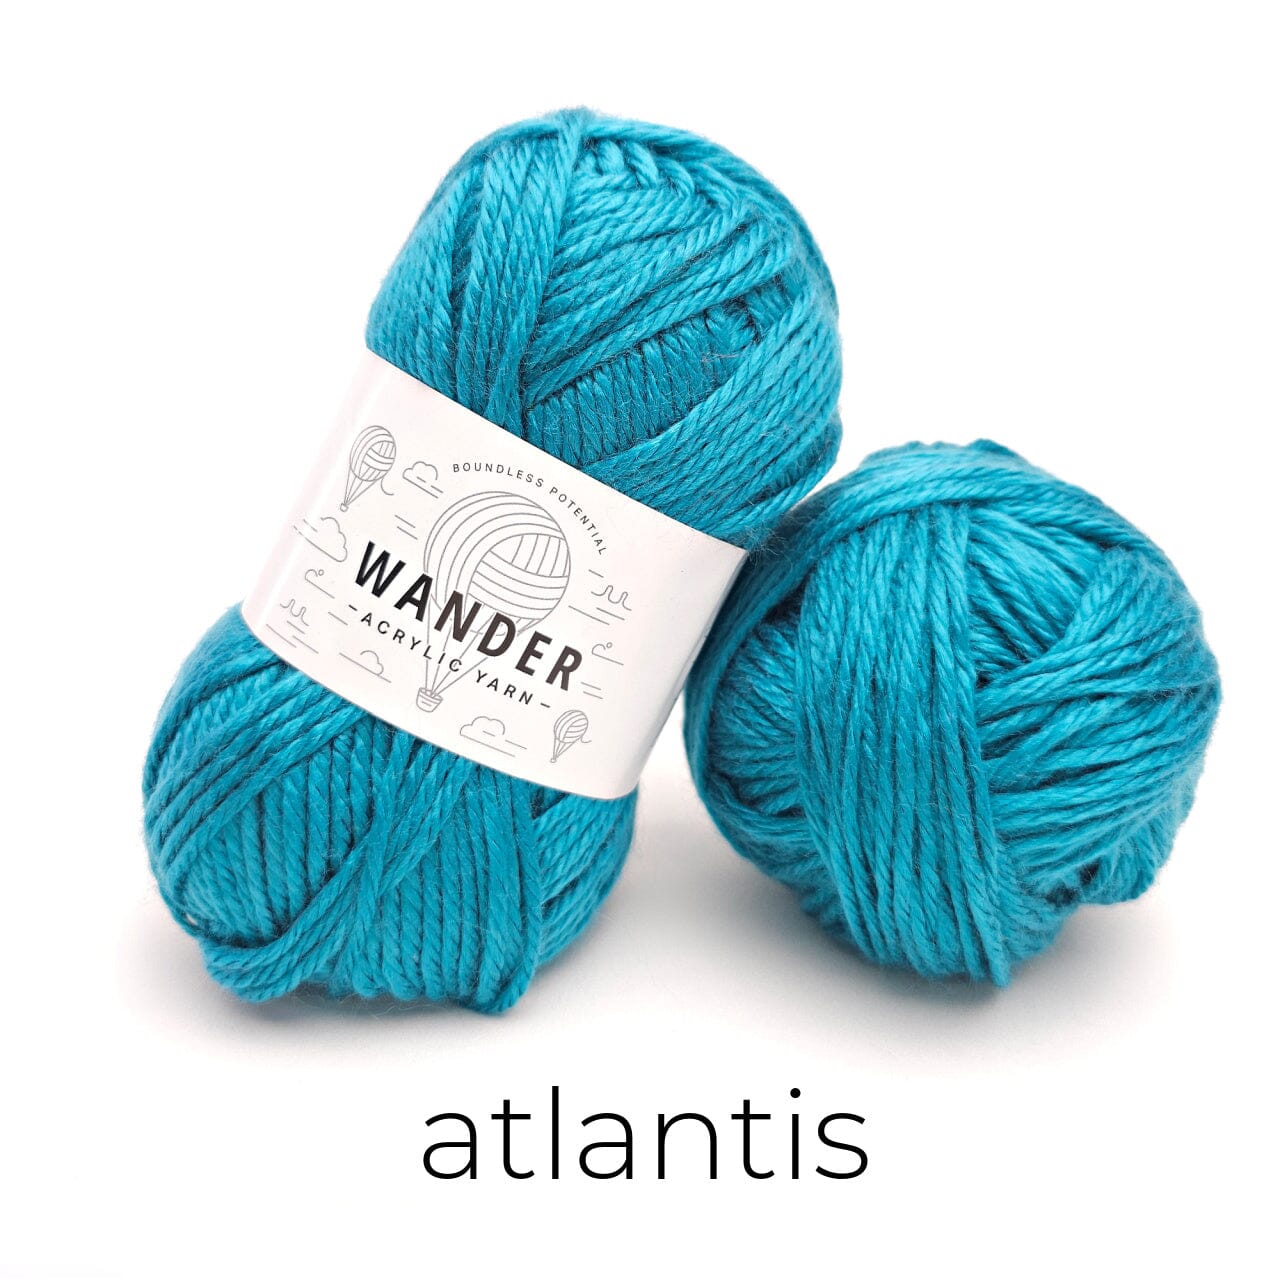
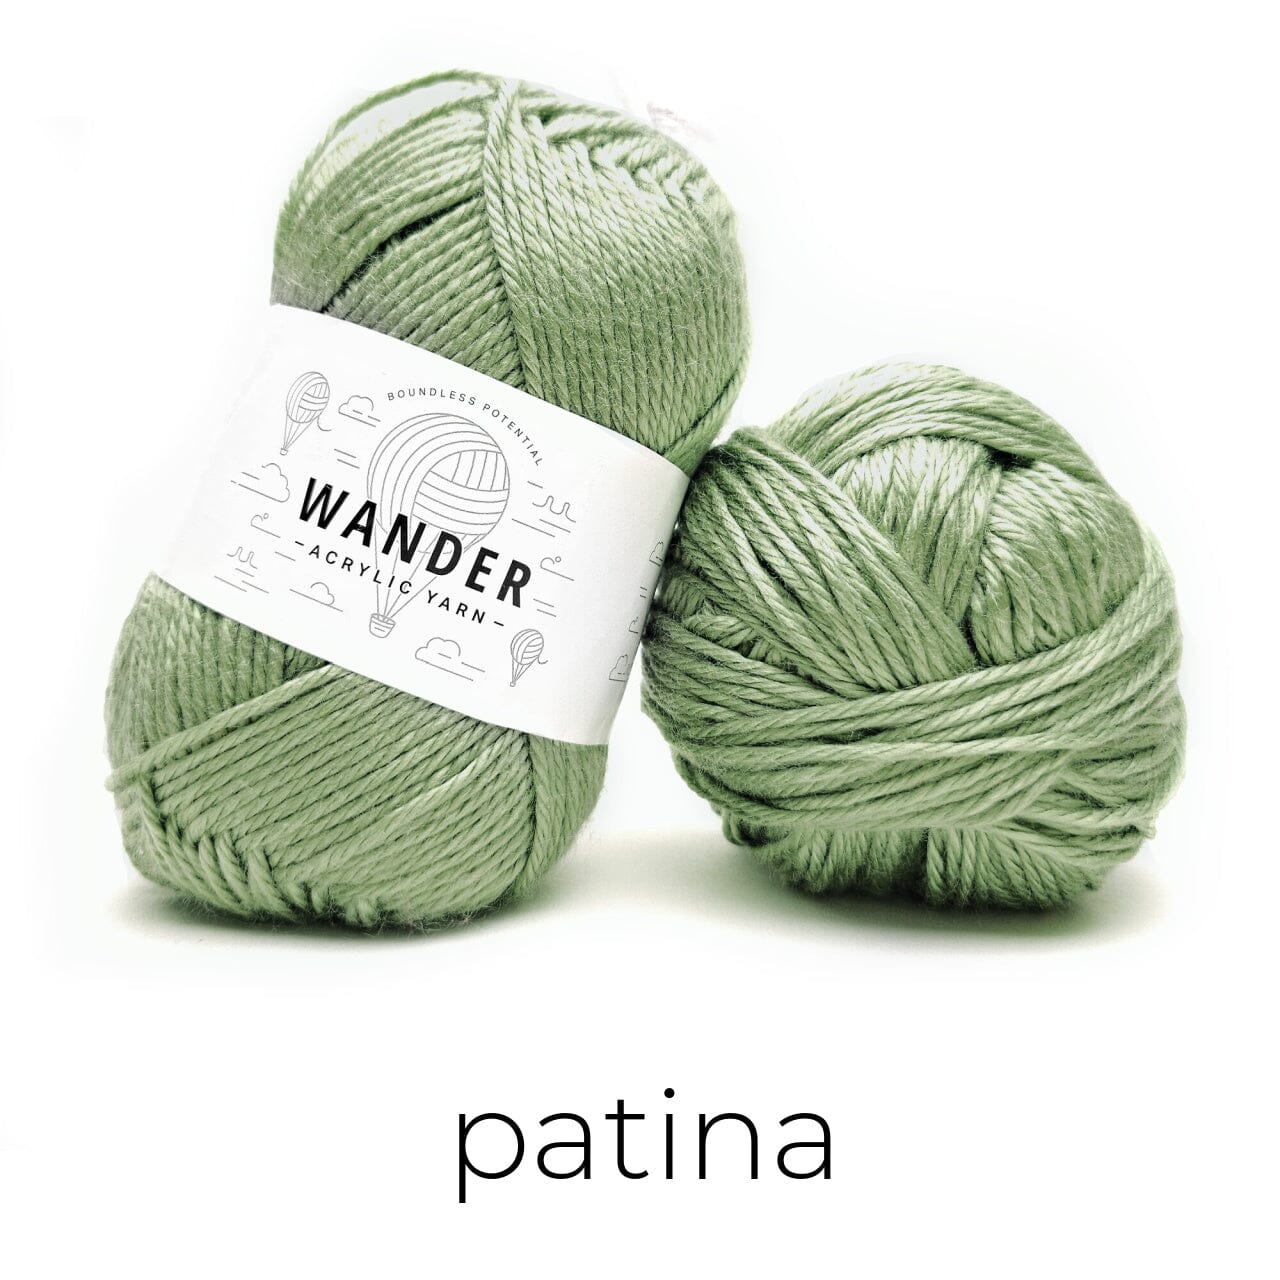
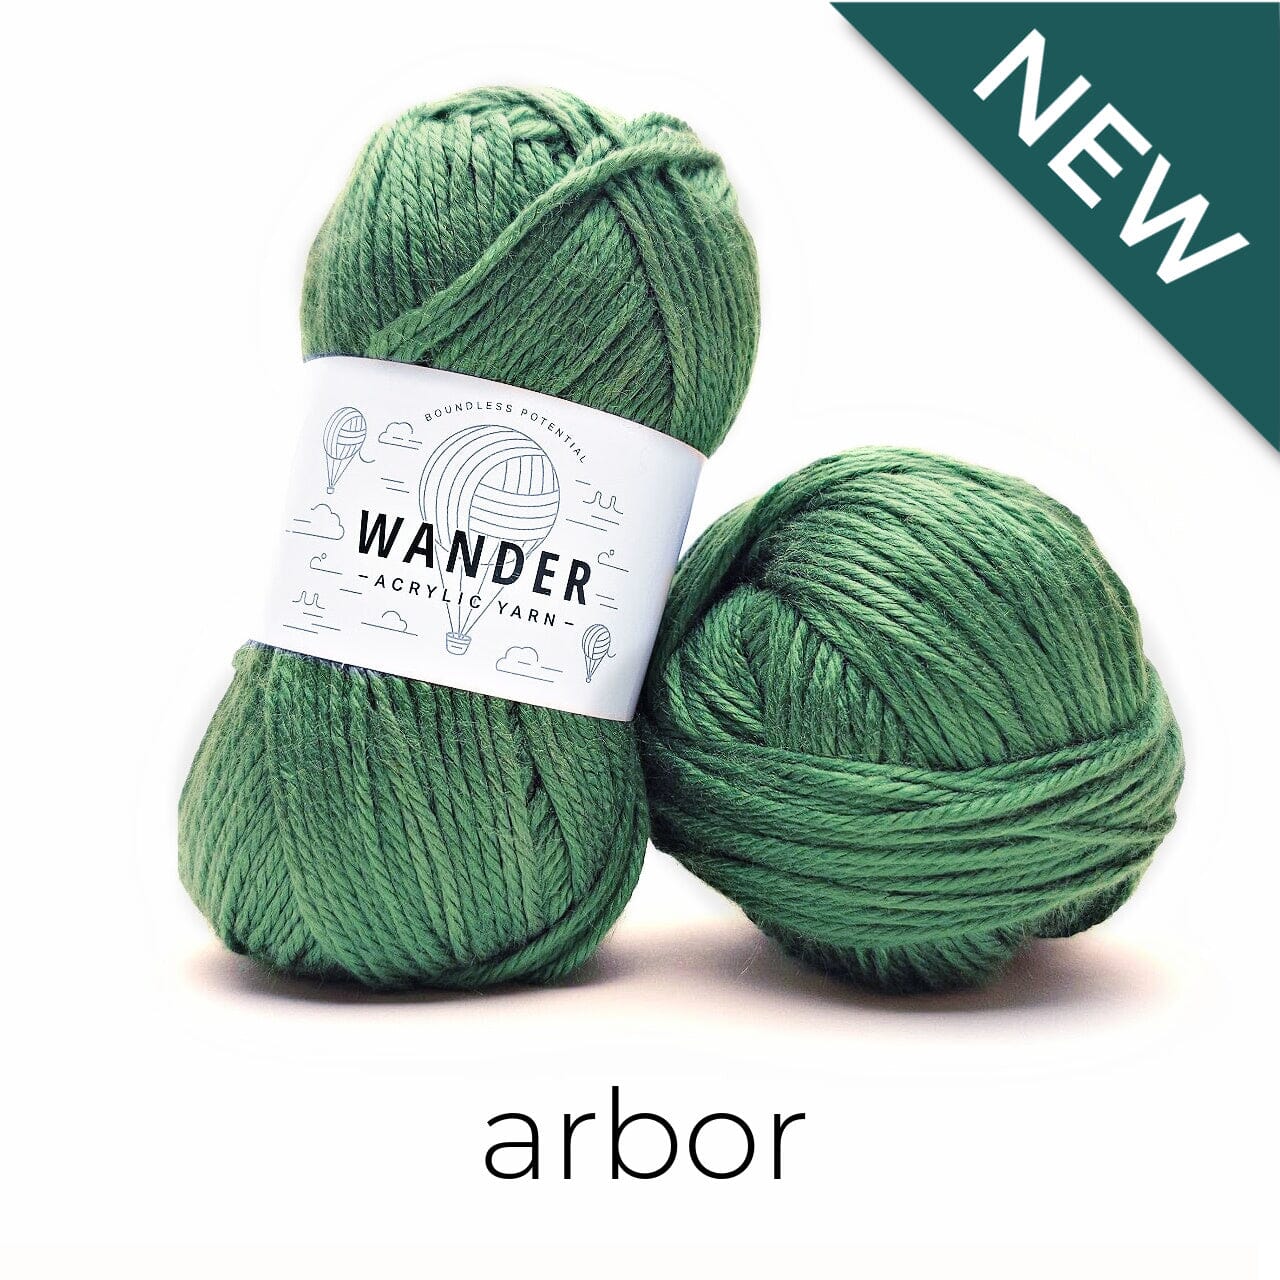
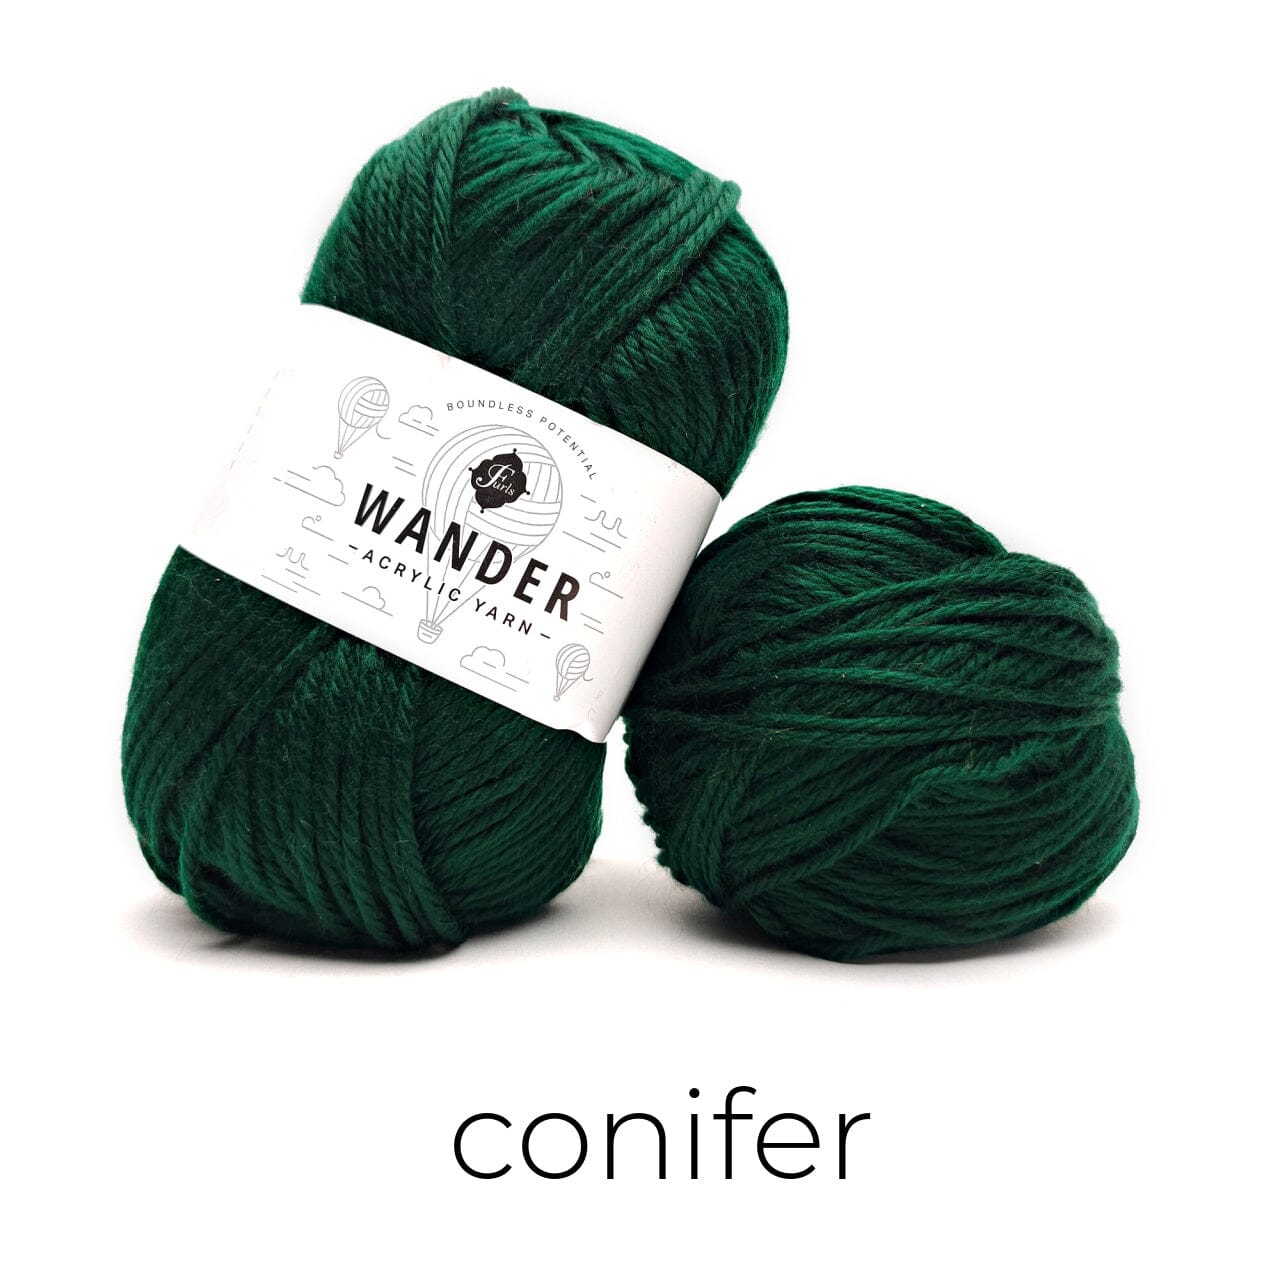
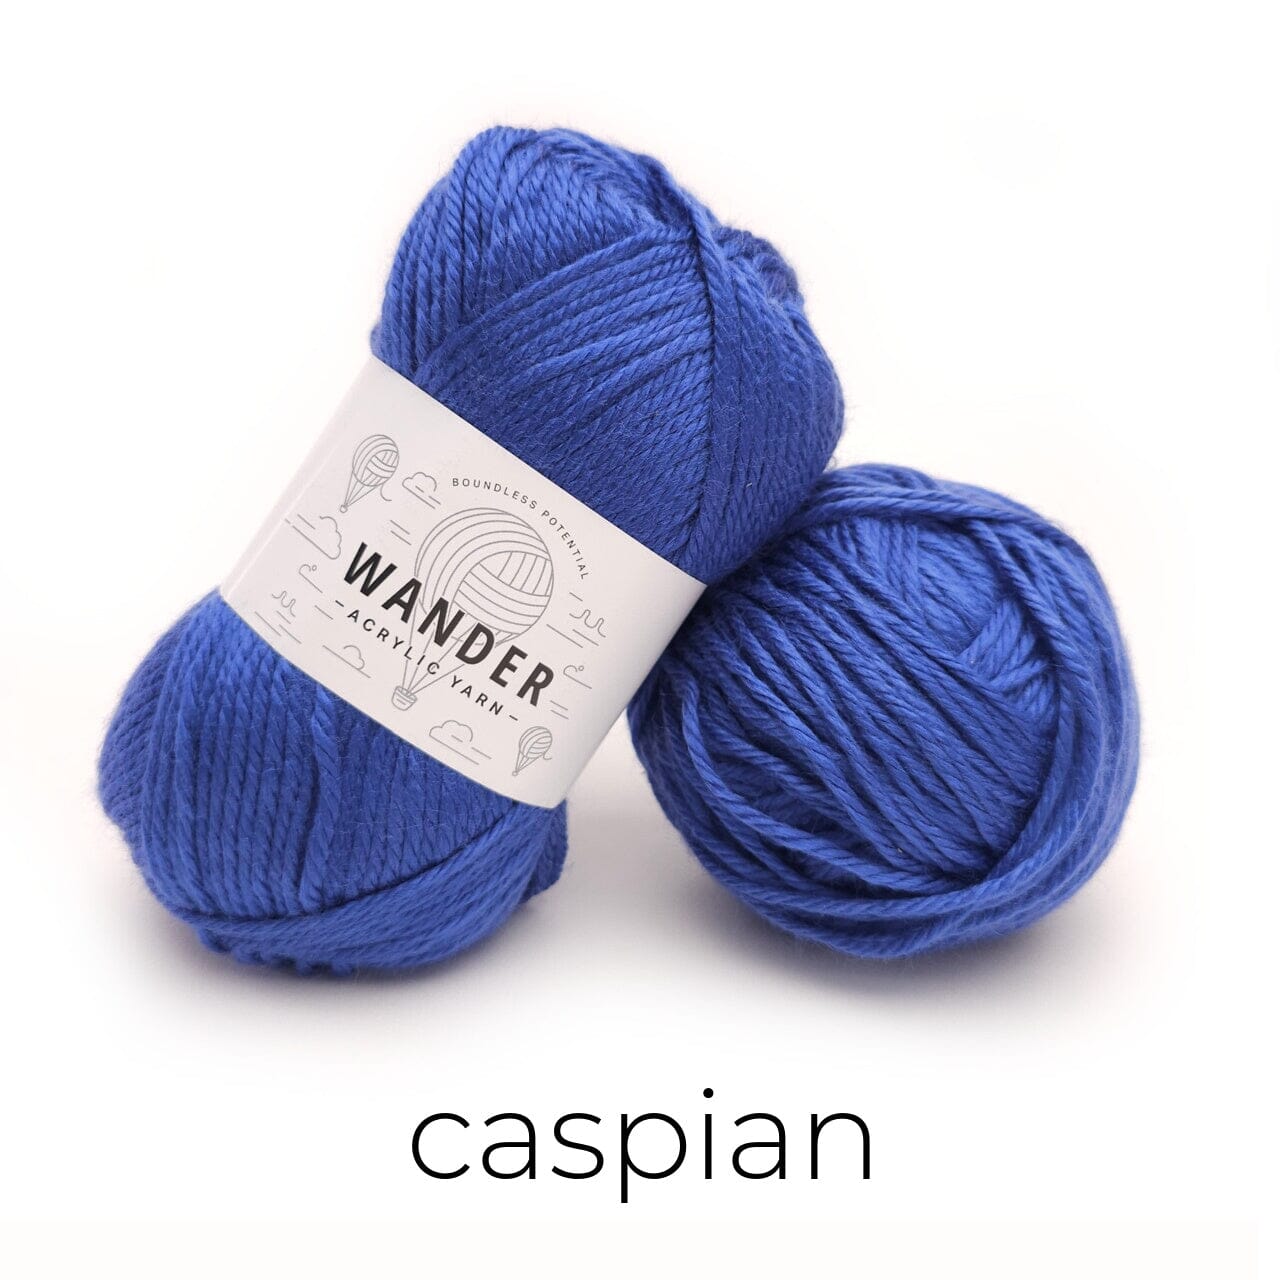
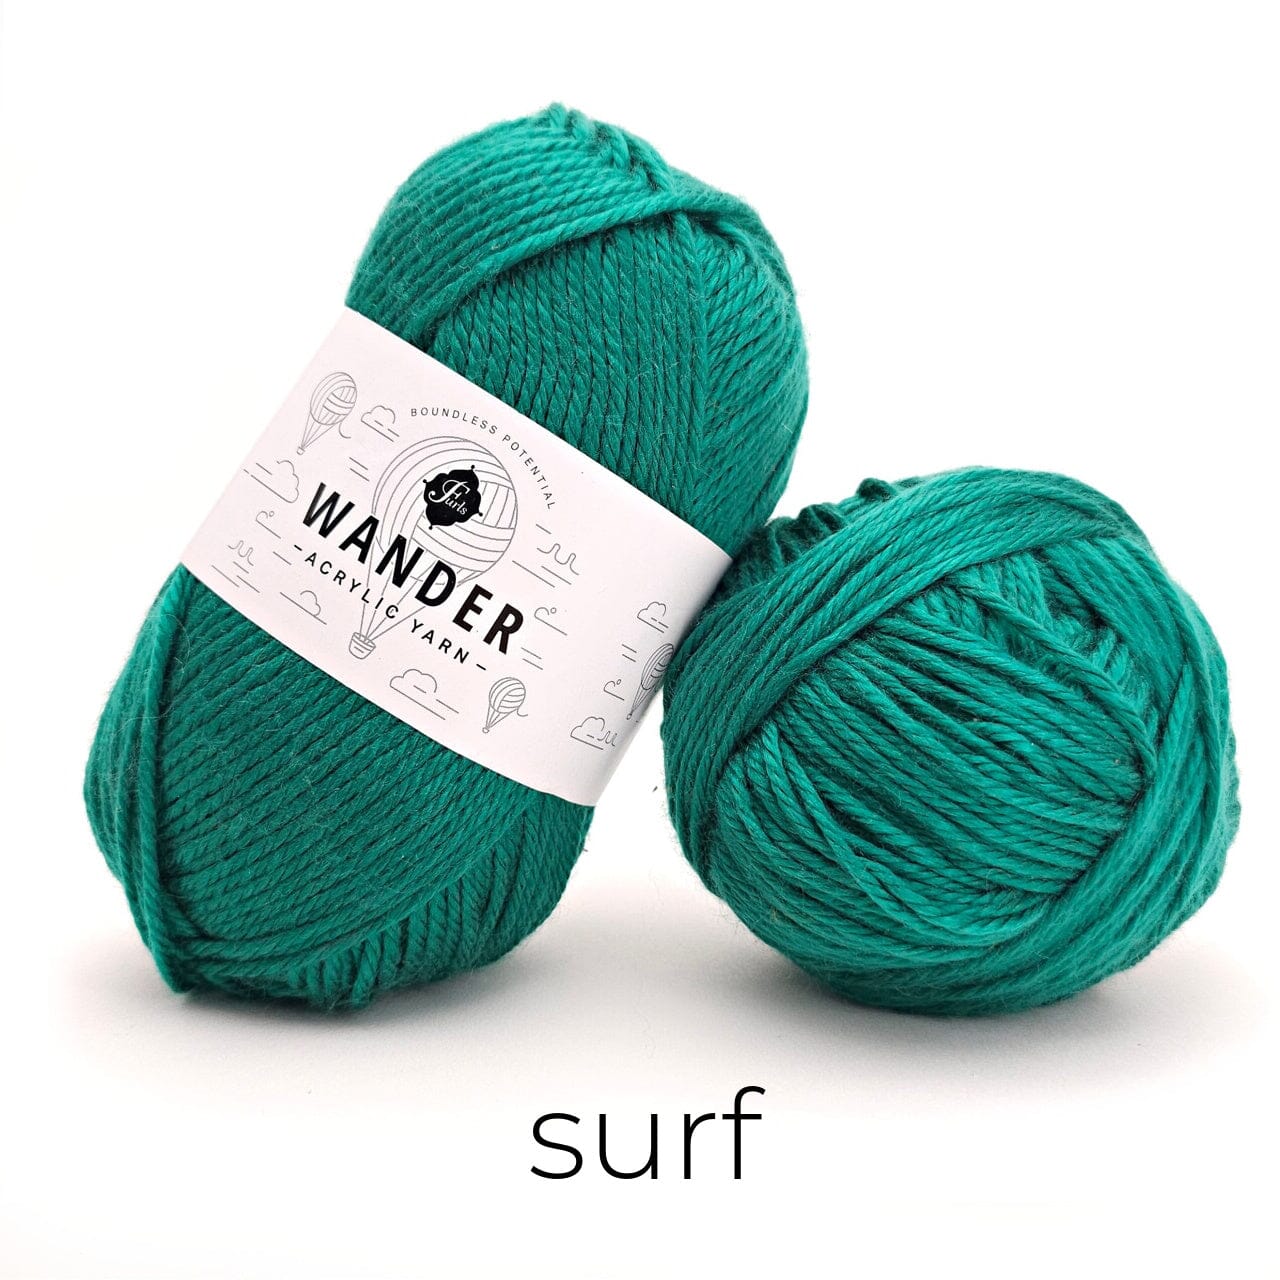
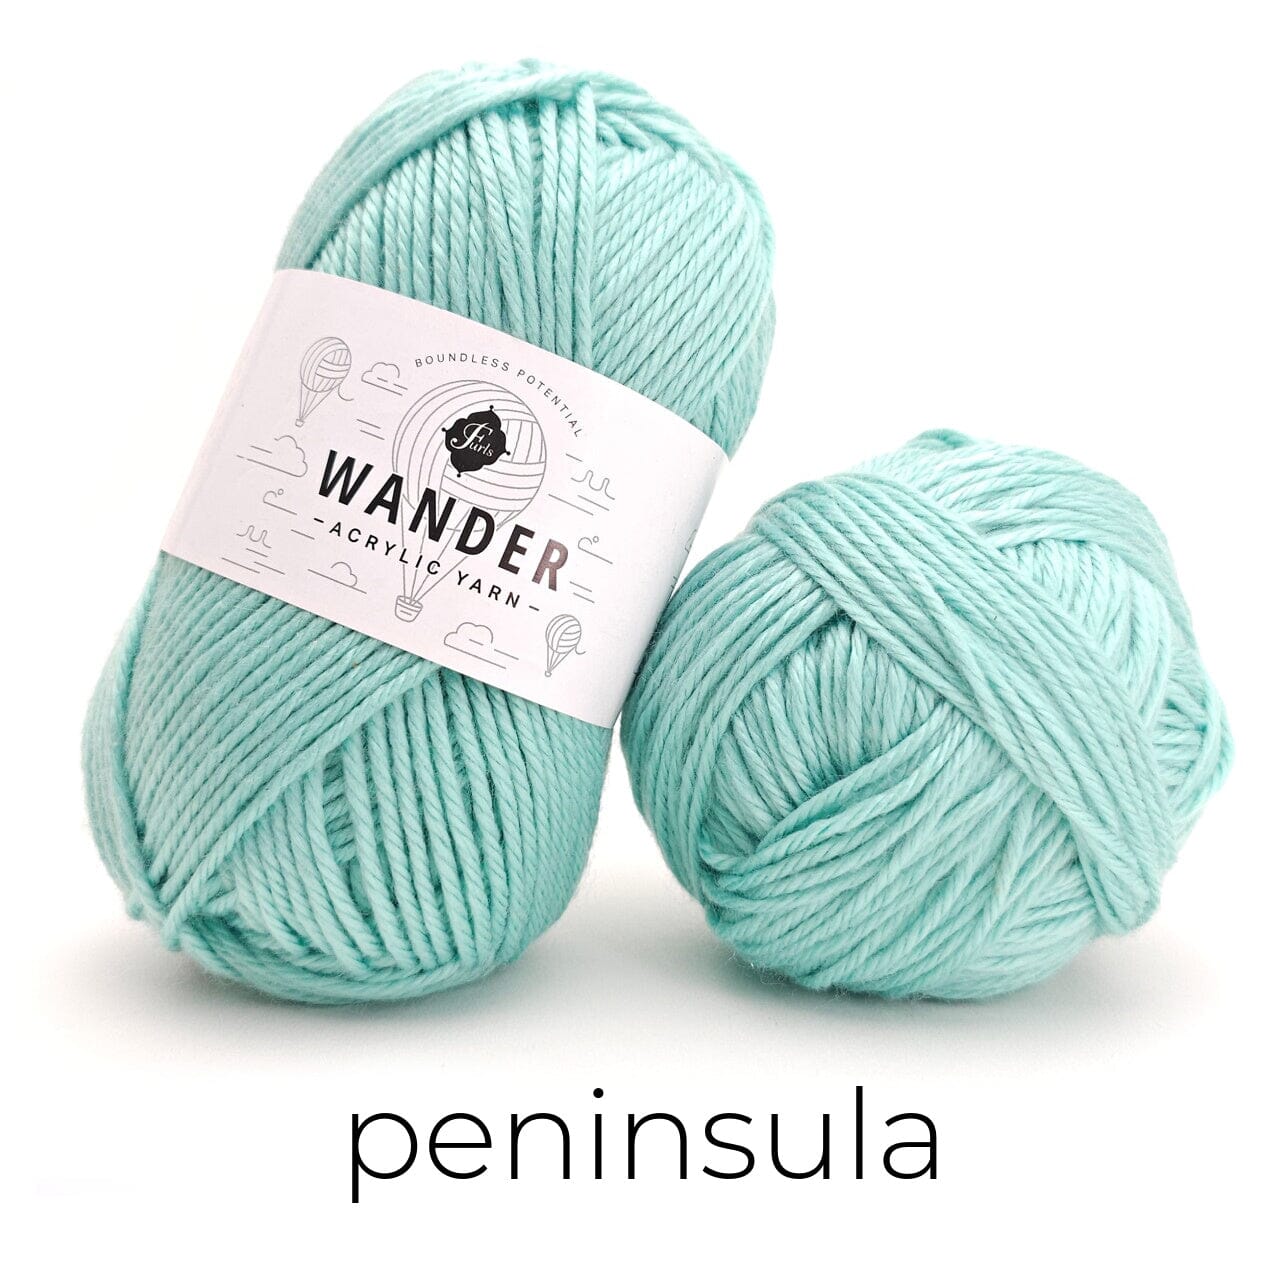
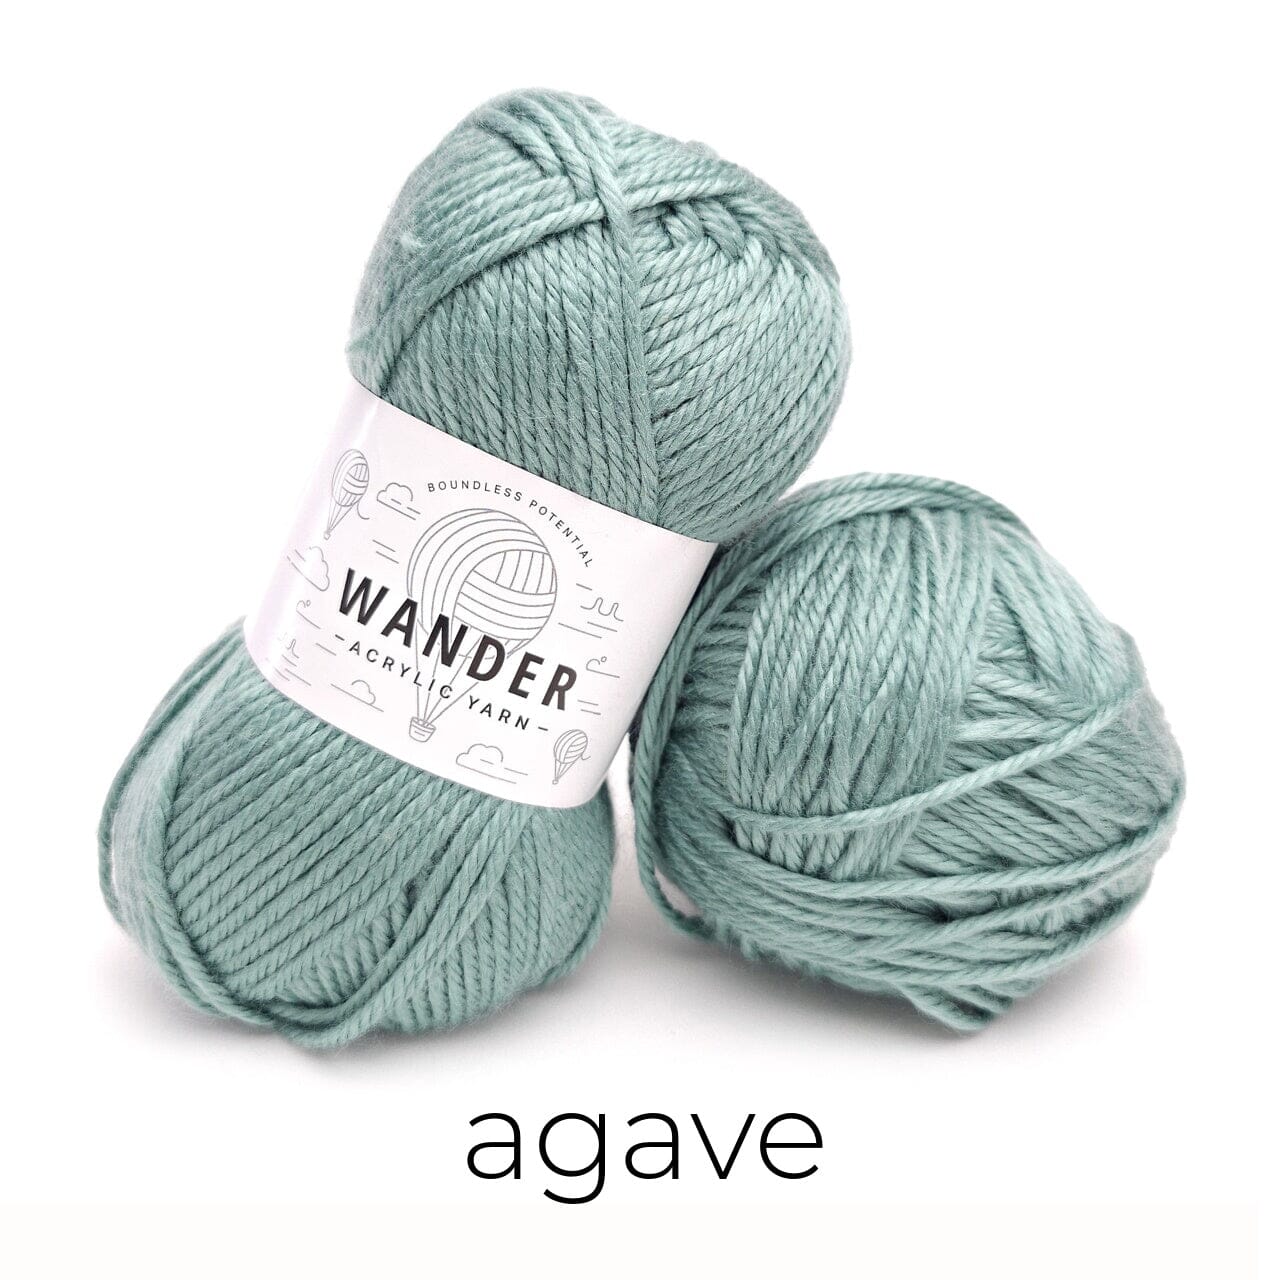
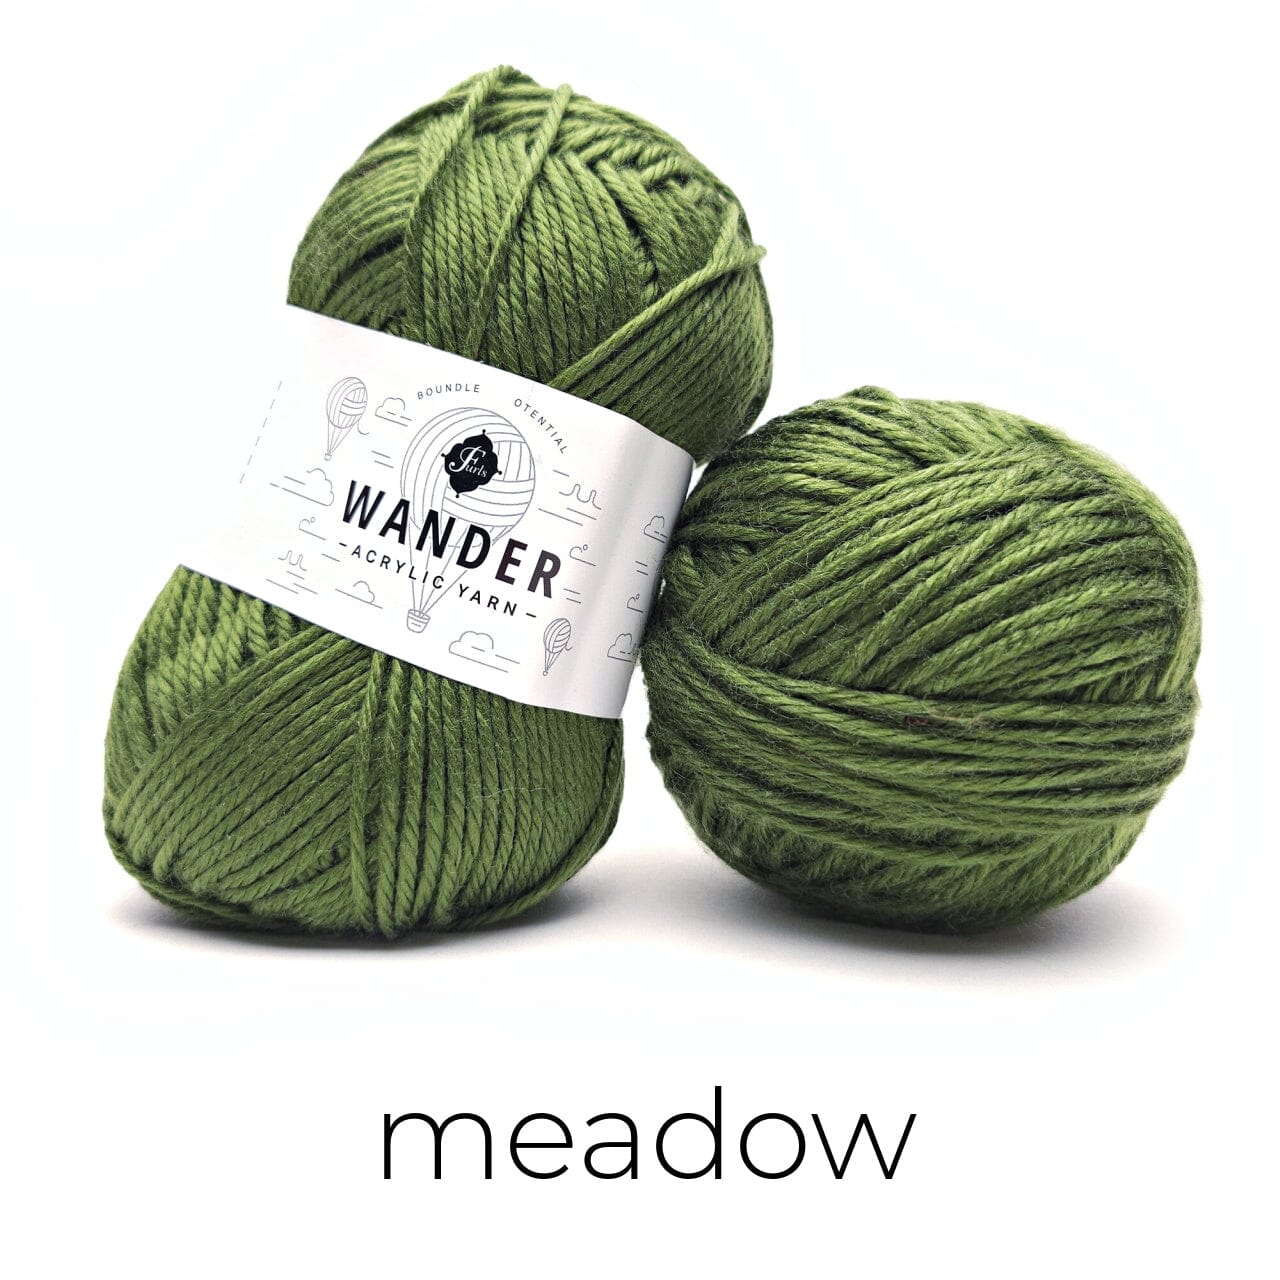
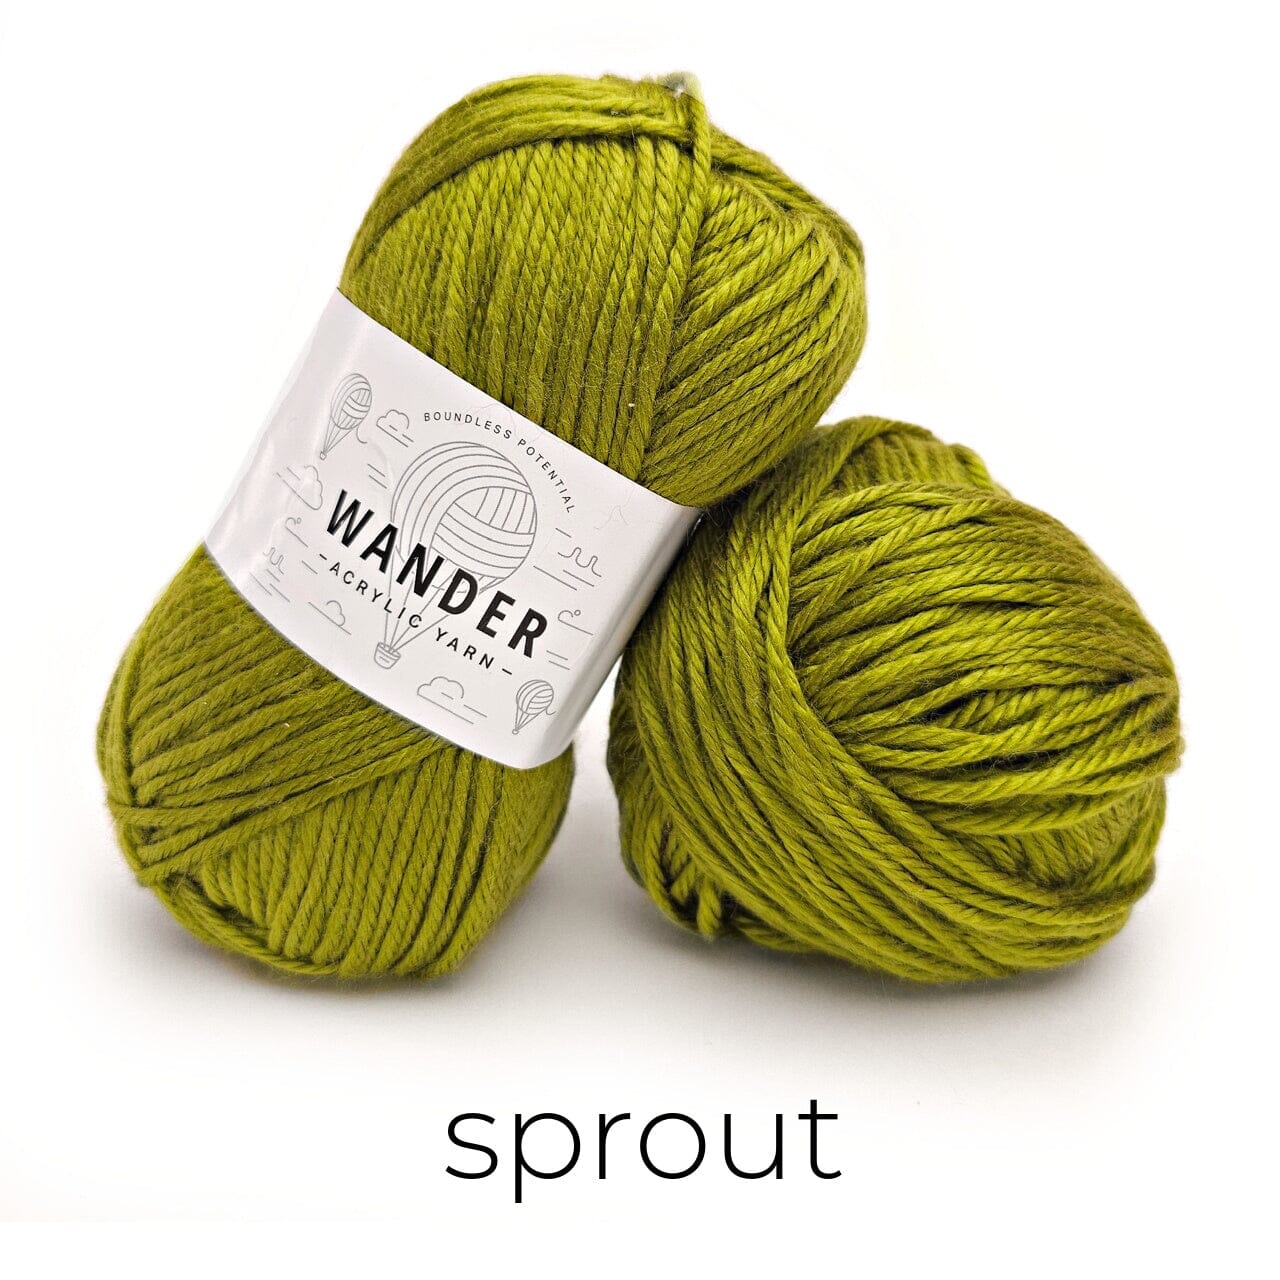
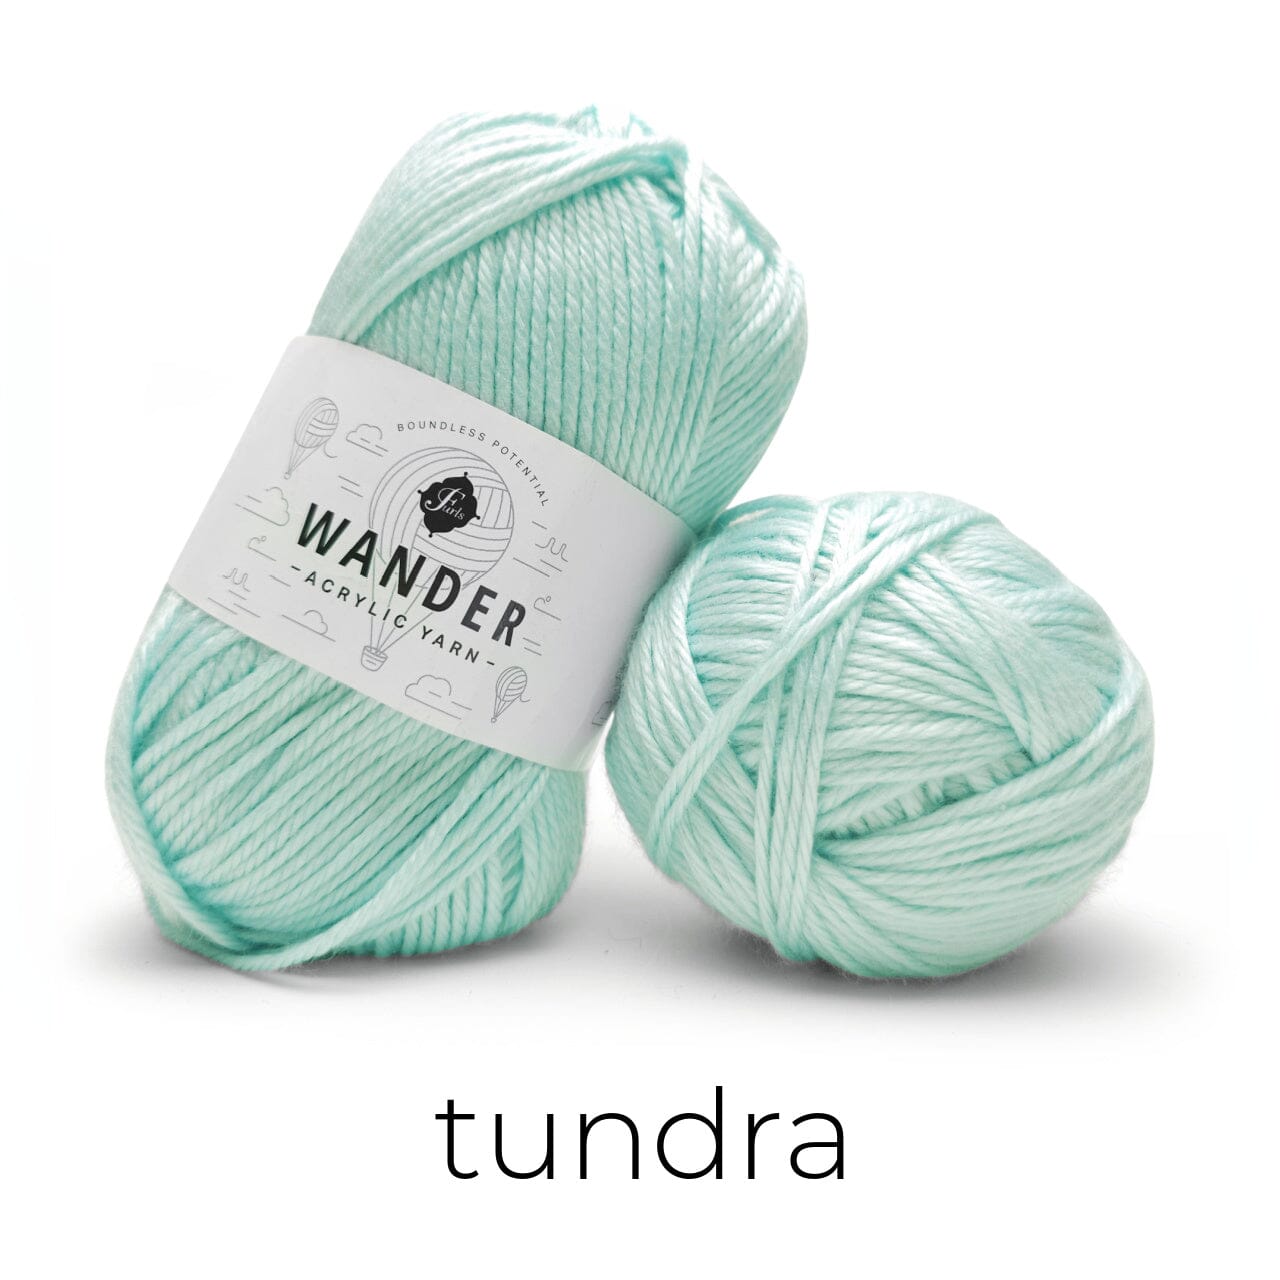
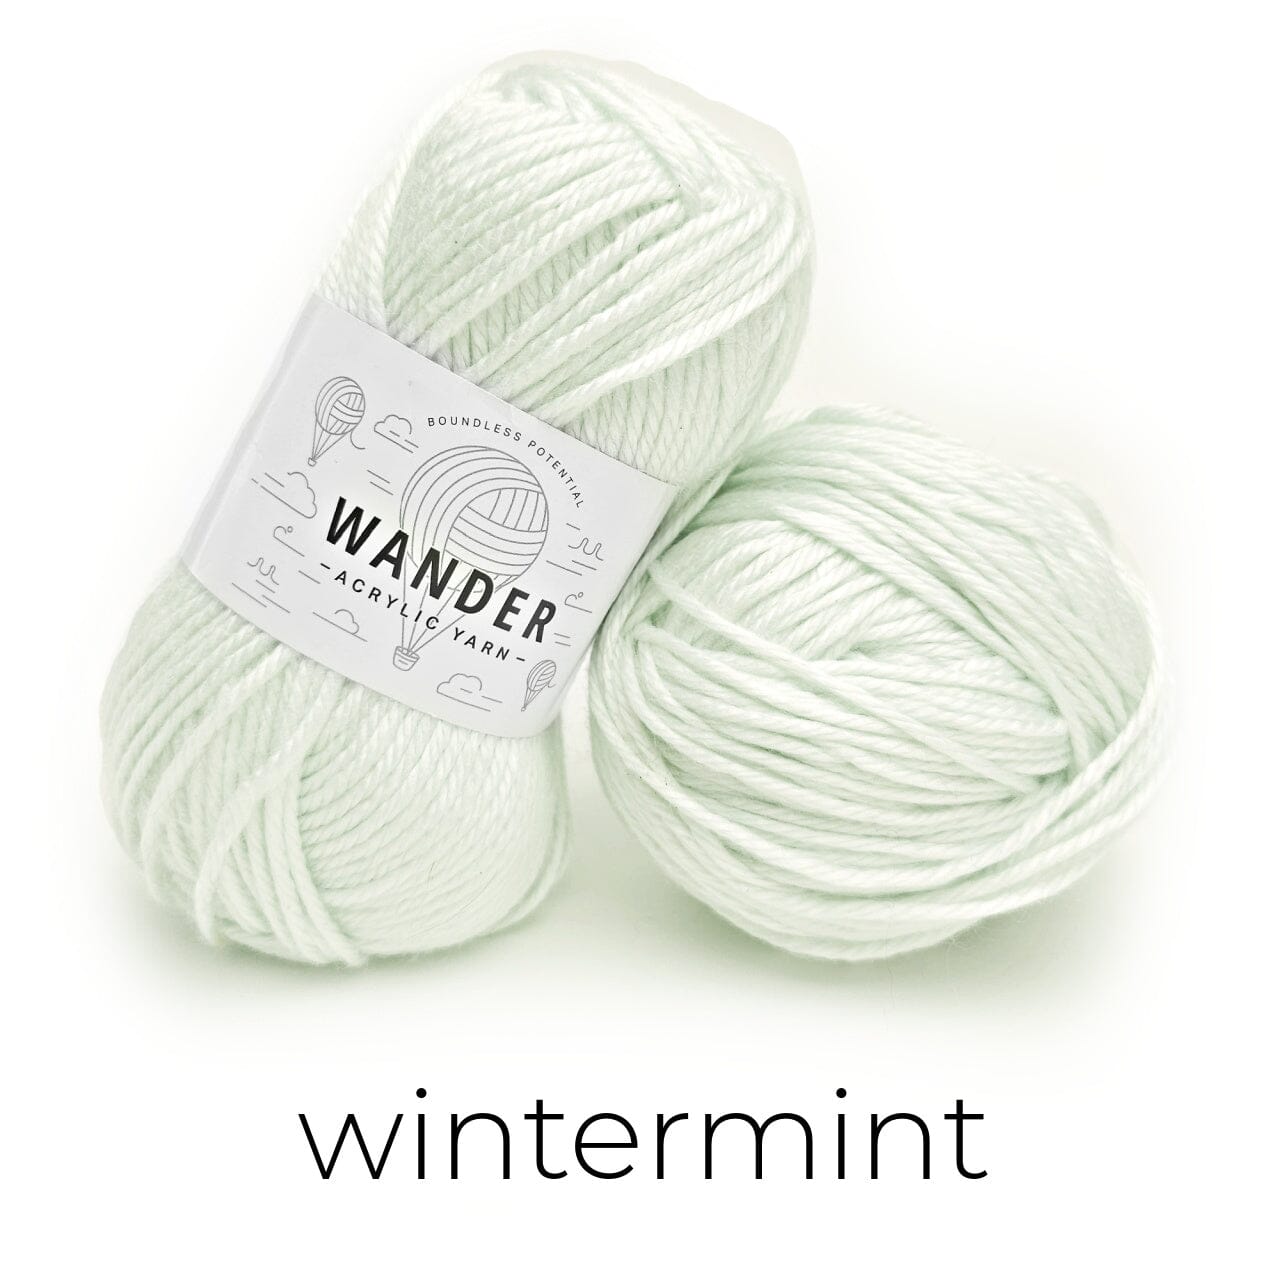
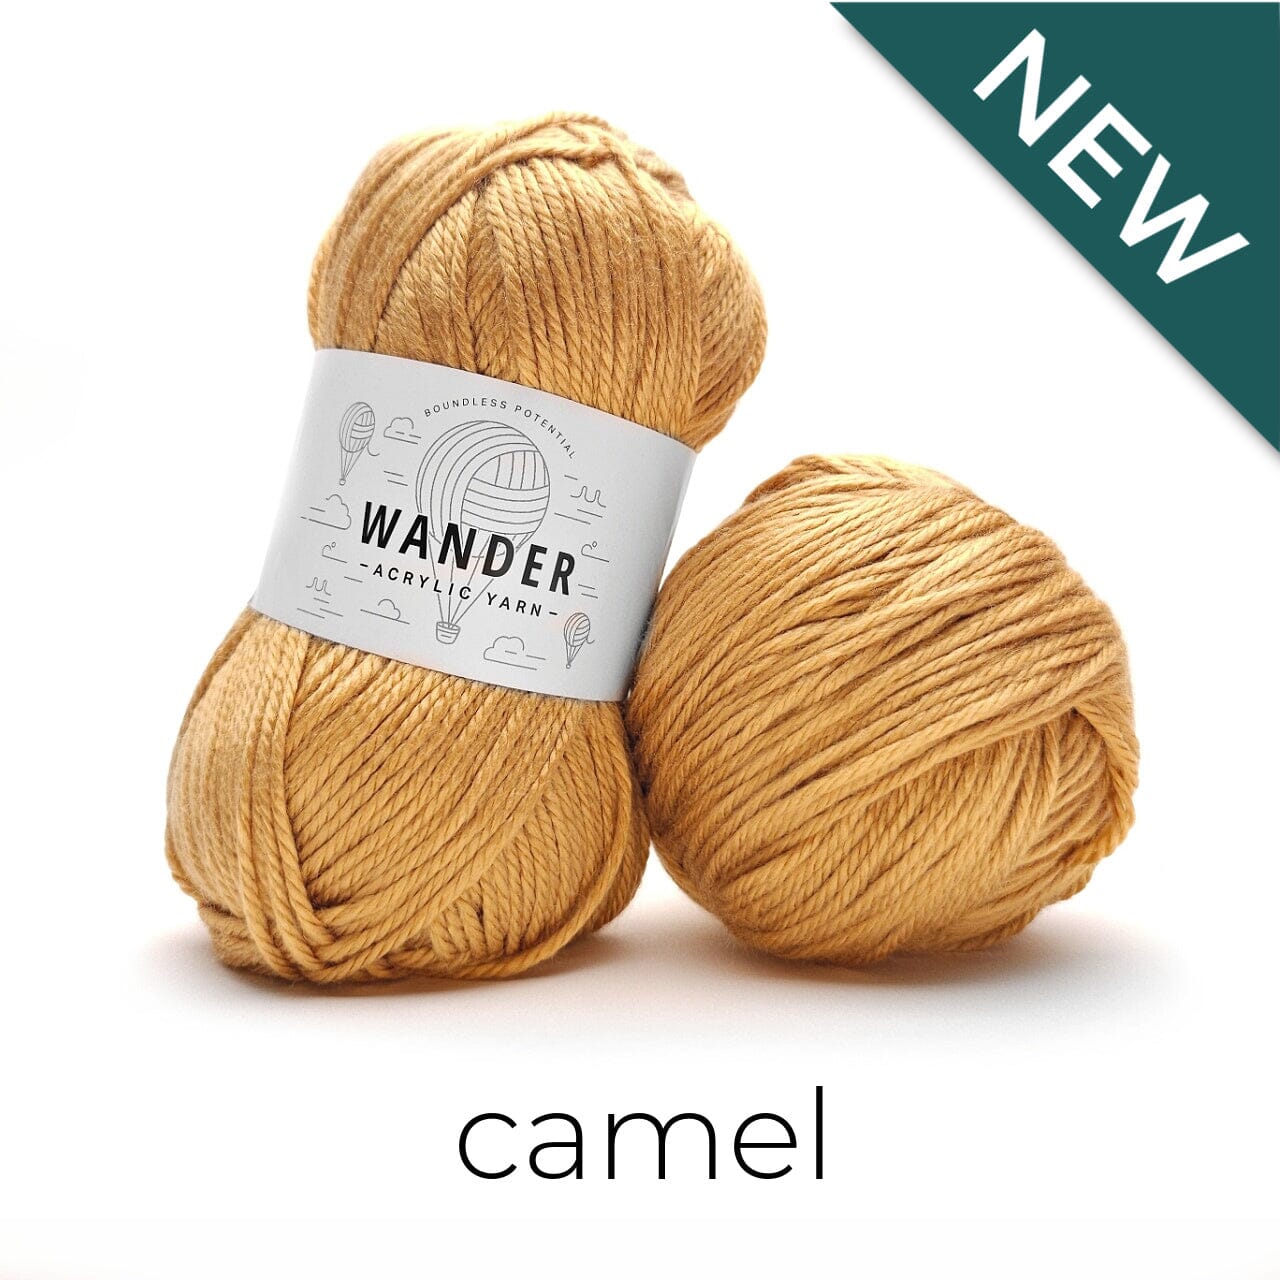
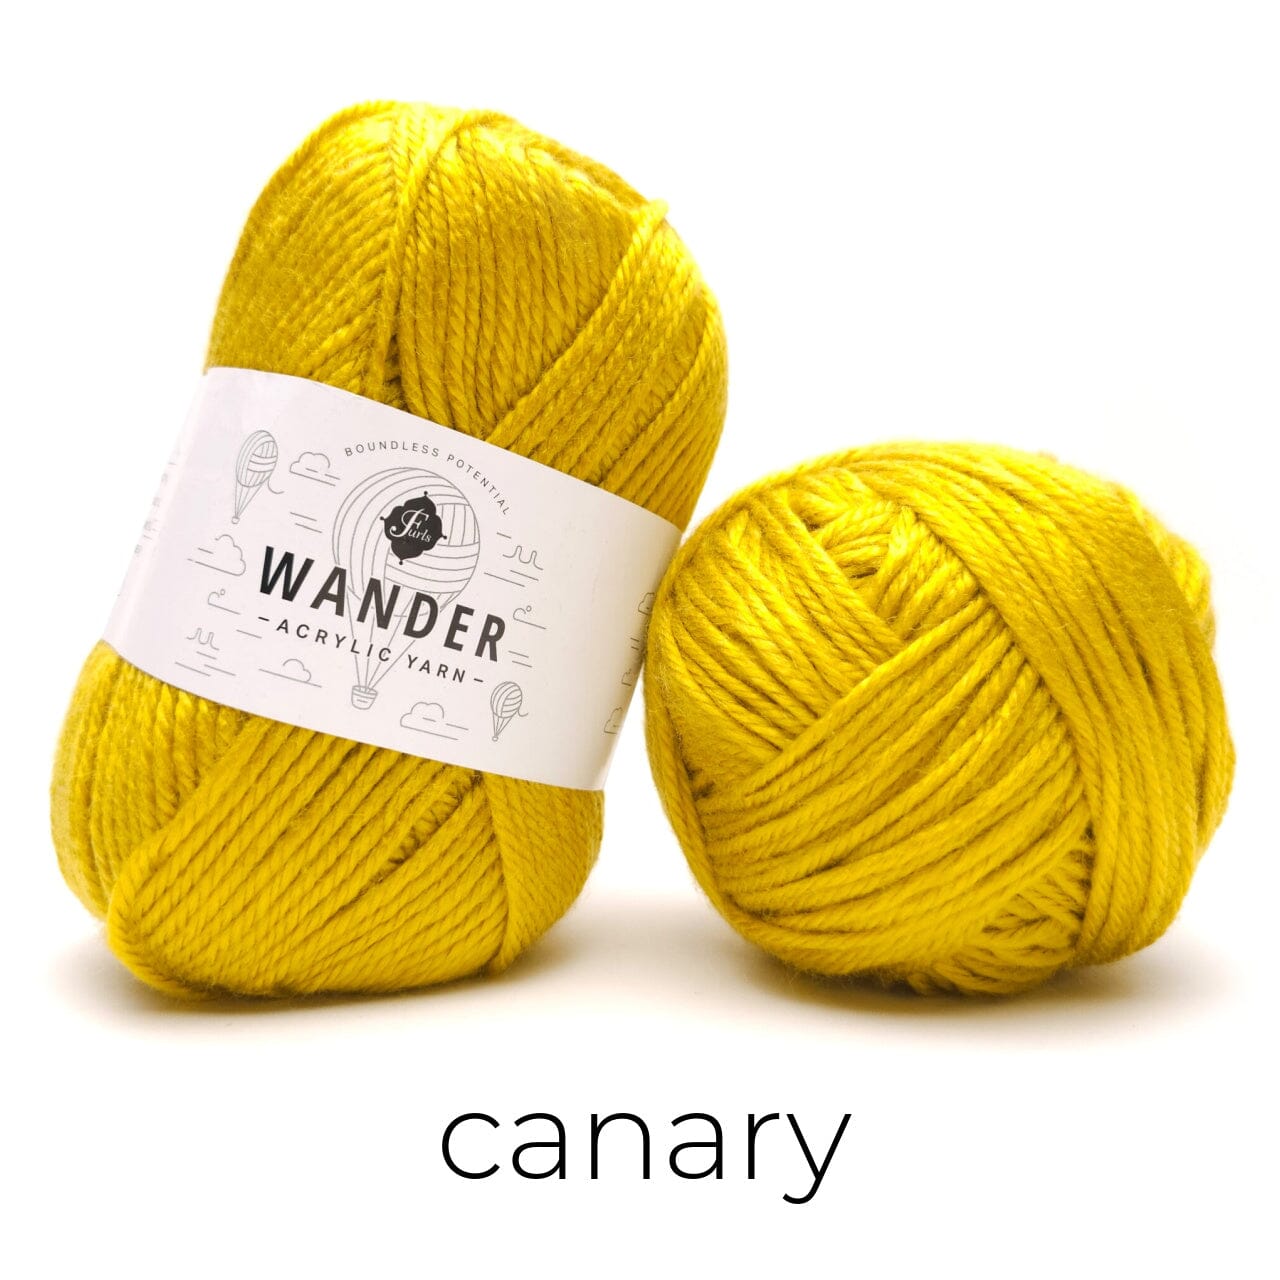
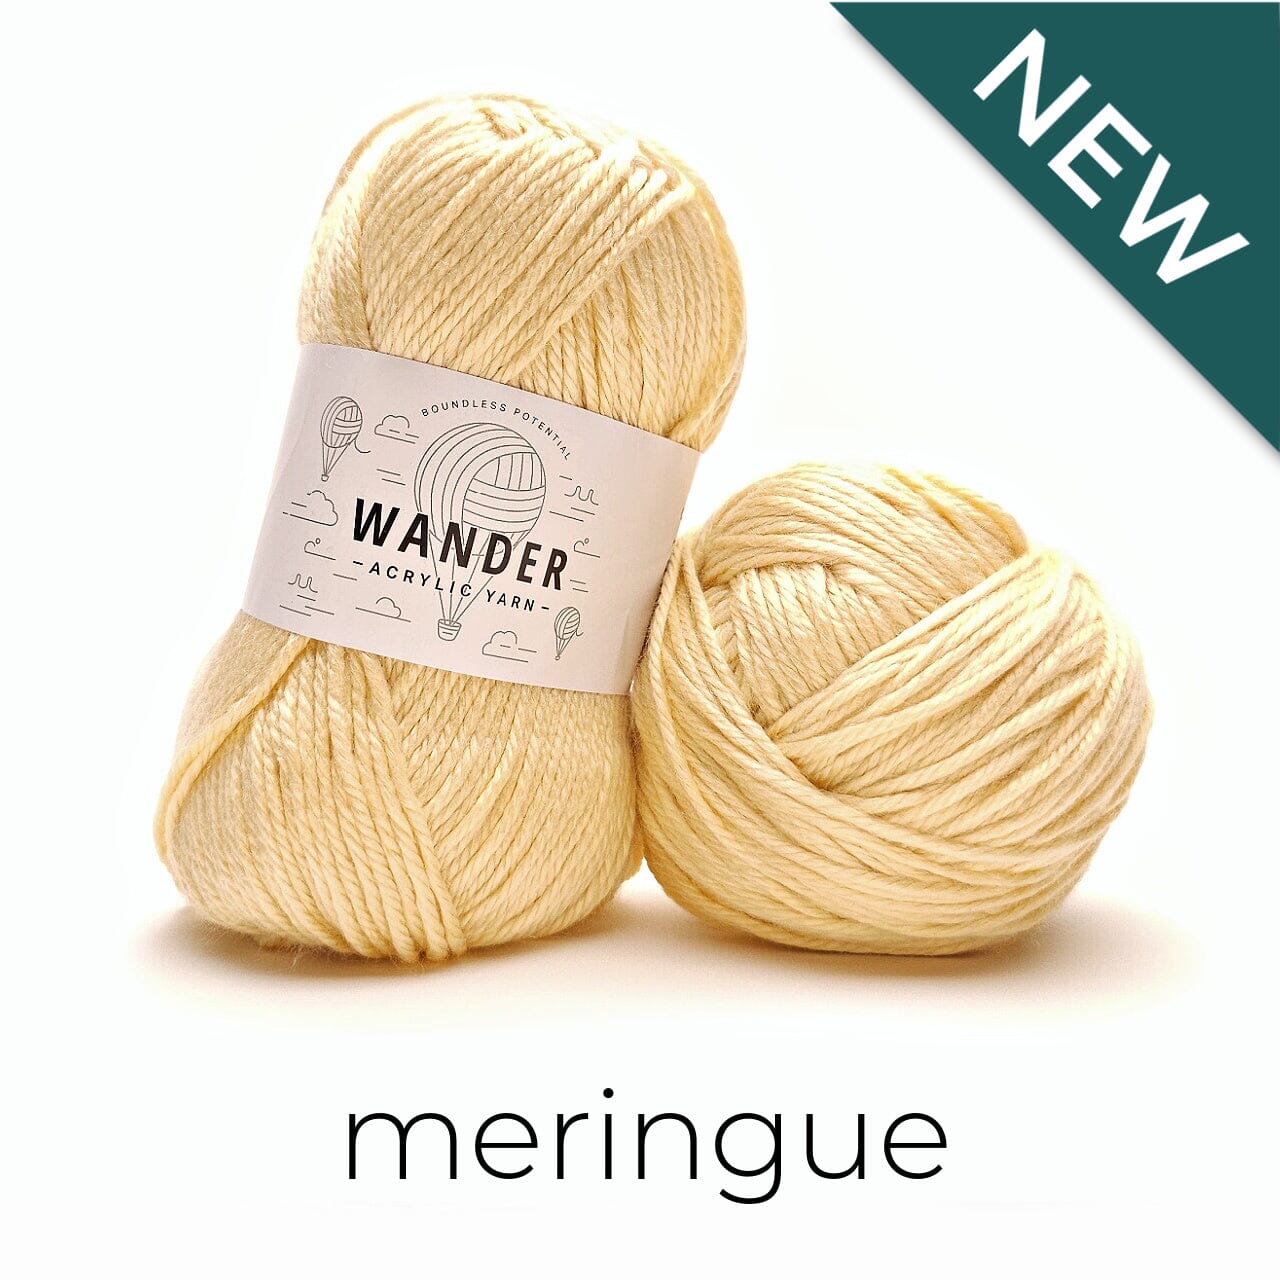
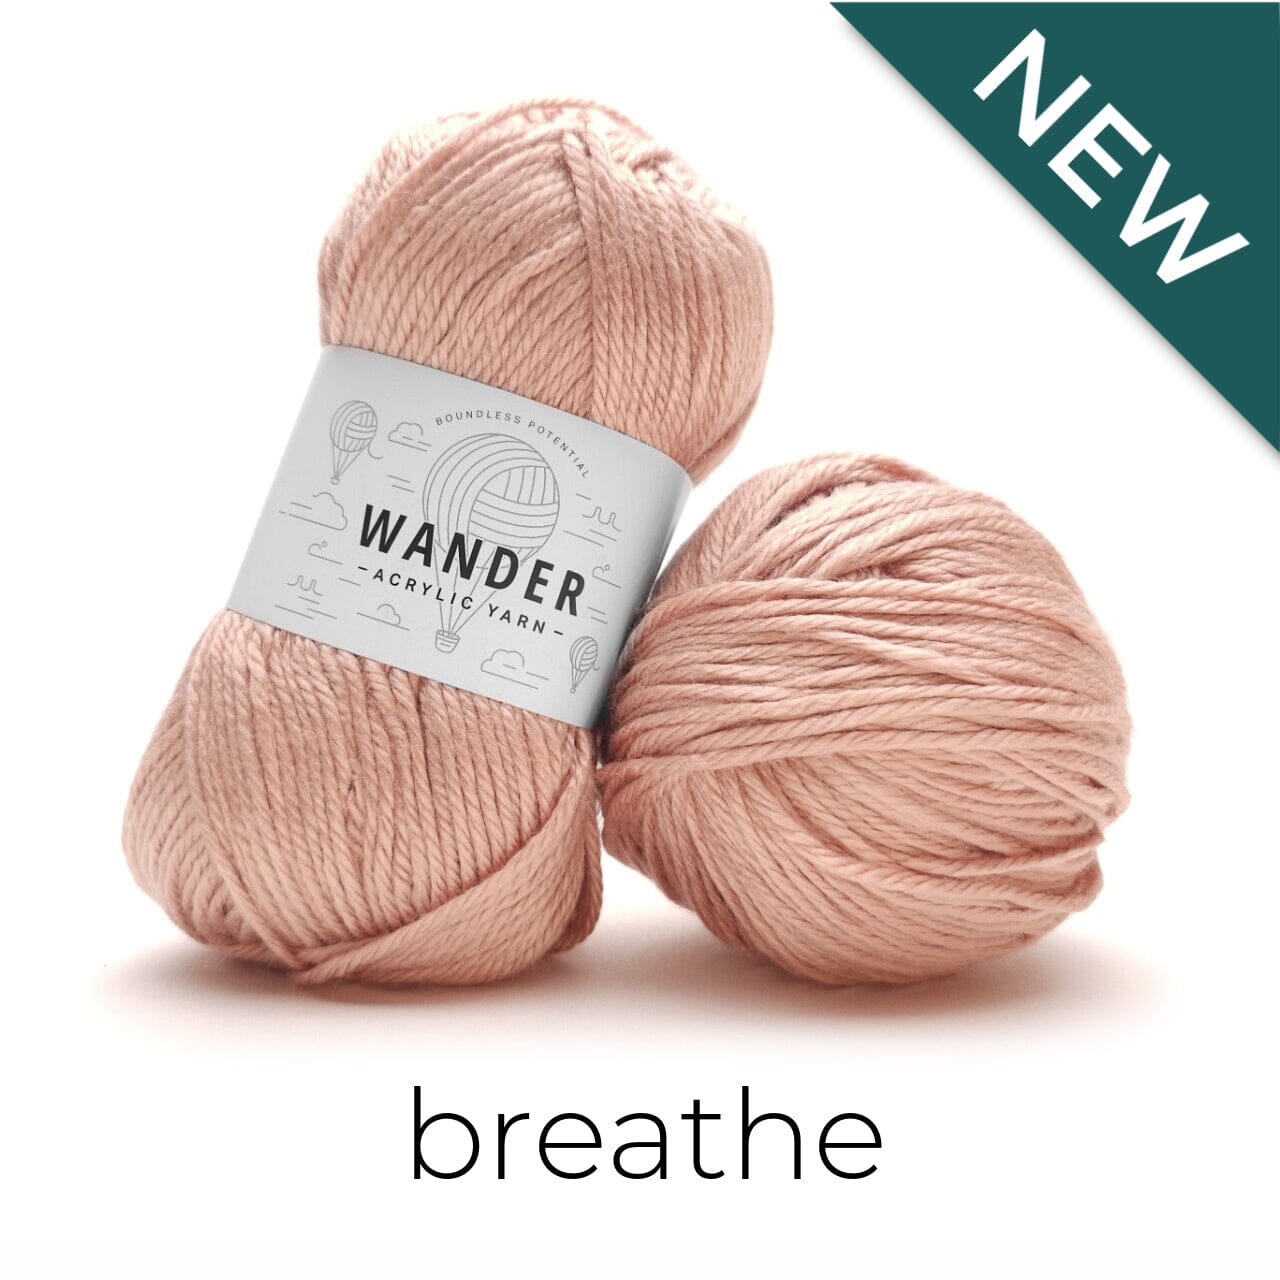
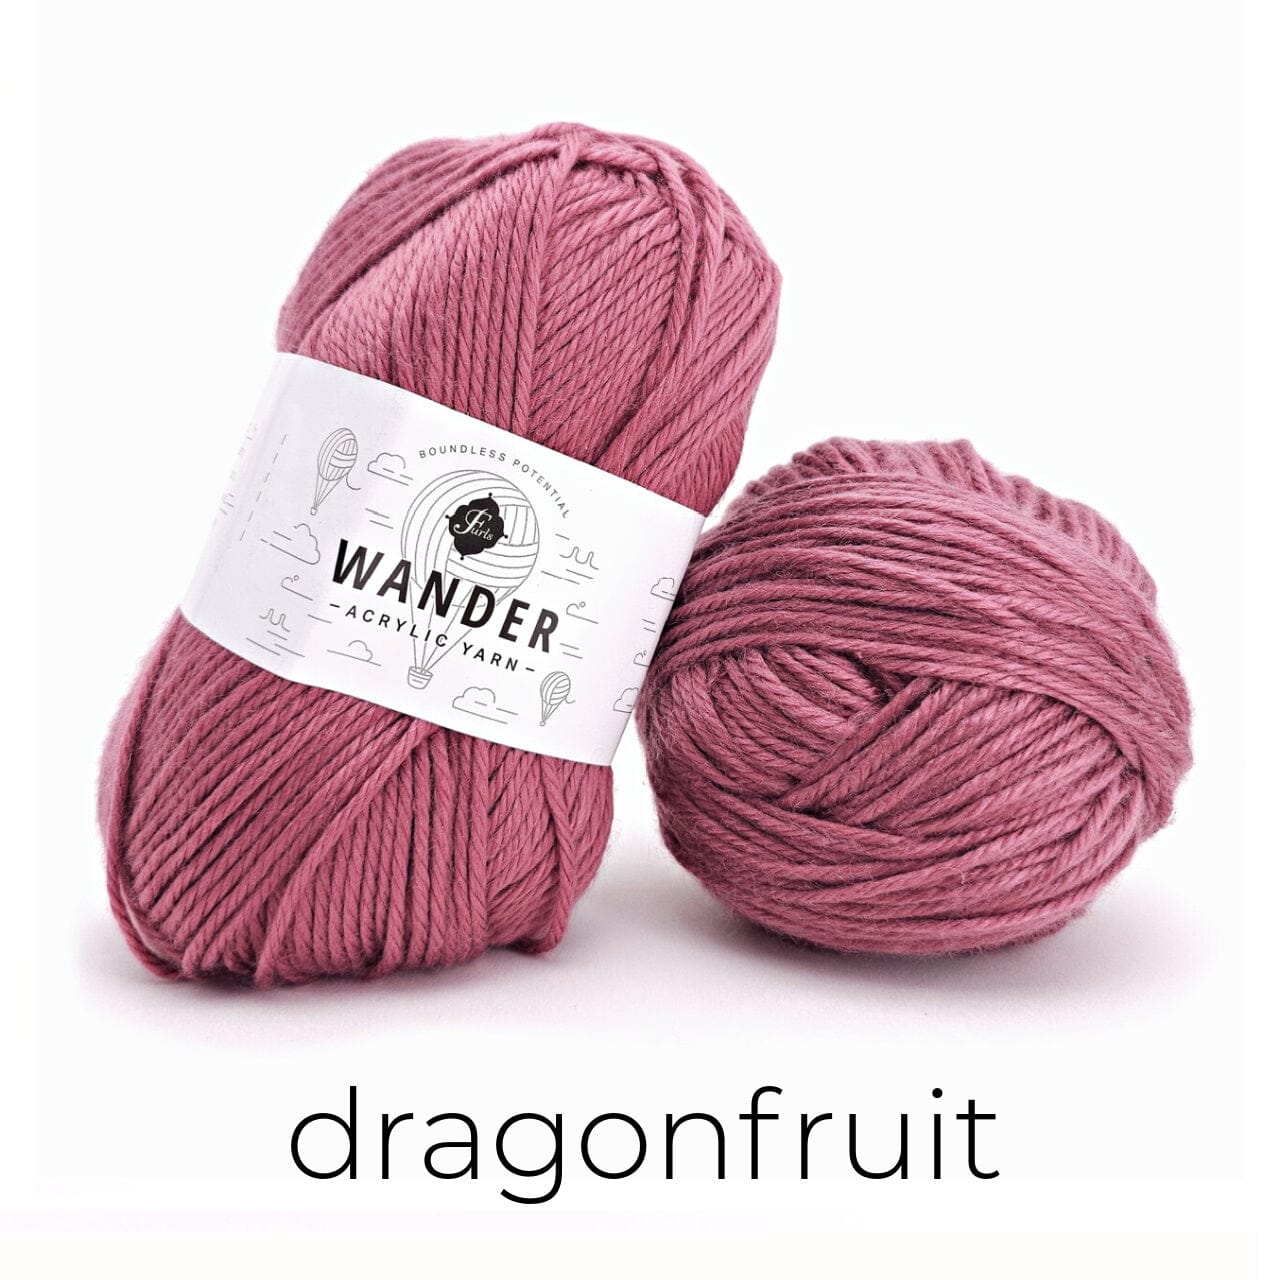
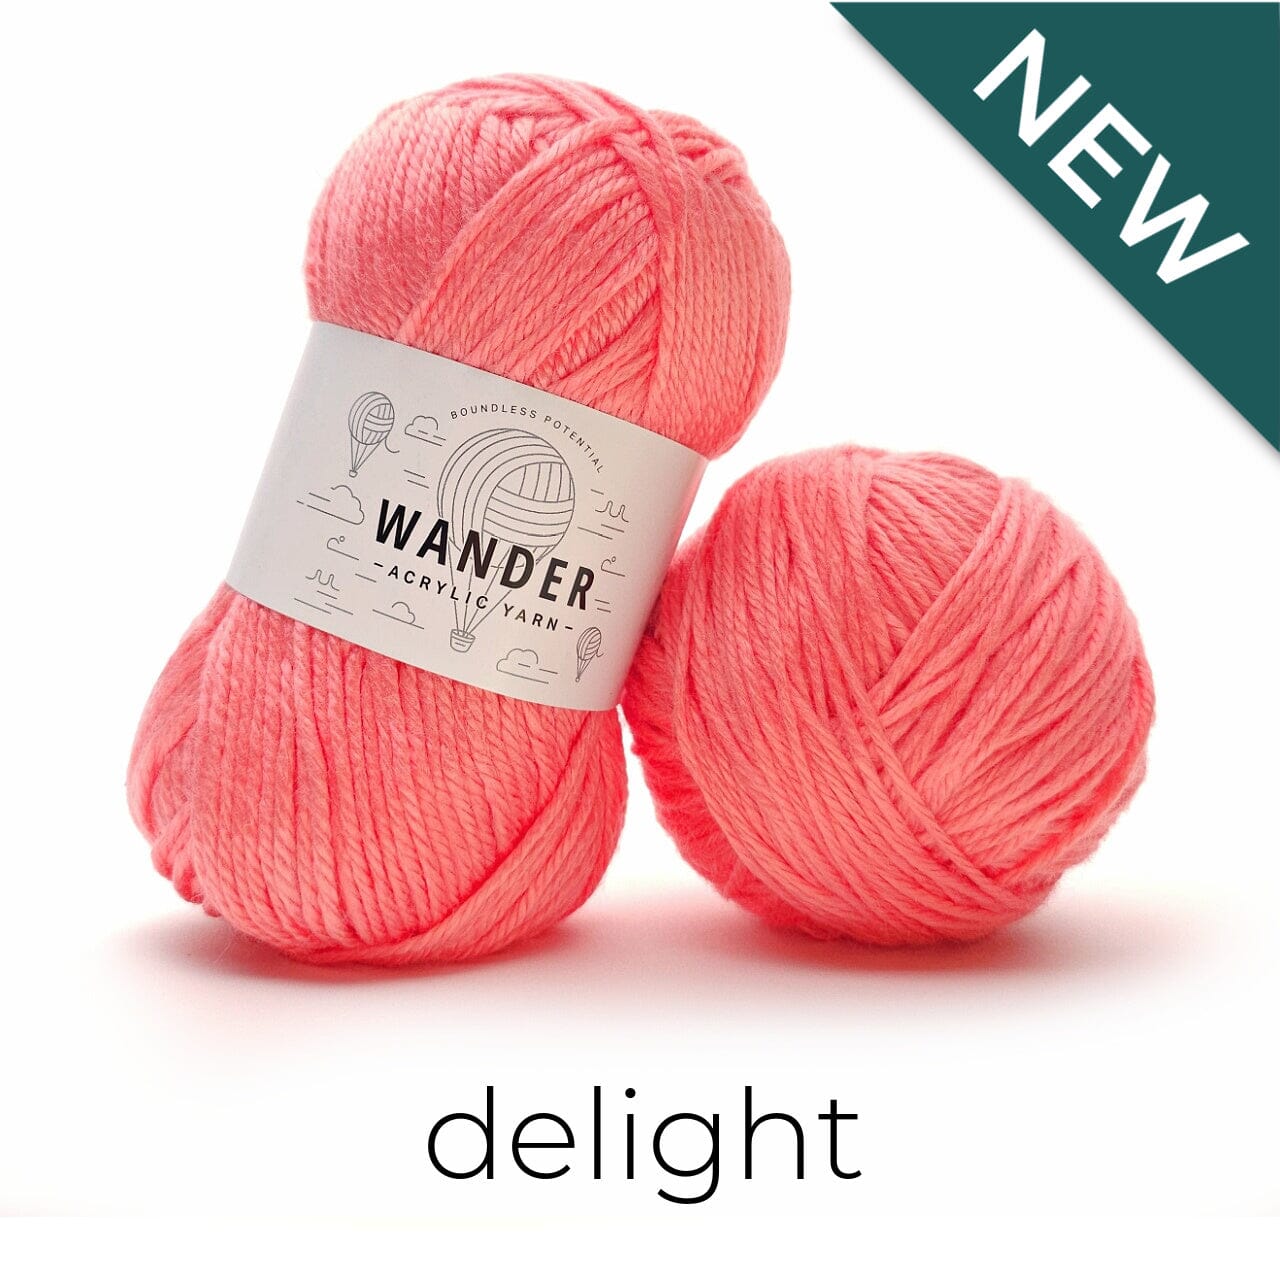
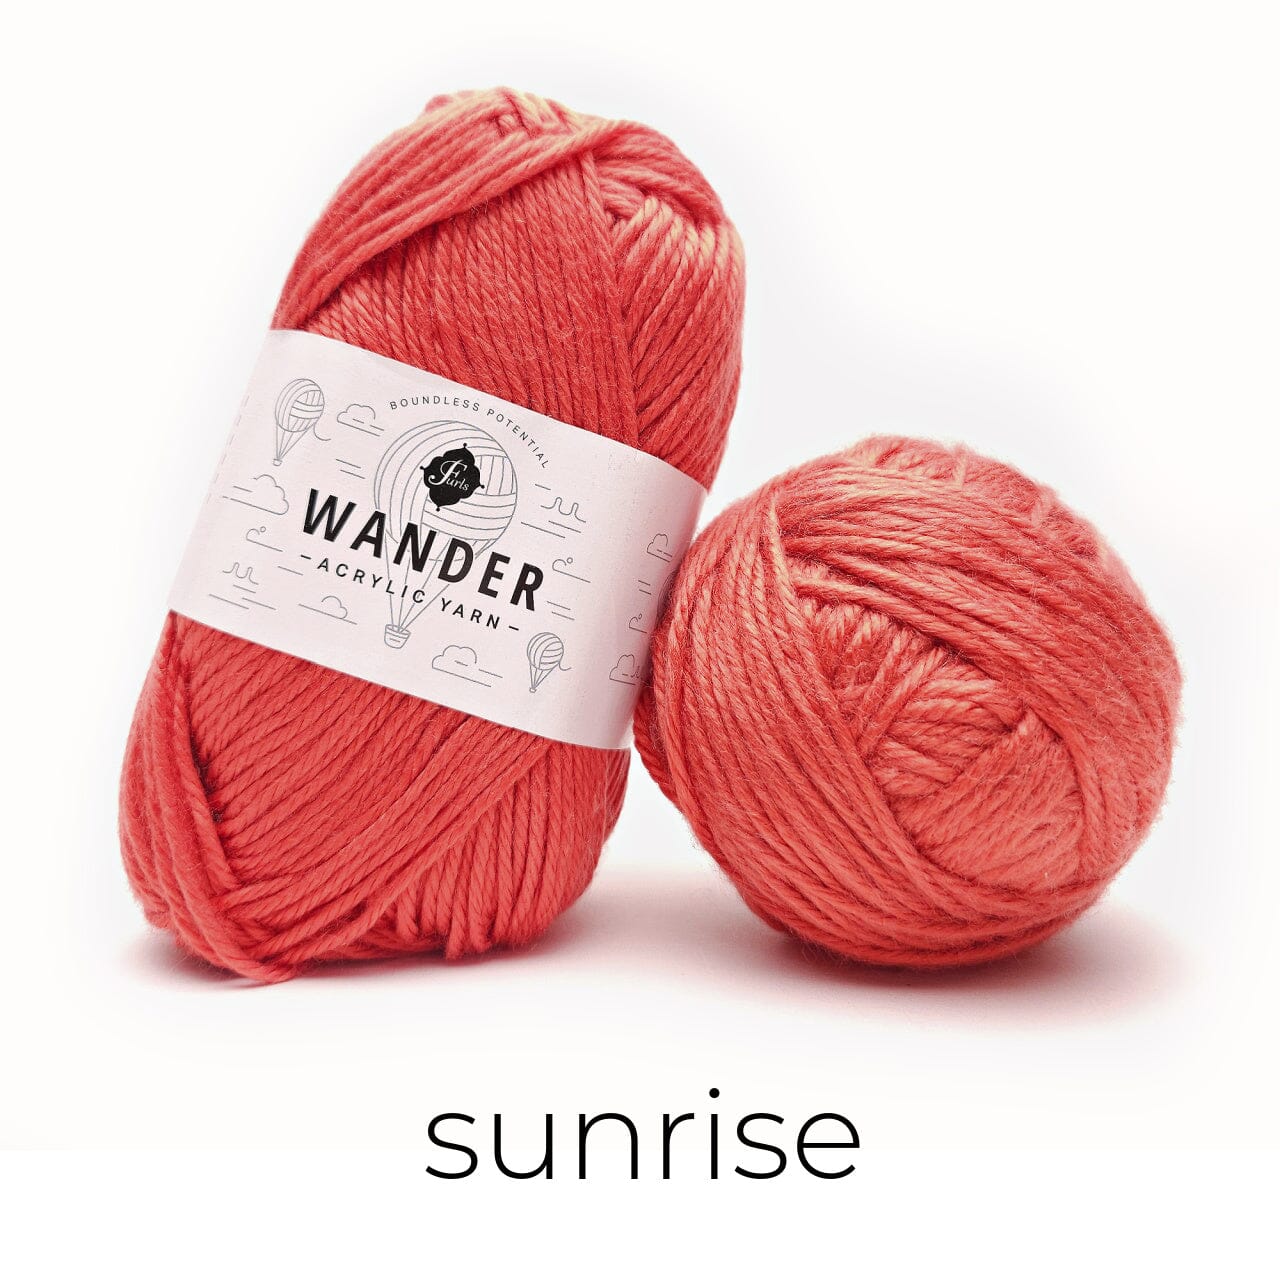
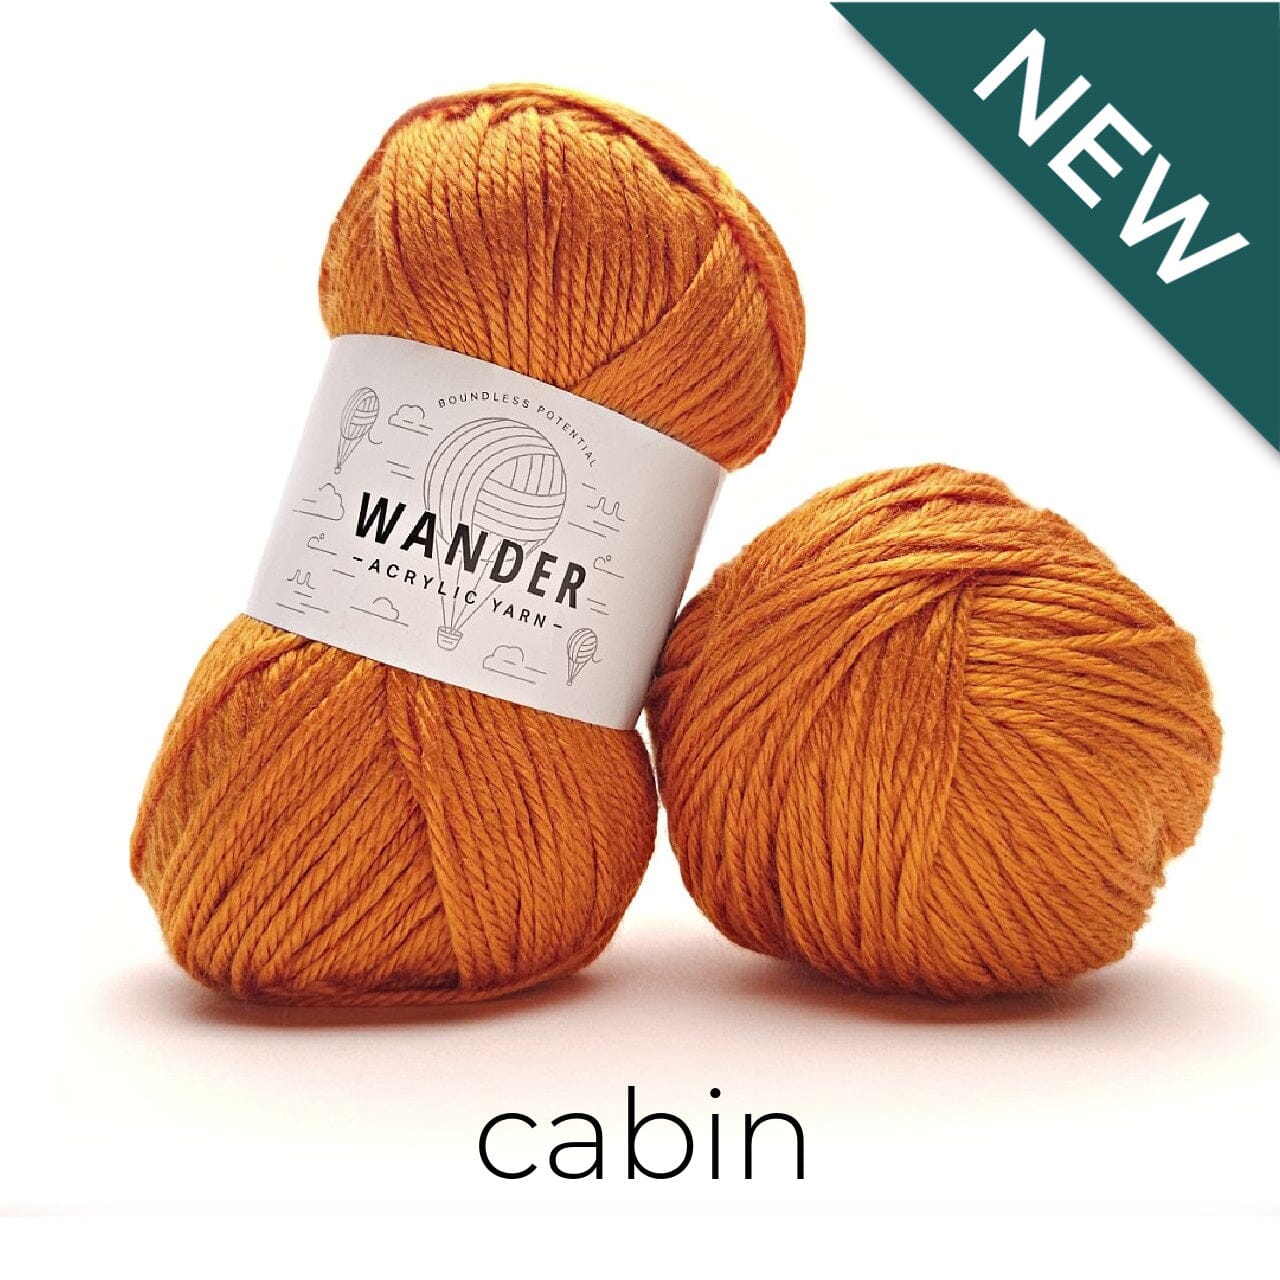
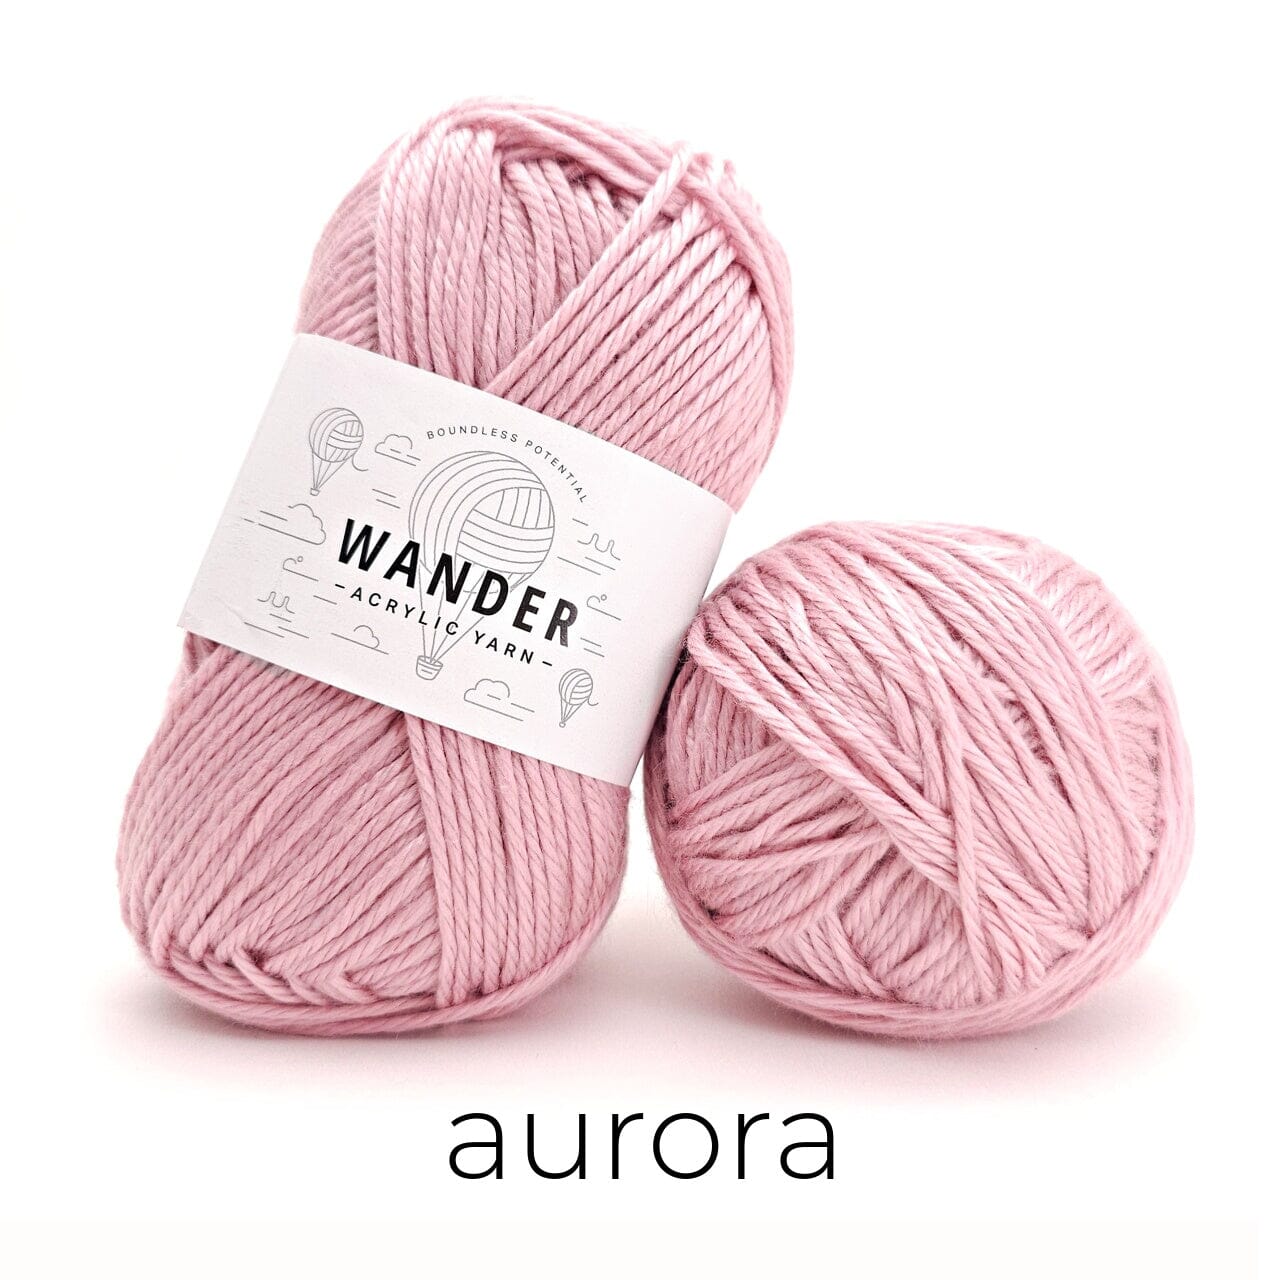
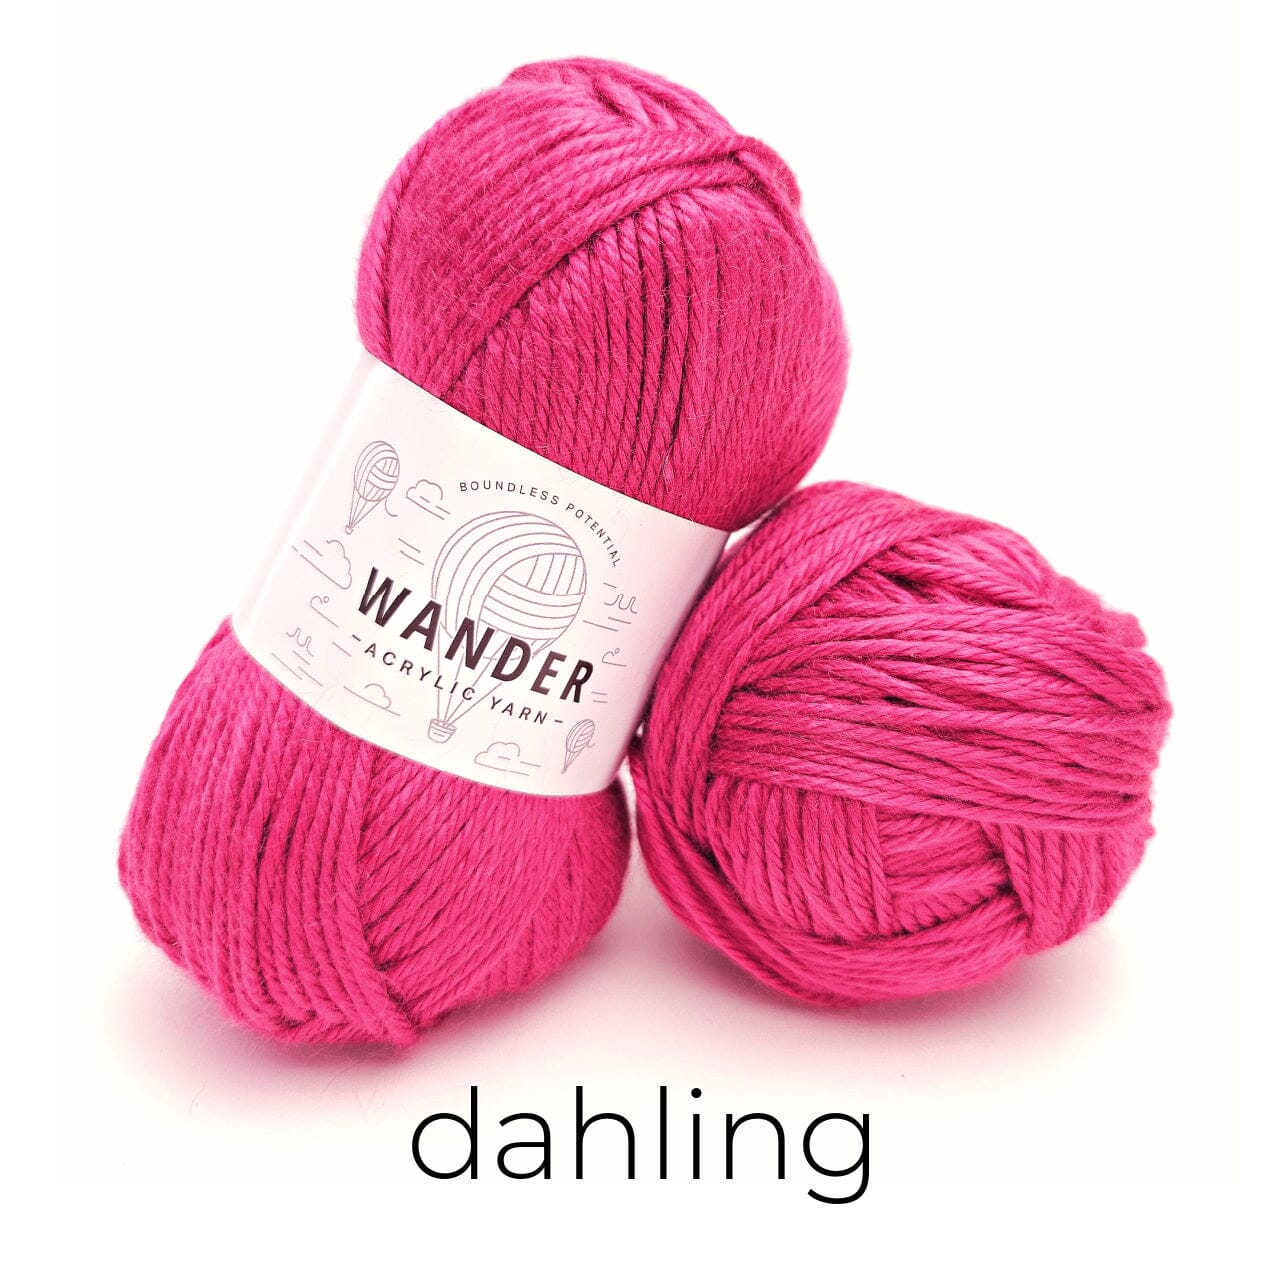
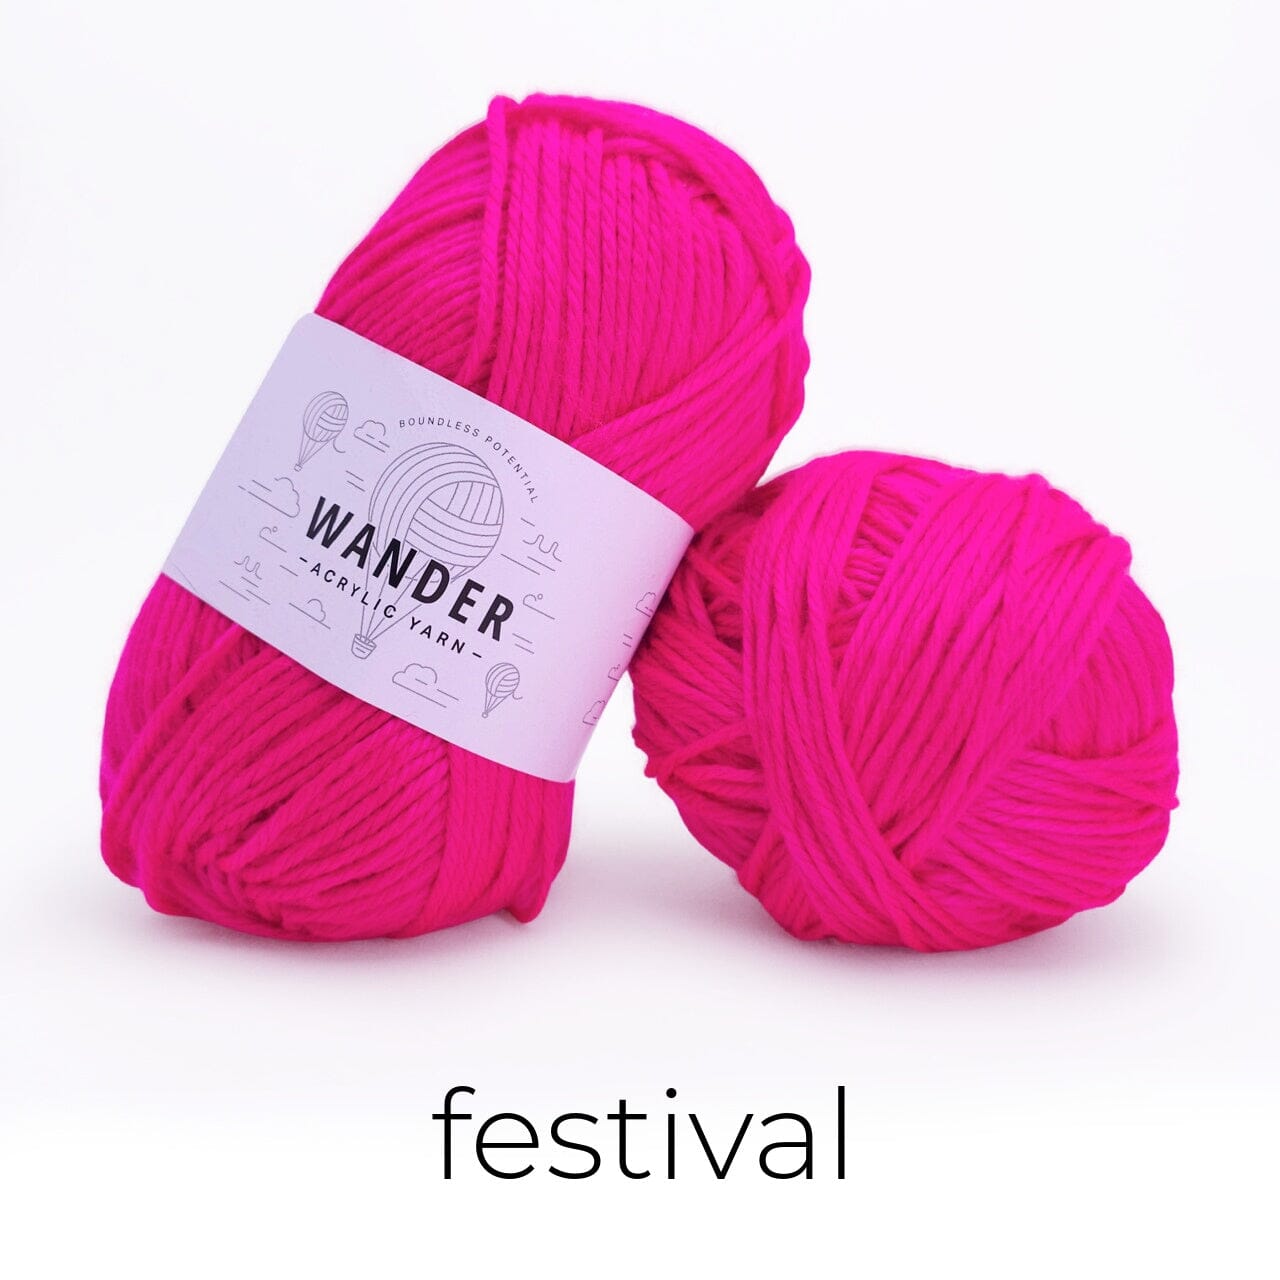
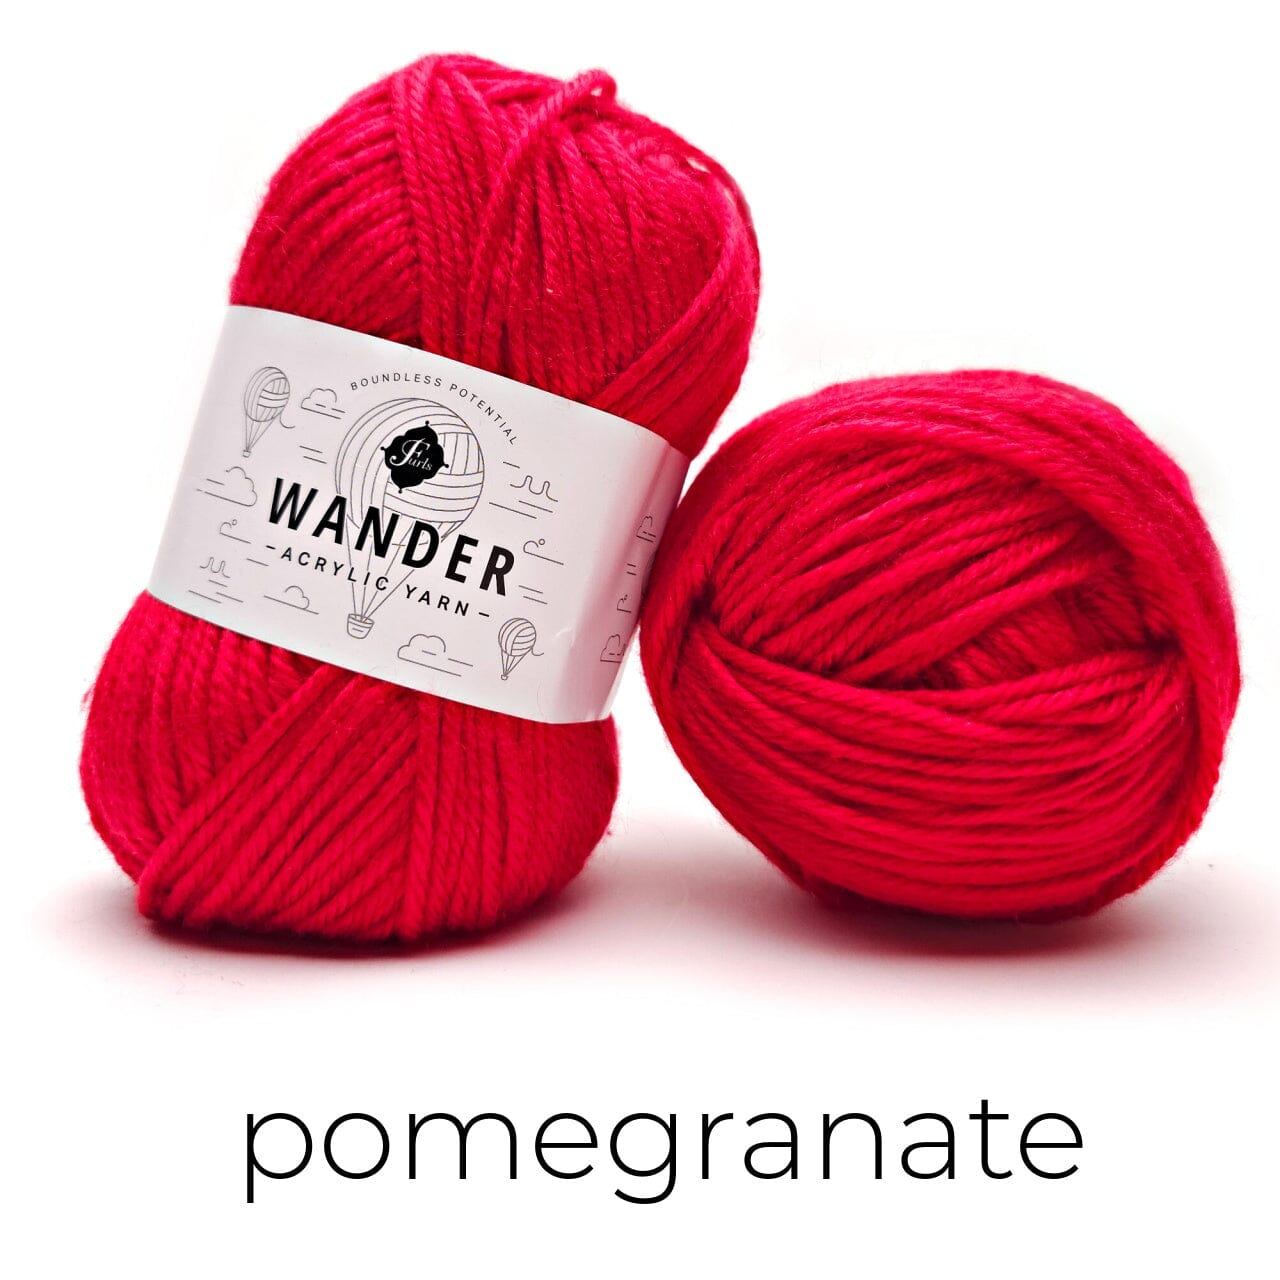
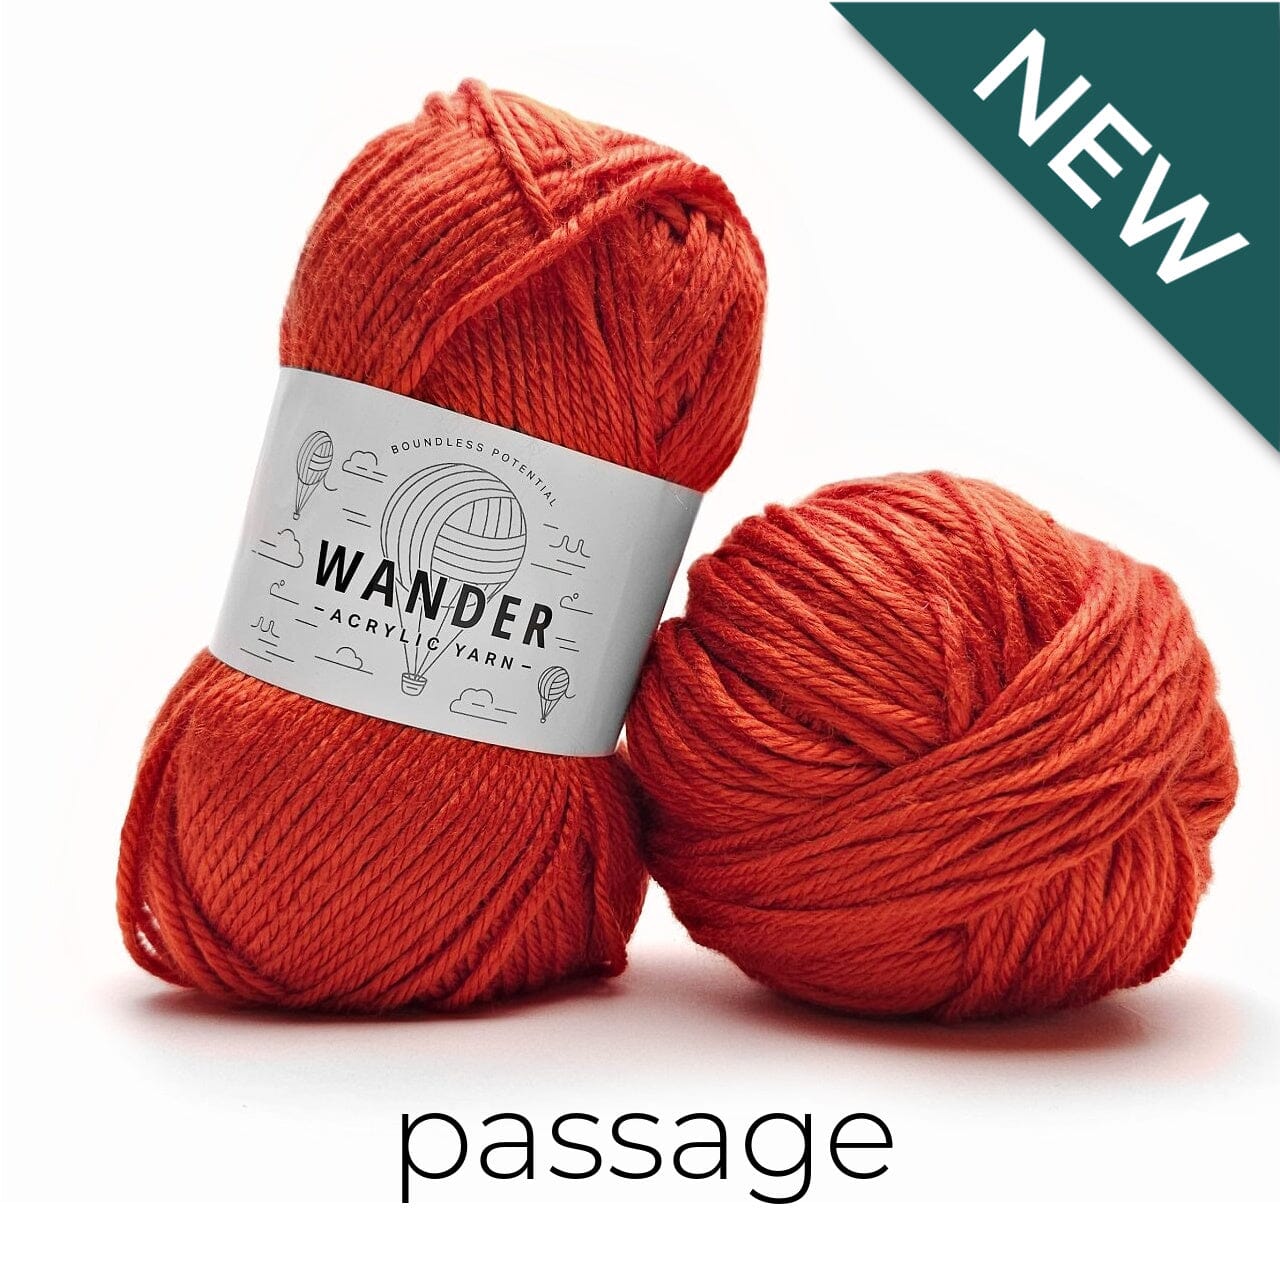
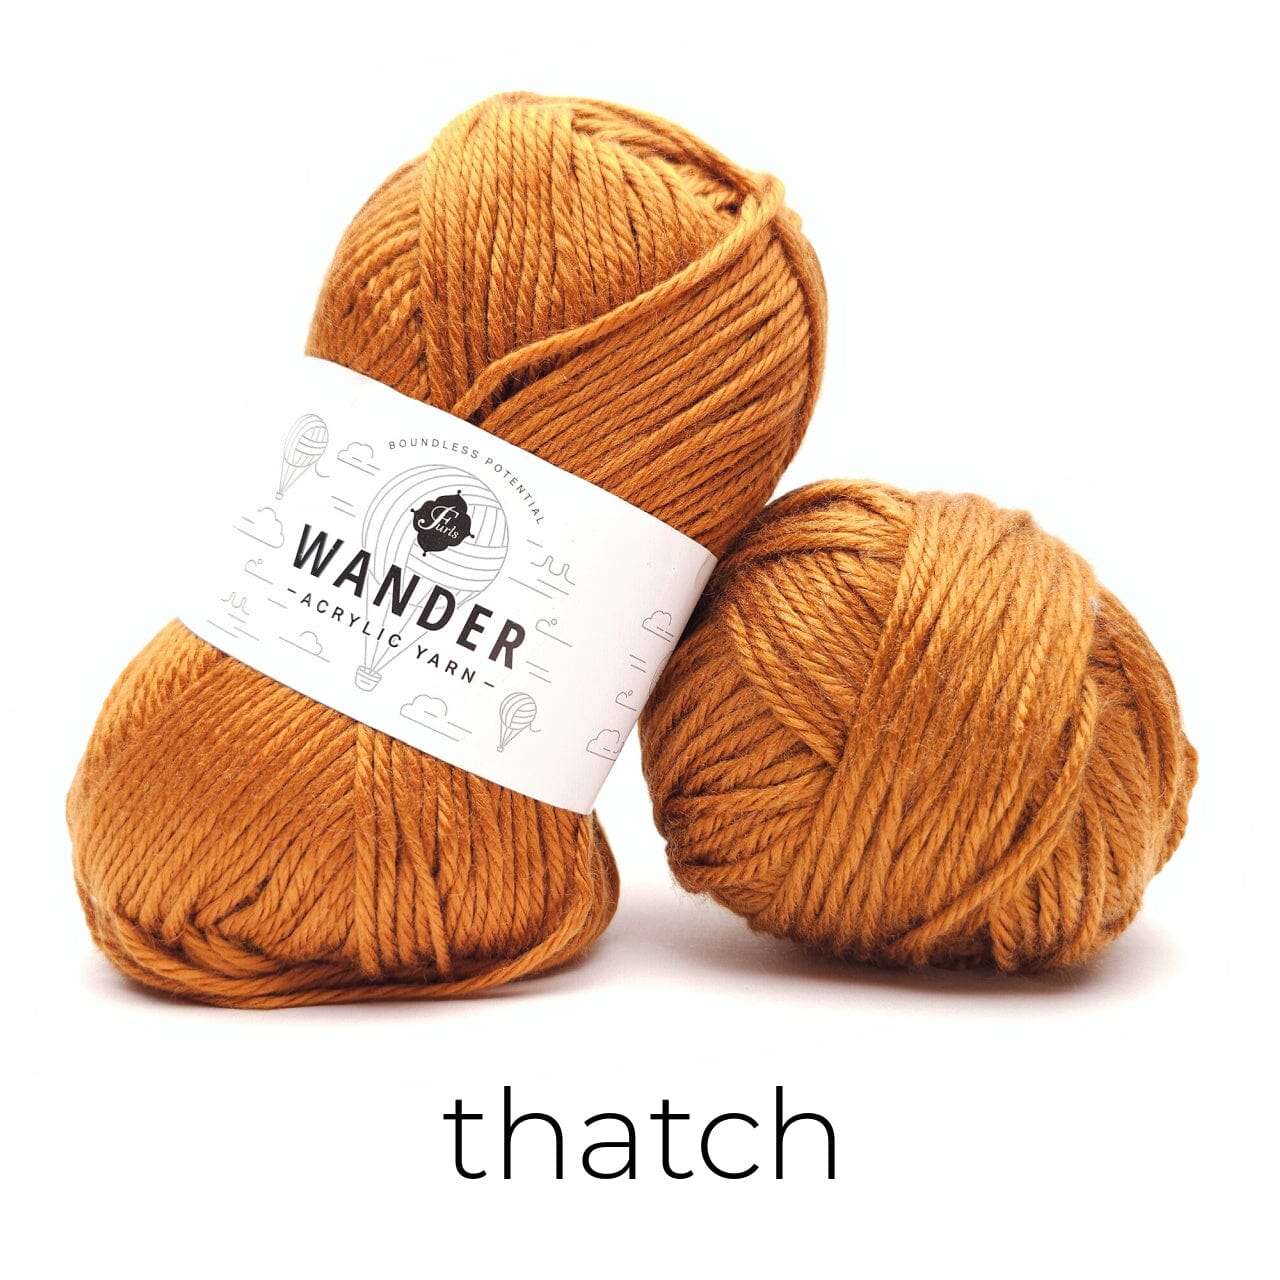
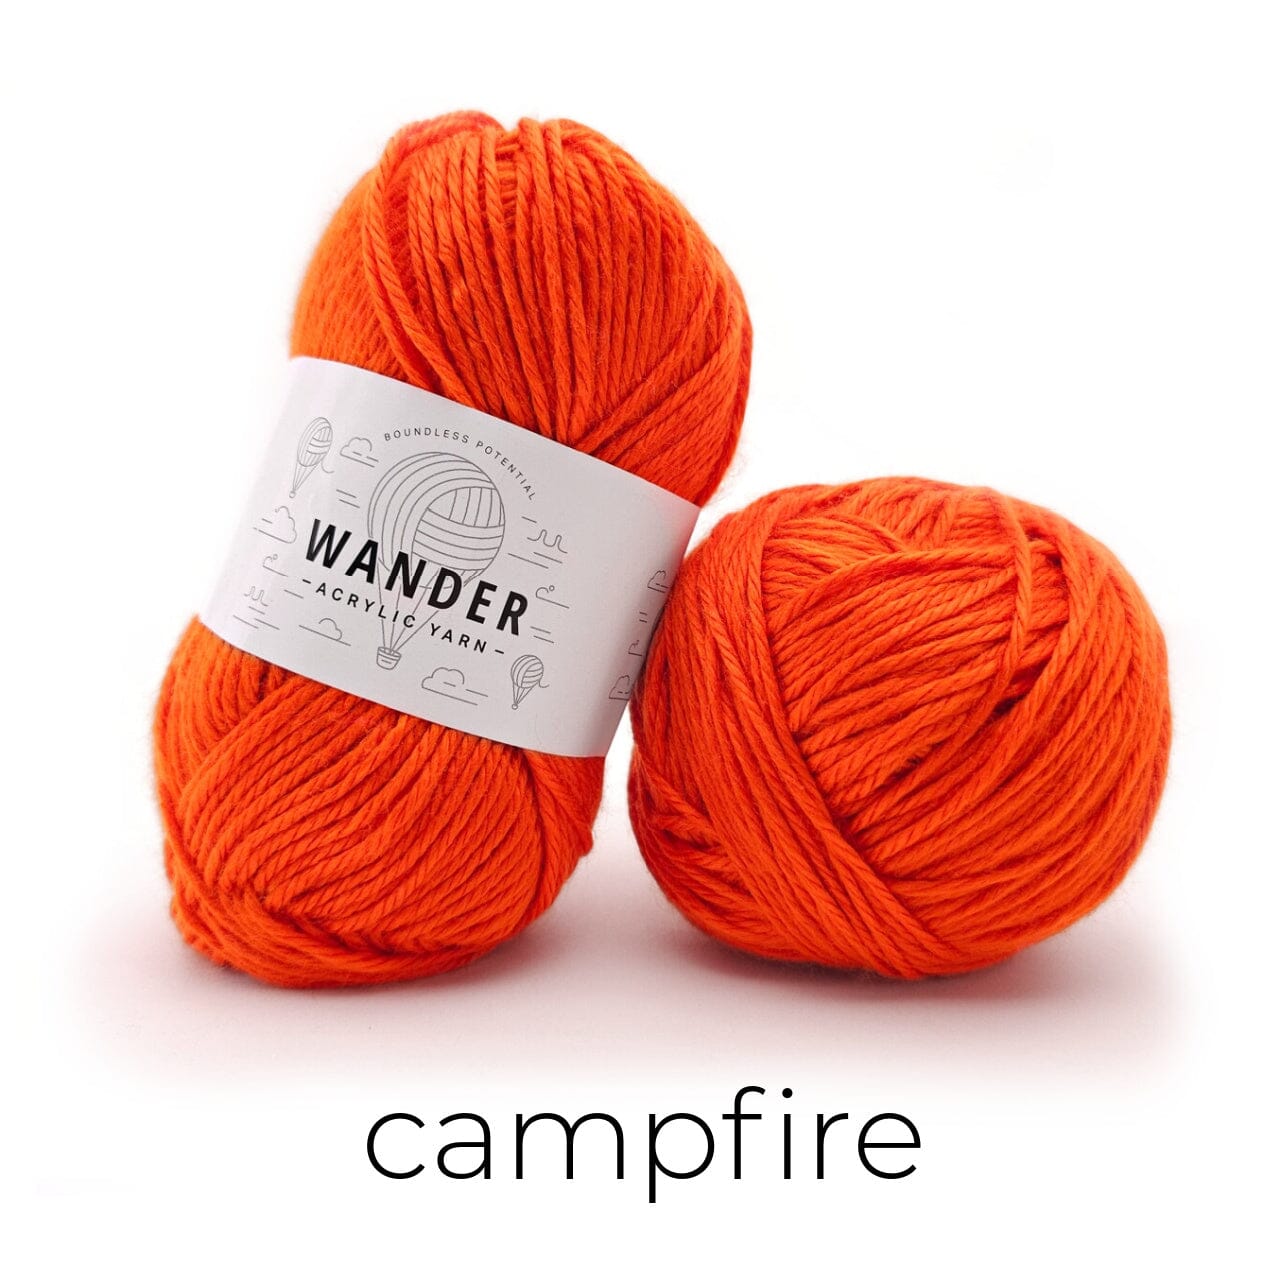
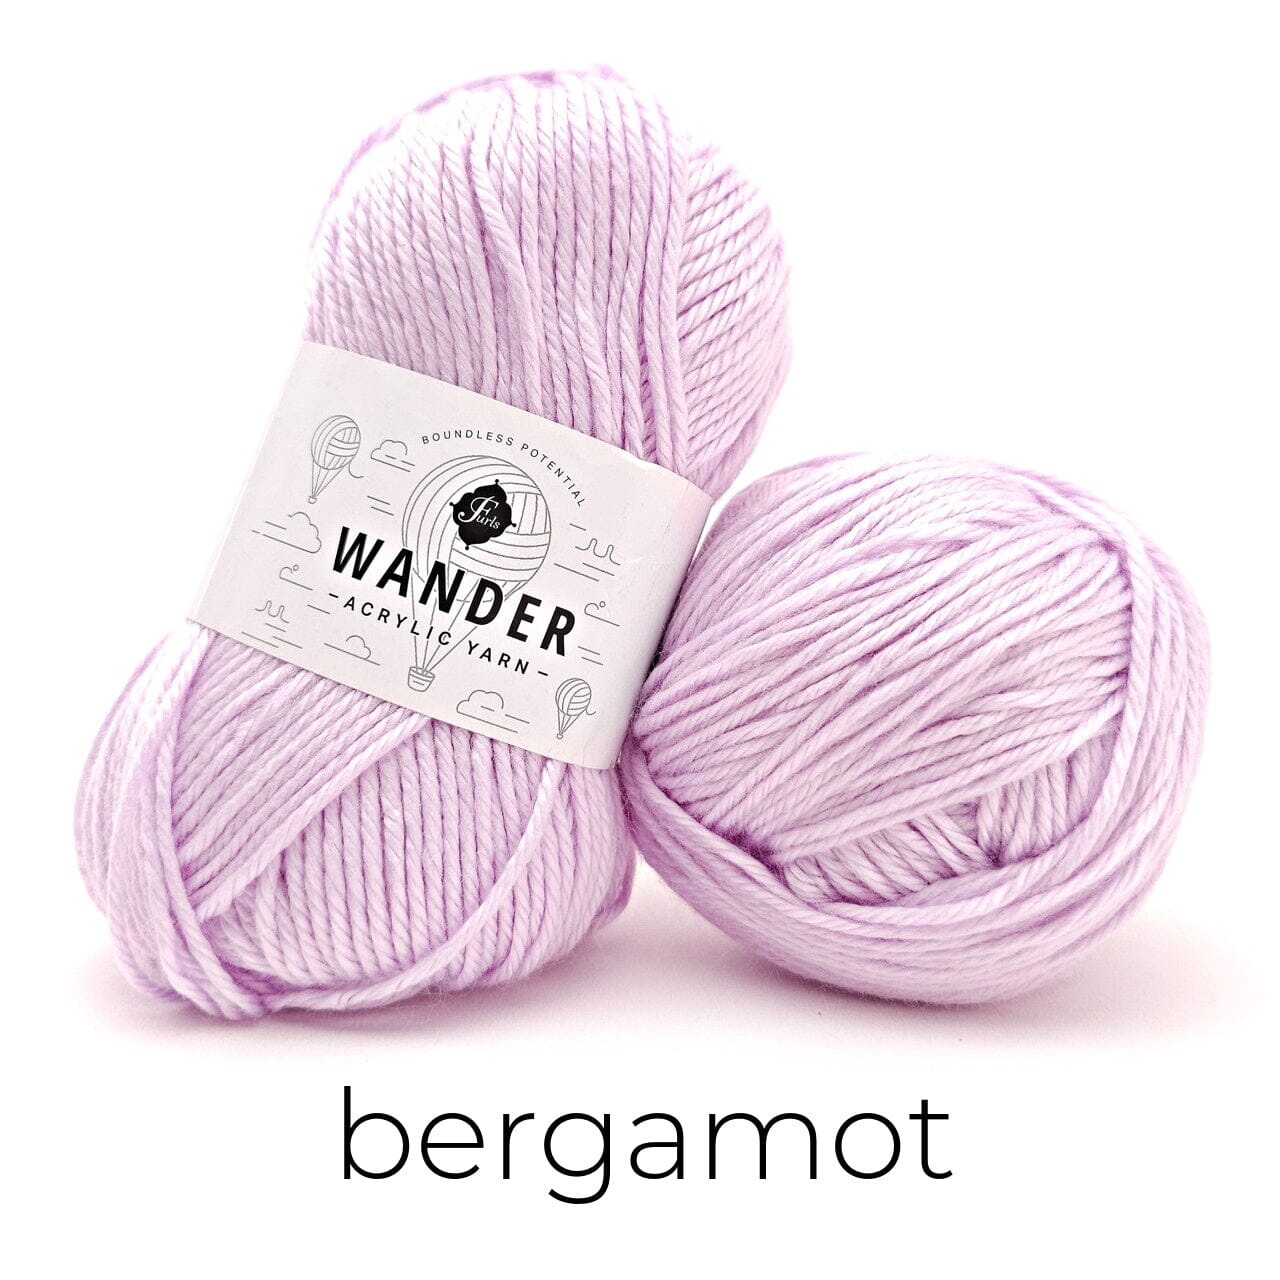
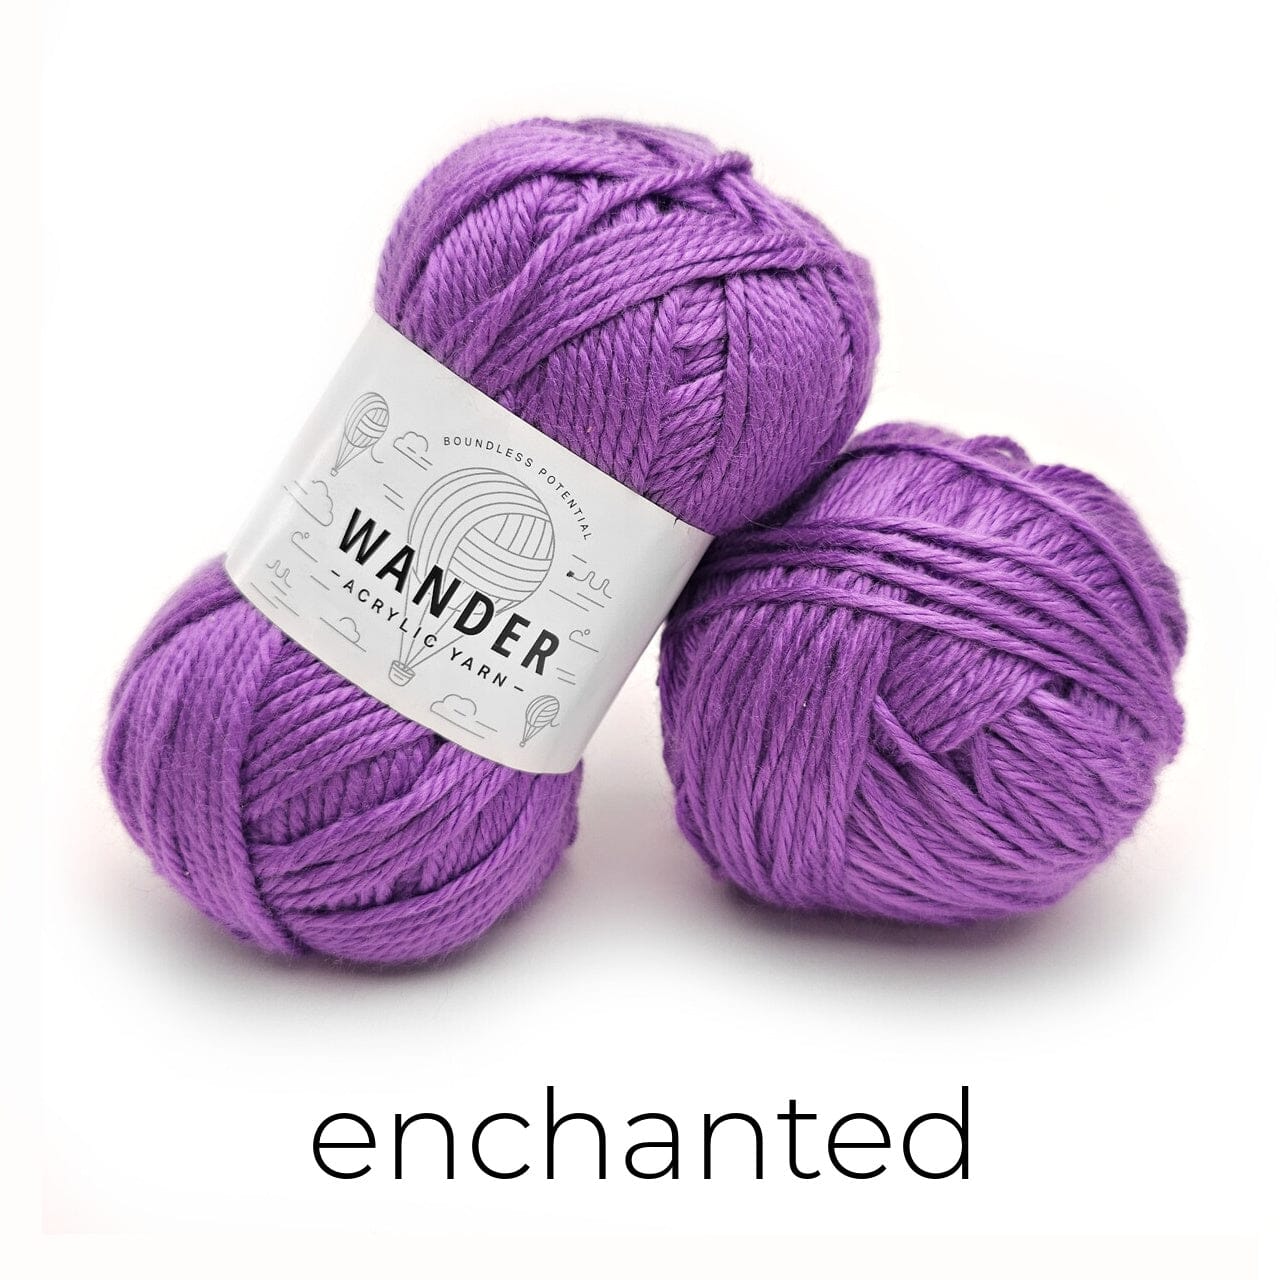
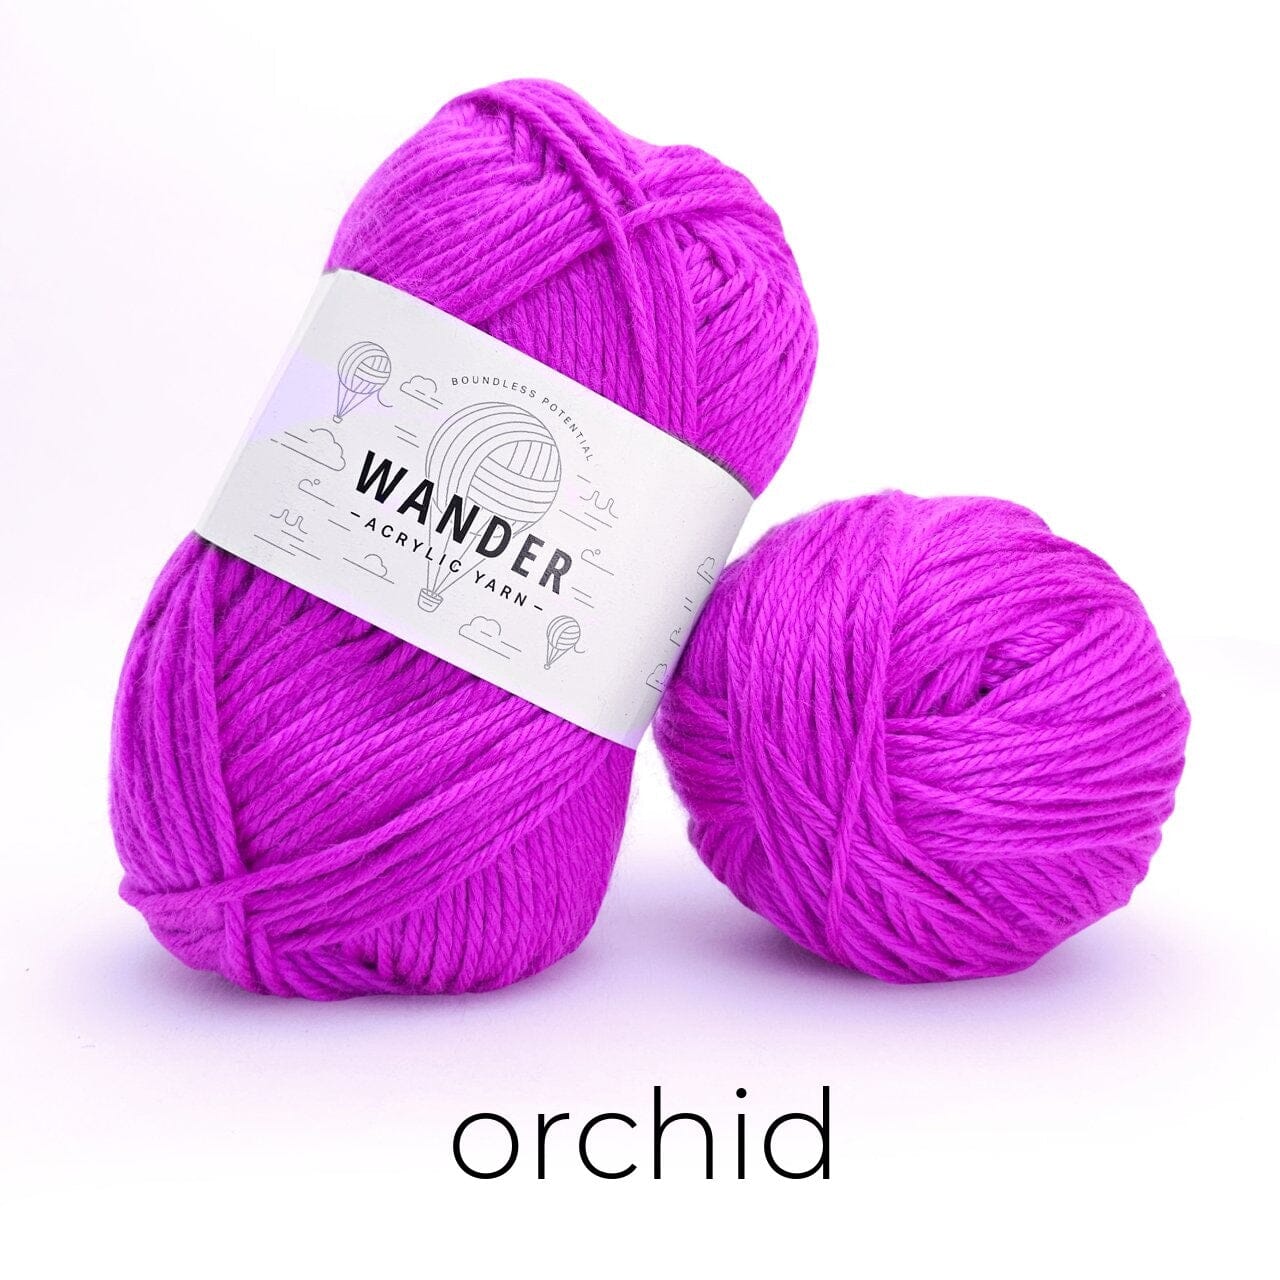
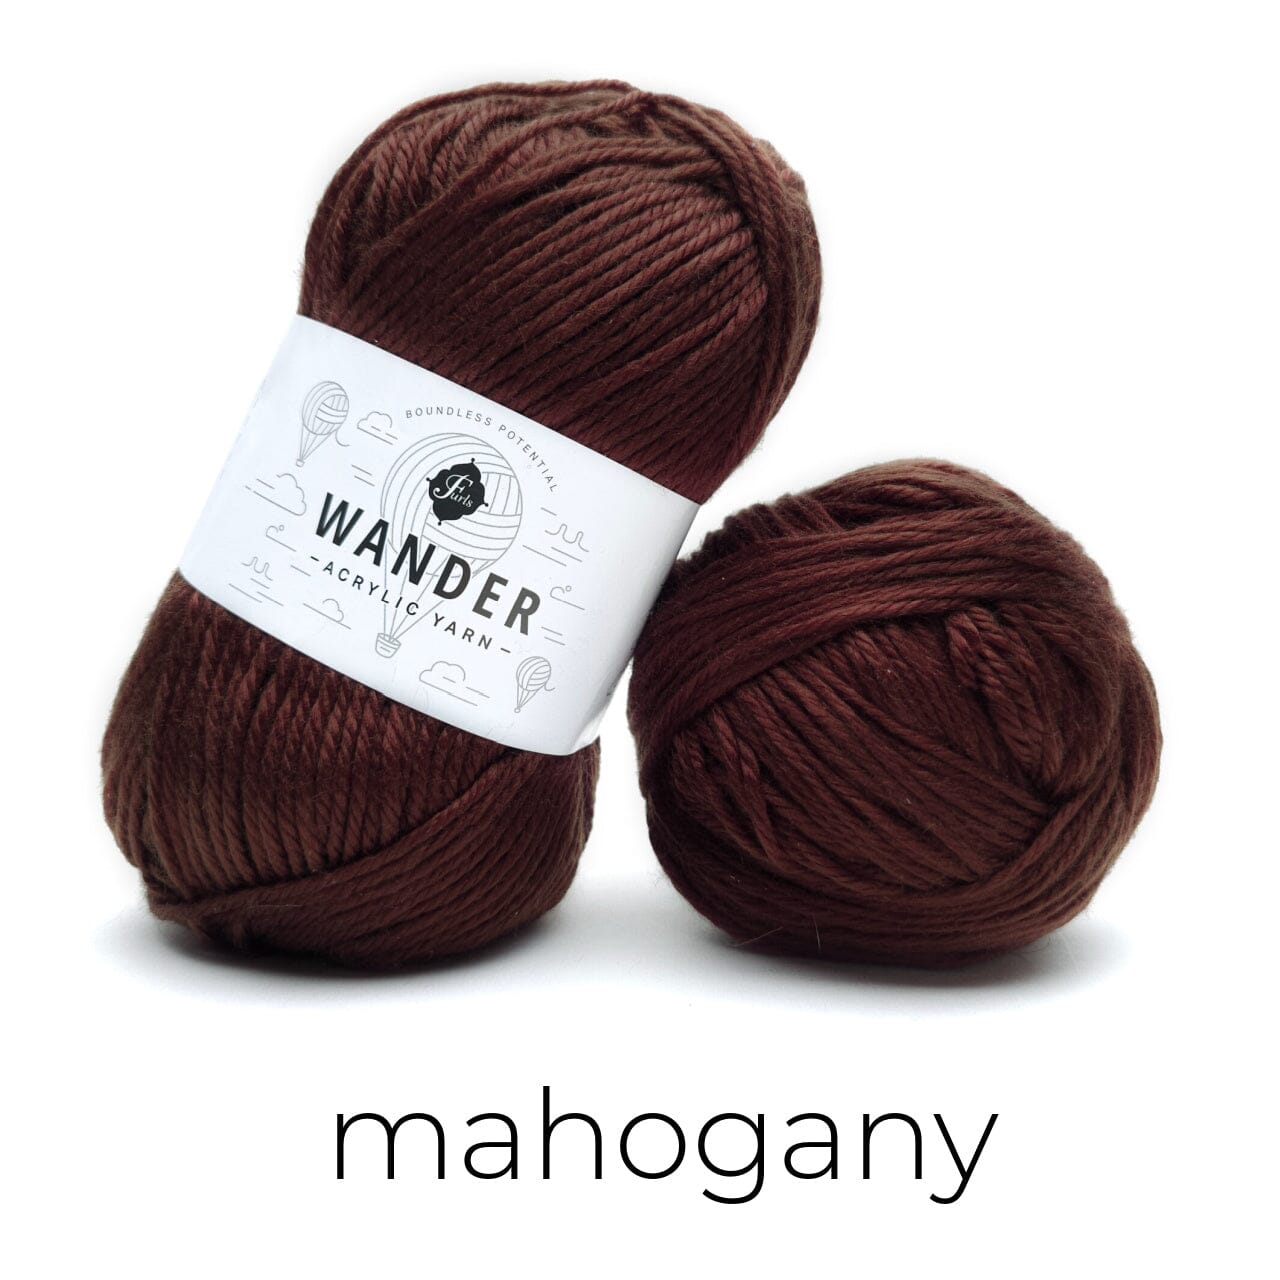
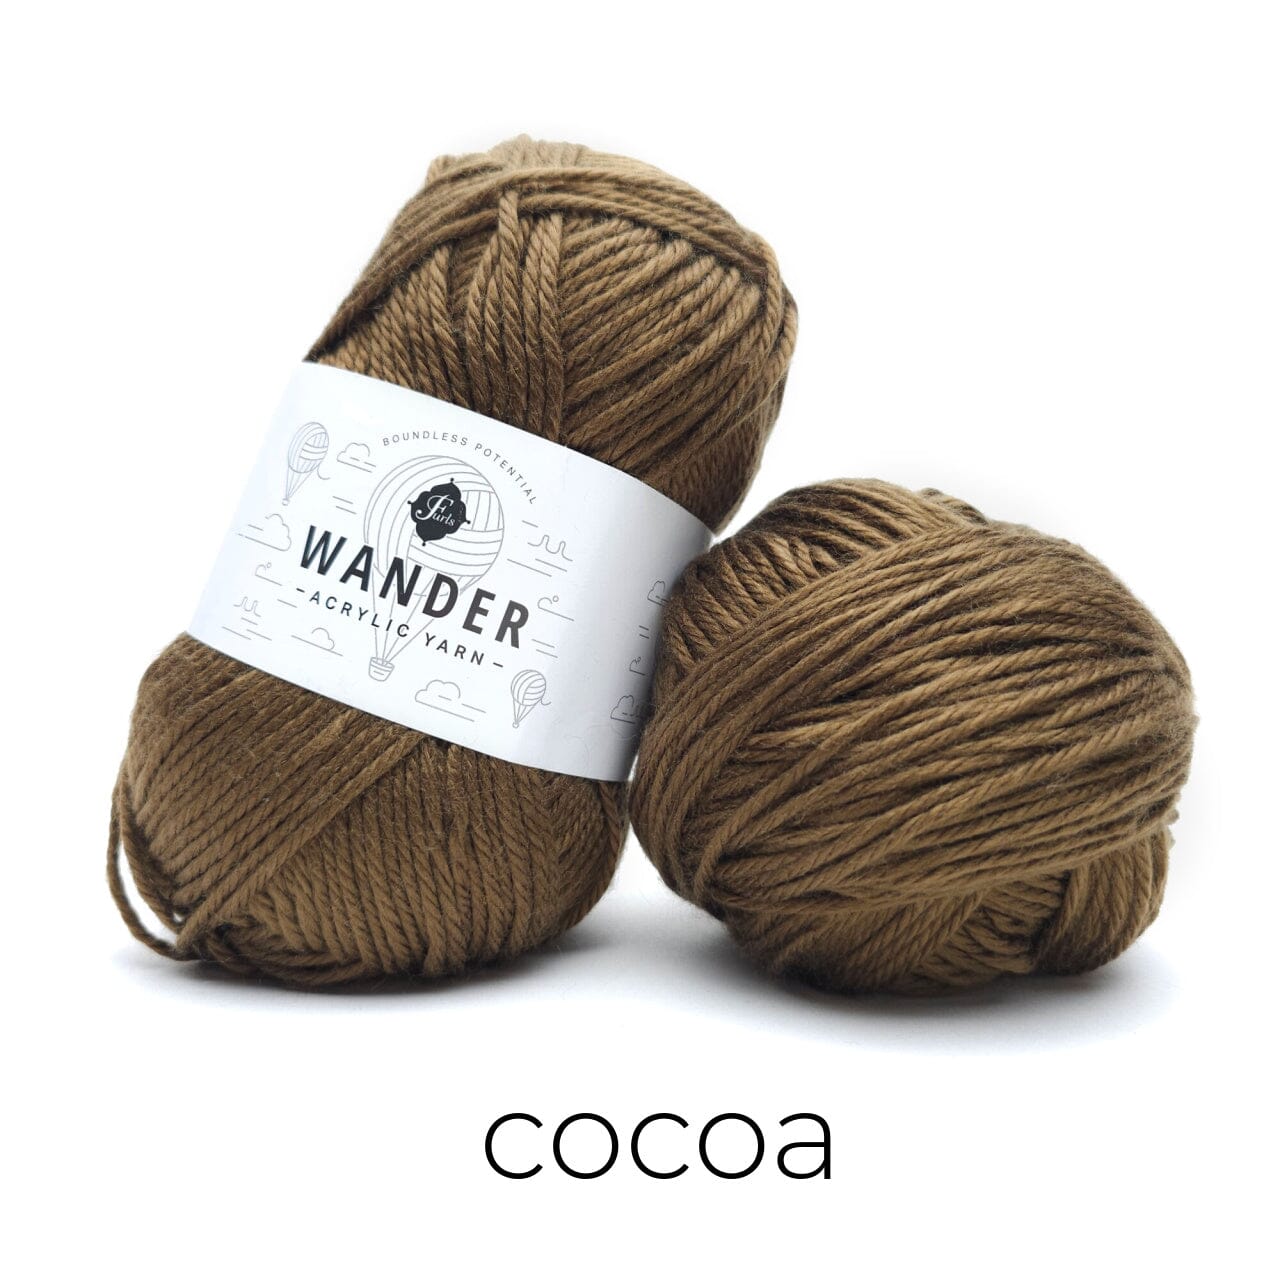
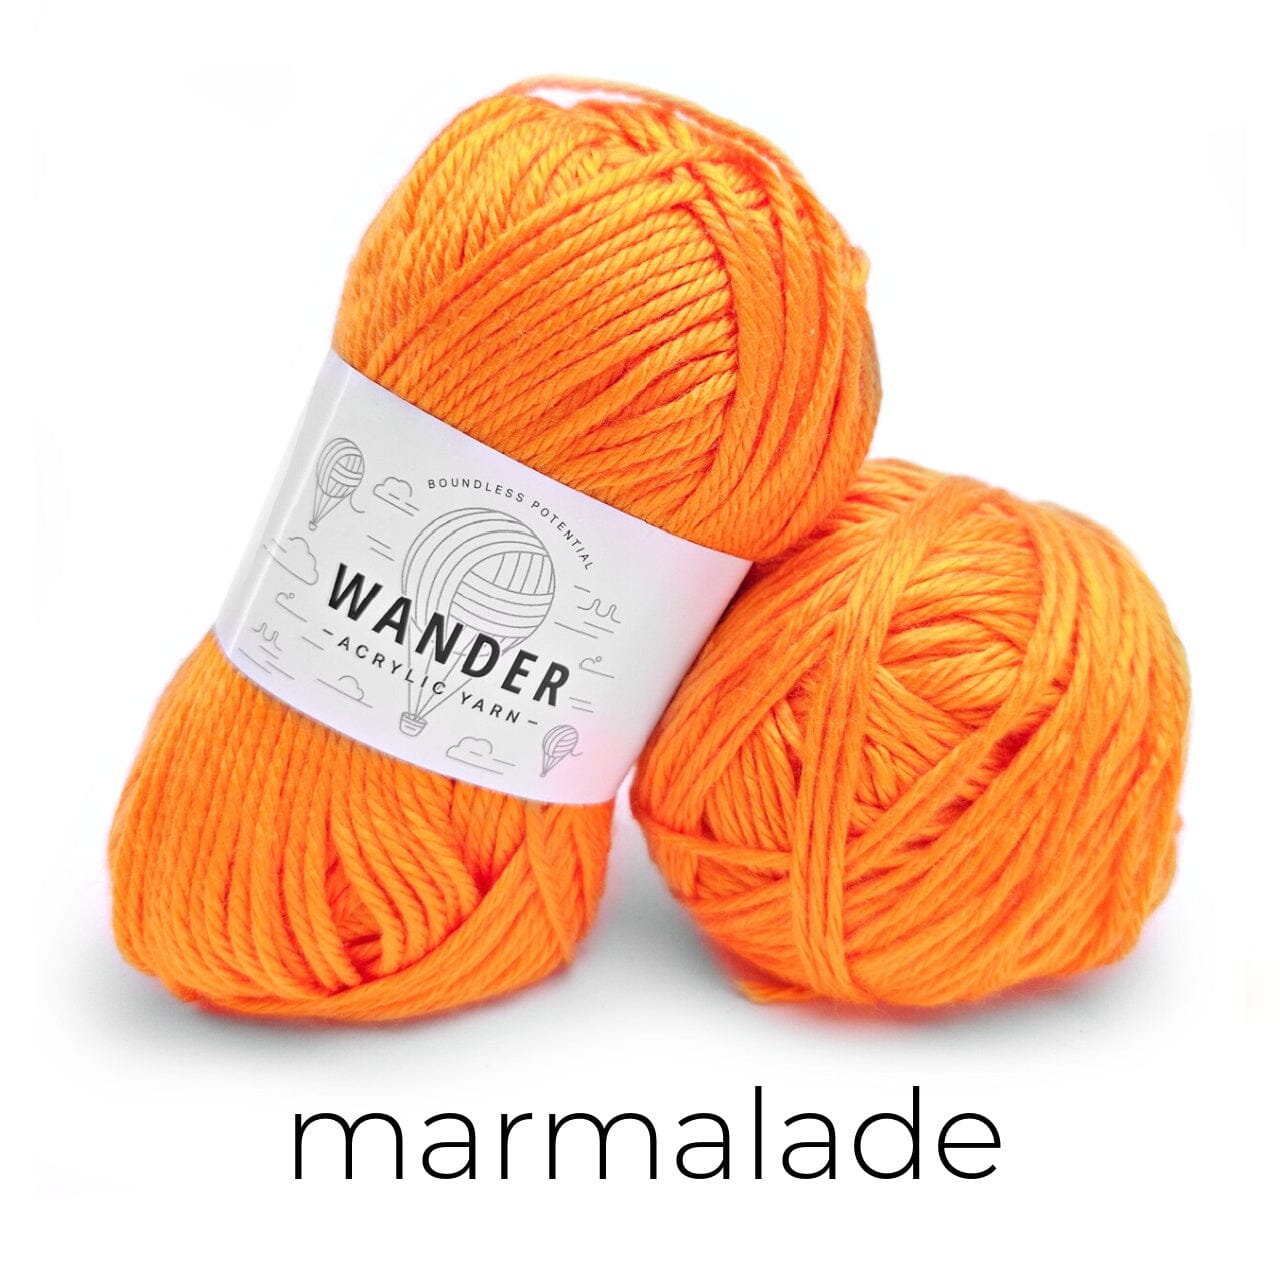
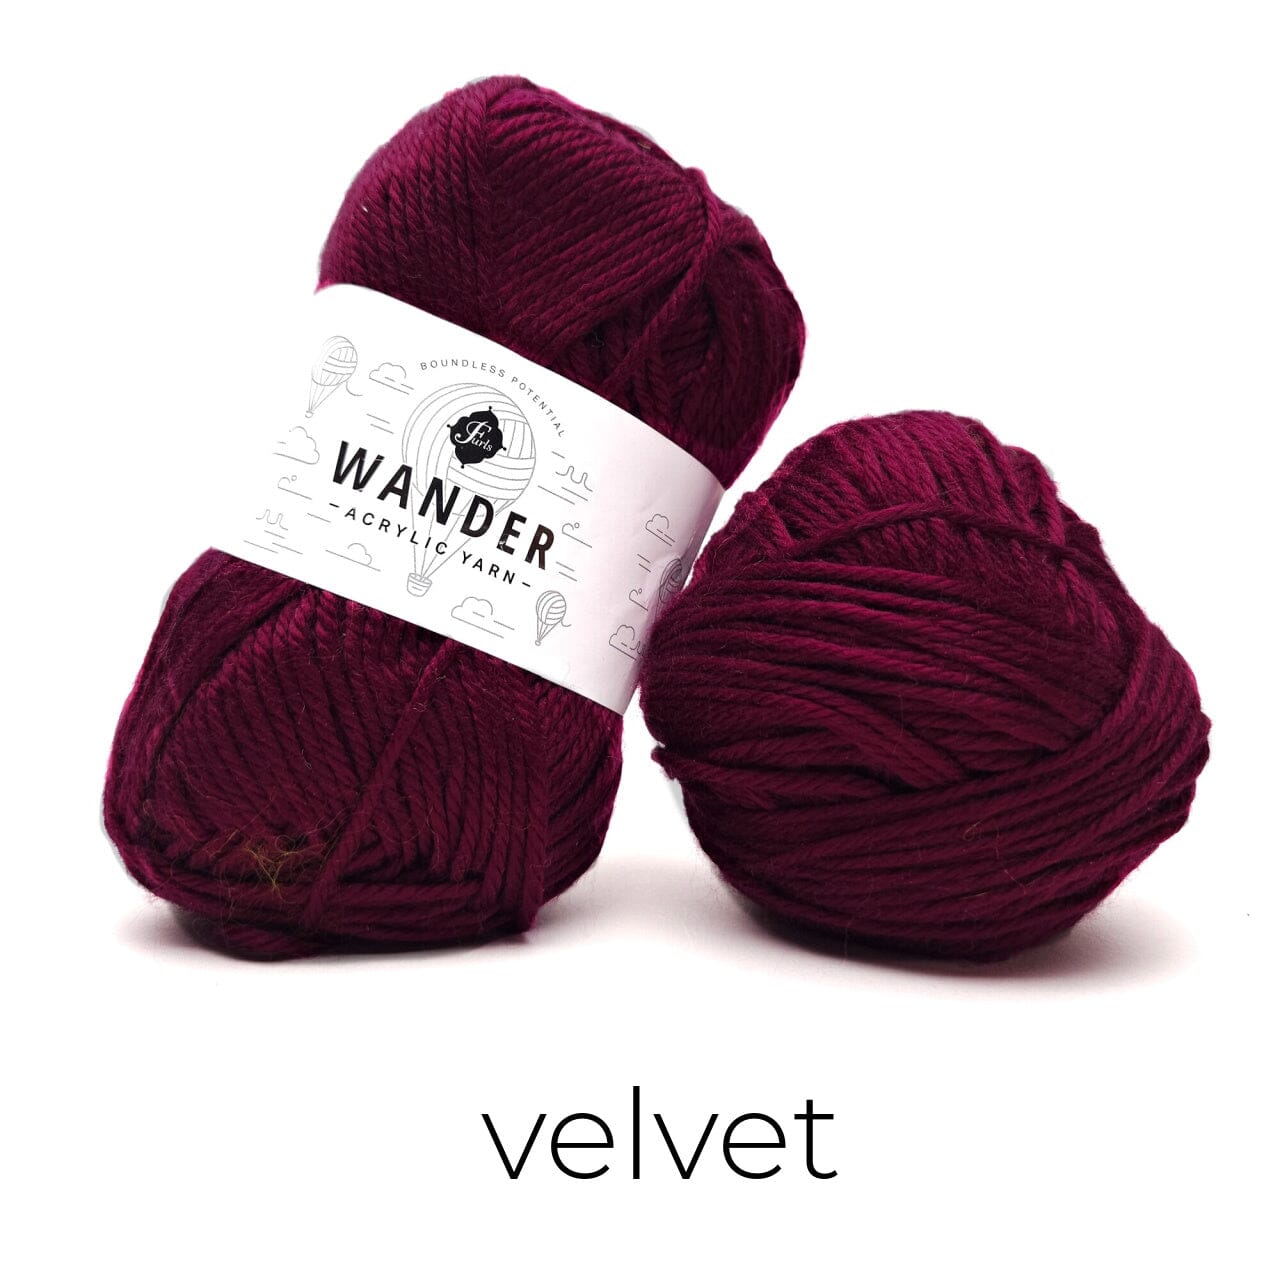
Worsted Weight 4 such as Furls Wander Yarn (sample uses: Red Heart Yarn Super Saver in Grey Heather and White)
Approximate Yardage: 1300-1400 (1400-1500, 1500-1600, 1600-1700, 1700-1800, 1900-2000, 2000-2100, 2100-2200)
Hook:
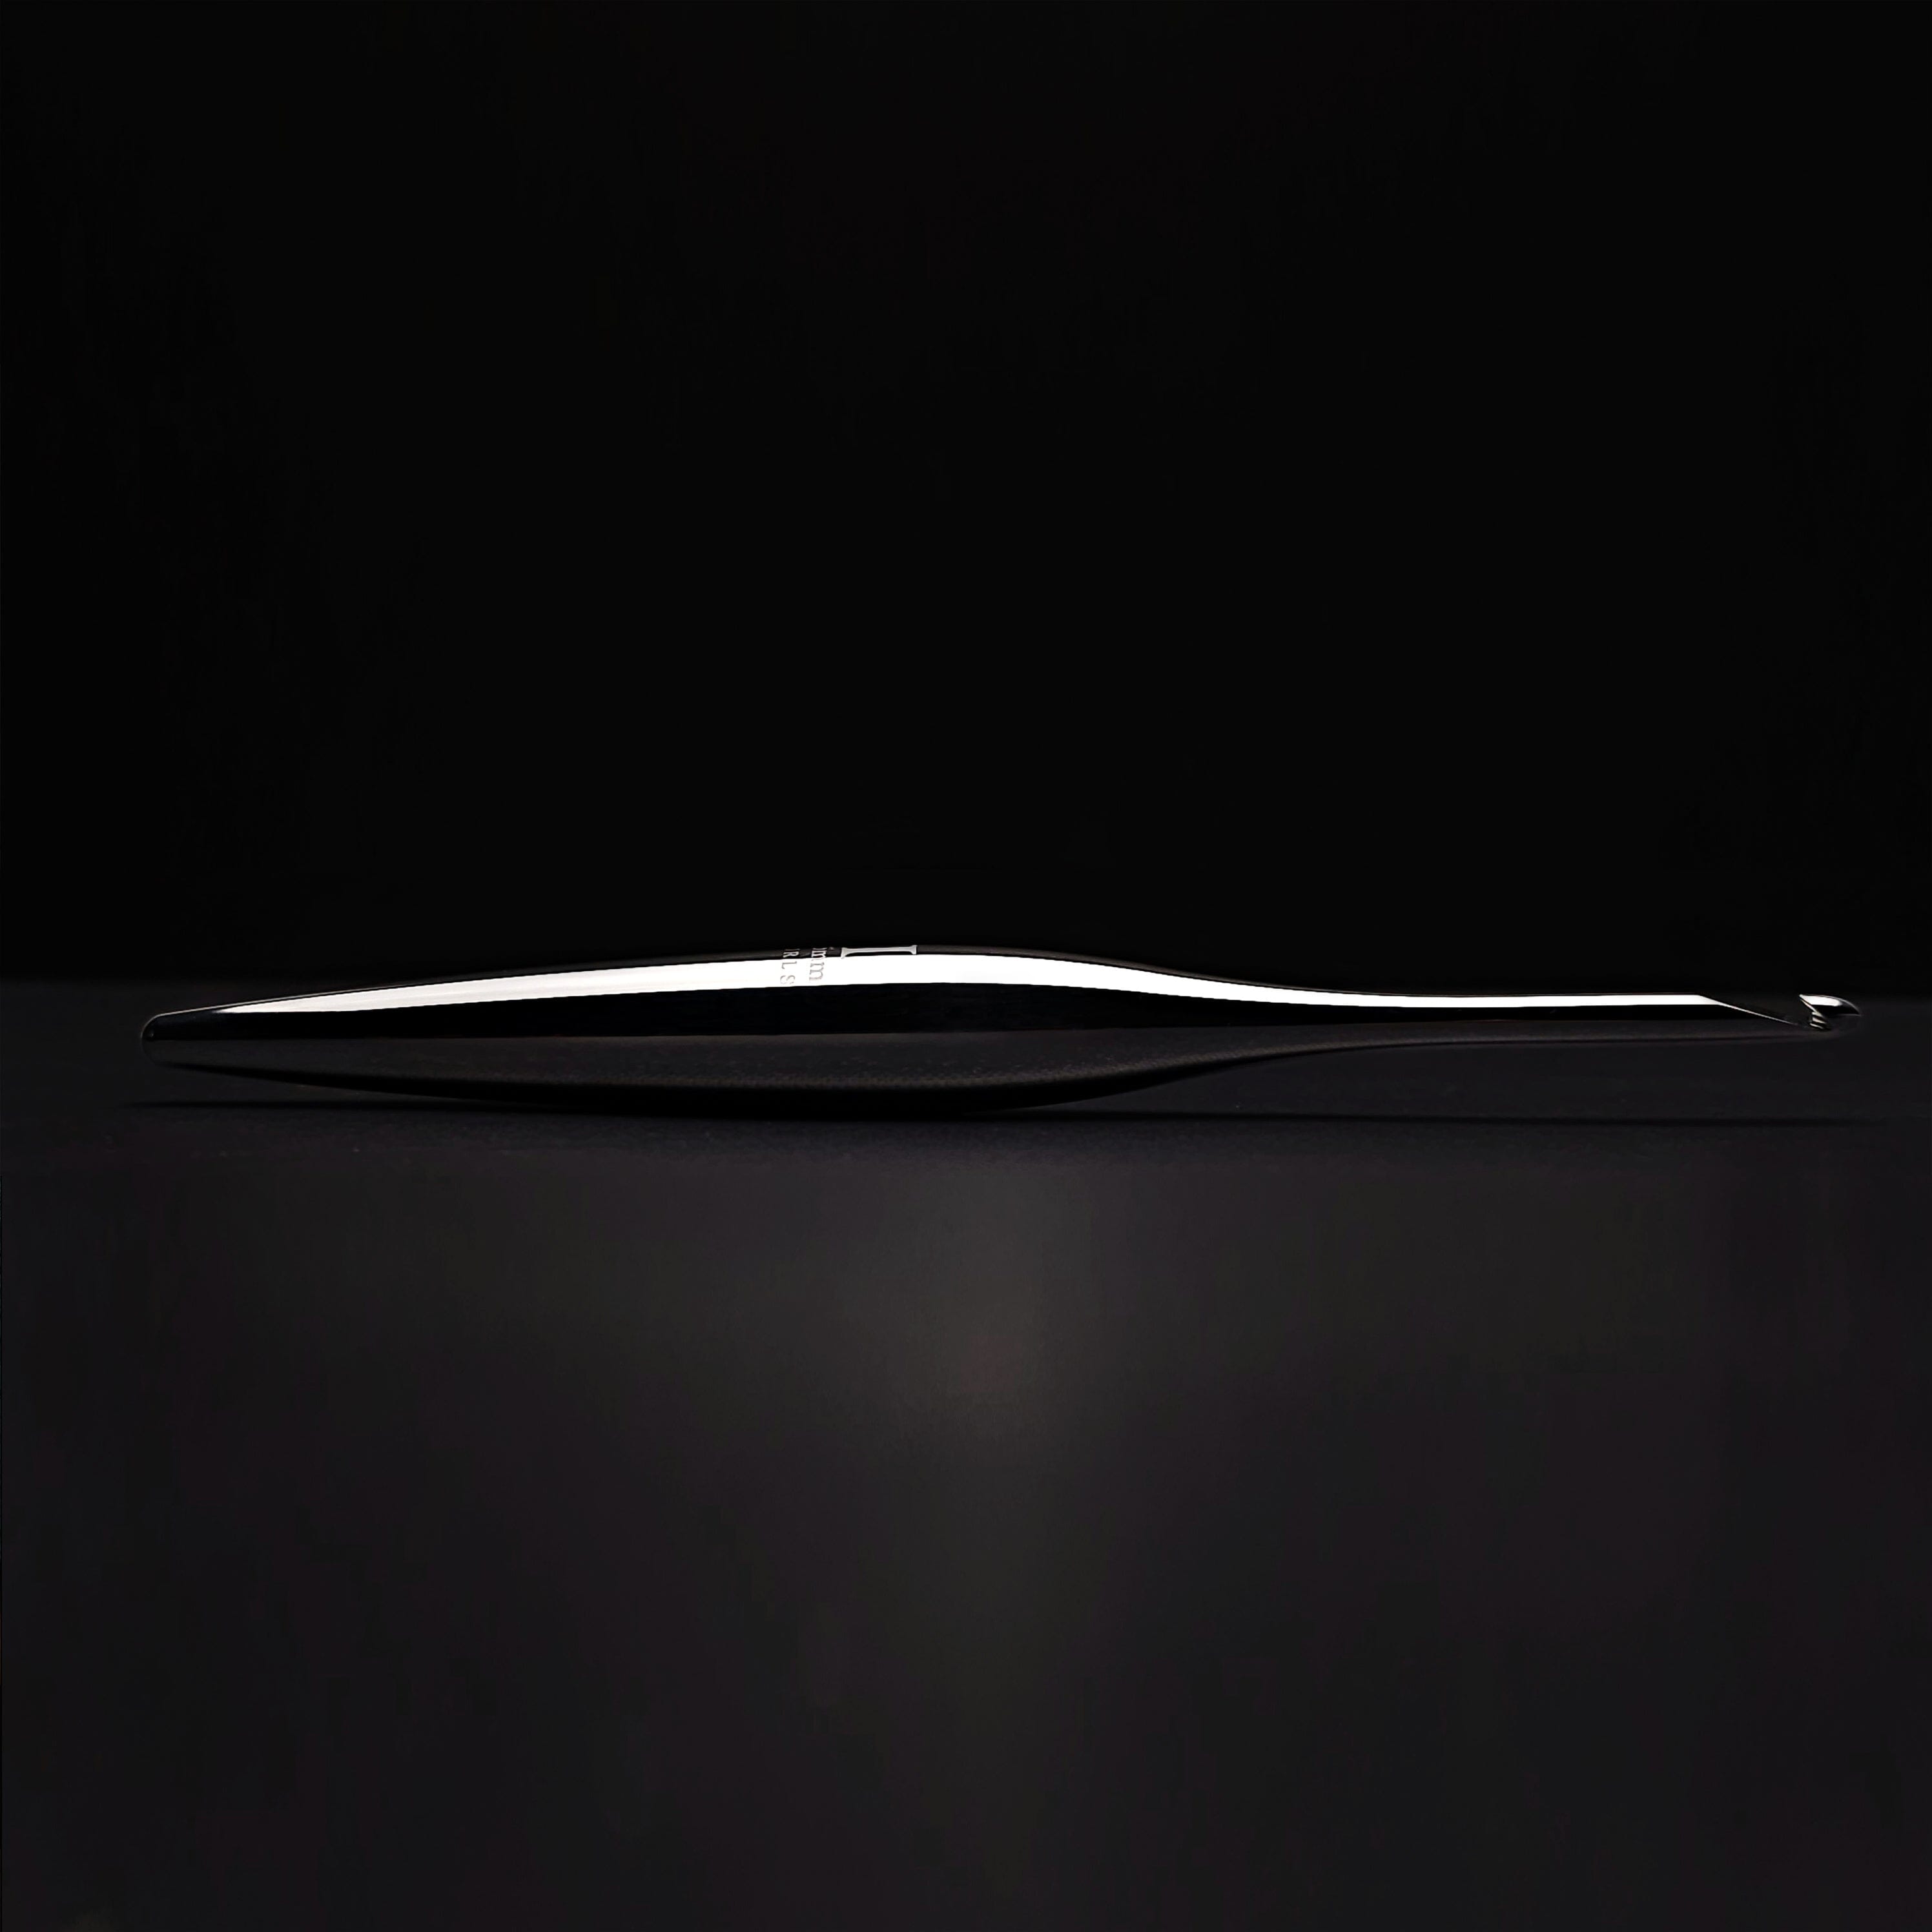
Furls Streamline Swirl H/5mm or hook to obtain gauge
Tapestry Needle (for weaving in ends)
Tape Measure
Scissors
Stitch Markers
Product Tag (optional)

PATTERN DETAILS
Skill Level
Beginner +
Gauge
15 stitches x 14 rows = 4” square
Alternating between HDC and Camel
When testing gauge in pattern, R3-16.
R1: Ch17, in the 3rd ch from HDC and HDC in each remaining ch. (15)
R2: Ch1 and turn, Camel in same stitch and in each remaining stitch. (15)
R3: Ch2 and turn, HDC in same stitch and in each remaining stitch. (15)
R4: Ch1 and turn, Camel in same stitch and in each remaining stitch. (15)
R5-R14: repeat R3&4.
Take your tape measure and measure your square, to see if it is 4”. If not either go up or down a hook size.
Sizes/Measurements
2-4” of ease between each size
Small — Width: 24.25” (fit chest size of 34”-36”) Length: 23.75
Medium — Width: 27” (fit chest size of 38”-40”) Length: 27”
Large — Width: 29.75 (fit chest size of 42”-44”) Length: 30.25”
X-Large — Width: 32.5” (fit chest of 46”-48”) Length: 33.5”
2X — Width: 35.25”(fit chest size of 50”-52”) Length: 36.75
3X — Width: 38” (fit chest size of 54”-56”) Length: 40”
4x — Width: 40.75” (fit chest size of 58”-60”) Length: 43.25”
5x — Width: 43.5” (fit chest size of 62”-64”) Length: 46.5”
Crochet Stitch Abbreviations
- Ch: chain
- R: row
- SC: single crochet
- HDC: half double crochet
- Camel: camel stitch
- Slst: slip stitch
- WS: wrong side
- RS: right side
- DEC: decrease
- BLO: back loop only
- FO: fasten off
- YO: yarn over
- (): stitch counts and notes
- Sk: skip
- **: to be repeated
Special Stitches
-
Camel Stitch: since we are working in turning rows, this stitch is created using a sc in the 3rd loop that is on the front side of the stitch, below the 1st loop. With locating the loop on the front side of previous stitch, insert your hook into the stitch, YO, pull up a loop, 2 loops on your hook, YO, pull through both loops to complete your stitch.
-
SCDEC: this stitch created by using up a set of 2 stitches, insert hook into indicated stitch, YO, pull up a loop (2 loops on your hook), insert your hook into next stitch, YO, pull up a loop (3 loops on your hook), YO and pull through all loops to complete your stitch.
-
HDCDEC: this stitch is created by using up a set of 2 stitches, YO, insert your hook into indicated stitch, YO, pull up a loop (3 loops on your hook), YO, insert your hook into next stitch, YO, pull up a loop (5 loops on your hook), YO and pull through all 5 loops to complete your stitch.
Notes
-
US Crochet Terminology is used.
-
This pattern is worked in turning rows.
-
Ch’s at the beginning of the rows, don’t count as a stitch.
-
When doing your Border Ribbing, place 2 stitch markers in the next 2 stitches where your Slst’s will be placed, for easy finding.
-
Pattern is worked in 2 rectangle panels, seaming them together, making the sleeves on both sides and the lastly doing the neck collar.
-
Your HDC are worked on the RS and Camel stitches are worked on the WS.
-
The sleeves can be made short sleeved, 3/4 long sleeved or you can keep them full lengthen sleeved. This clearly in your preference.
-
This sweater has more of oversized feel, making it like you’re wearing a blanket.
Panels (make 2)
RS R1: ch 93(100, 107, 114, 121, 128, 135, 142), in 3rd Ch from hook HDC and HDC in each remaining Ch. (91, 98, 105, 112, 119, 126, 133, 140)
WS R2: Ch1 and turn, SC in same stitch and in each remaining stitch. (91, 98, 105, 112, 119, 126, 133, 140)
RS R3: Ch2 and turn, HDC in same stitch and in each remaining stitch. (91, 98, 105, 112, 119, 126, 133, 140)
WS R4: Ch1 and turn, Camel in same stitch and in each remaining stitch. (91, 98, 105, 112, 119, 126, 133, 140)
RS R5: Ch2 and turn, HDC in same stitch and in each remaining stitch. (91, 98, 105, 112, 119, 126, 133, 140)
R6-129: Repeat R’s 4&5. 
Size Small: stop on RS R59.
Size Medium: stop on RS R69.
Size Large: stop on RS R79.
Size XL: stop on RS R89.
Size 2X: stop on RS R99.
Size 3X: stop on RS R109
Size 4X: stop on RS R119.
Size 5X: stop on RS R129.
Carry onto the last row listed below, to finish your panel.
WS R60: Ch1 and turn, SC in same stitch and in each remaining stitch. (91, 98, 105, 112,, 119, 126, 133, 140) (Stop here for Size Small)
WS R70: Ch1 and turn, SC in same stitch and in each remaining stitch. (98, 105, 112, 119, 126, 133, 140) (Stop here for size Medium)
WS R80: Ch1 and turn, SC in same stitch and in each remaining stitch. (105, 112, 119, 126, 133, 140) (Stop here for size Large)
WS R90: Ch1 and turn, SC in same stitch and in each remaining stitch. (112, 119, 126, 133, 140) (Stop here for size X-Large)
WS R100: Ch1 and turn, SC in same stitch and in each remaining stitch. (119, 126, 133, 140) (Stop here for size 2X)
WS R110: Ch1 and turn, SC in same stitch and in each remaining stitch. (126, 133, 140) (Stop here for size 3X)
WS R120: Ch1 and turn, SC in same stitch and in each remaining stitch. (133, 140) (Stop here for size 4X)
WS R130: Ch1 and turn, SC in same stitch and in each remaining stitch. (140) (Stop here for size 5X)
FO and weave in your ends. Now… let’s move onto the ribbing along the bottom.
Border Ribbing
This is for all Sizes.
Attach your yarn in the bottom right corner facing you with a Slst and Ch17.
R1: SC in the 2nd Ch from hook and in each of the remaining 15 Ch’s, Slst in same stitch as your join and over in the next stitch. (16)
R2: Turn, Sk the 2 Slst’s, SC in the next stitch, SC in BLO of the next 14 stitches, SC in the last stitch. (16)
R3: Ch1 and turn, SC in same stitch, SC in the BLO of the next 14 stitches, SC in the last stitch, Slst over the next 2 stitches. (16)
R4: Turn, Sk the 2 Slst’s, SC in the next stitch, SC in BLO of the next 14 stitches, SC in the last stitch. (16)
Repeat Rows 3&4 until the you reach the end. You will have the same amount of SC rows in your ribbing as you do stitches in your rows of your panel.
FO and weave in your ends. Now… we will move onto seaming up your sweater.
Seaming
This is for all sizes. 
After completing both of your panels, you will want the WS facing you and RS facing inward, count down 25 rows from the top of your sweater, place a stitch maker her (you will leave 25 rows un-seamed, will create the armholes). Then, place a stitch marker in 7th stitch of the bottom ribbing. Repeat this on the other panel as well. Line up the 2 panels, choosing any seam of your preference, seam up the sides of your sweater, repeating on the other side as well (I used the SC seam, because it has a stronger hold). Weave in any loose ends.
Tip: you don’t have to create the slit on the ribbing like I have done, you can seam it all up.
Keep your sweater facing this away, don’t turn inside out yet. Move onto shoulder seaming.
Shoulder Seaming
This is for both sides of the sweater, to make it even.
Place a stitch marker in the first stitch on the top row of your panels. Measure approximately 8” across the top and place another stitch marker. Repeat on the other side. The space left between the 2 center stitch markers will be the neck opening. You can adjust the opening to make it wider or smaller, as long as the number of stitches for the neck opening is an even number. Using your preferred seaming method, then, seam up your shoulders between each set of stitch markers.
Now, turn your sweater back inside out, with your WS facing in this time. Now, move onto attaching your sleeves, which are worked onto the sweater.
Sleeves (2)
This is for all sizes.
Repeating on the other armhole.
You will be working in turning rows, with a Slst to join, and before turning you ch before beginning next row.
RS R1: attach your yarn with a Slst on the left side of the underarm seam in the HDC row, HDC in the same stitch, *HDC in the SC row, HDC in the HDC row,* repeat that up till you have 1 row left, HDC in the last SC row, Sk the top seam, HDC in the SC row, *HDC in the HDC row, HDC in the SC row,* repeat that down, ending with 1 row left this would be the last HDC row place a HDC here, Slst to first stitch to join. (52HDC) Ch1 and turn
WS R2: Sk the Slst, SC in the next stitch and each stitch around. Slst to first stitch to join. (52) Ch1 and turn
RS R3: Sk the Slst, HDC in the next stitch and each stitch around. Slst to first stitch to join. (52) Ch1 and turn
WS R4: Sk the Slst, SCDEC in the next 2 stitches, camel around until 2 stitches remain, SCDEC in the last 2 stitches, Slst to first stitch to join. (50) Ch1 and turn
RS R5: Sk the Slst, HDC in next stitch and in each stitch around, Slst to first stitch to join. (50) Ch1 and turn
WS R6: Sk the Slst, Camel in next stitch and in each stitch around, Slst to first stitch to join. (50) Ch1 and turn
RS R7: Sk the Slst, HDC in next stitch and in each stitch around, Slst to first stitch to join. (50) Ch1 and turn
WS R8: Sk the Slst, Camel in next stitch and each stitch around, Slst to first stitch to join. (50) Ch1 and turn
RS R9: Sk the Slst, HDC in next stitch and each stitch around, Slst to first stitch to join. (50) Ch1 and turn
WS R10: Sk the Slst, Camel in next stitch and in each stitch around, change to 2nd color before completing last stitch, Slst to first stitch to join. (50) Ch1 and turn
R11-60: repeat R’s 9&10. On the tenth row, make sure you are switching colors between MC and CC.
Once you complete R60, you don’t need to change your color at this point.
R61: Sk the Slst, Slst in next stitch and in each remaining stitch around, Slst FO and weave in your ends.
Now, you can move onto the other sleeve.
After completing your 2nd sleeve, Now… we will move onto the Neck Collar.
 Neck Collar
This is for all sizes.
Here, I haven’t given any stitch counts for the other sizes, as the stitch count will be based on your liking from how you seamed your shoulders and left the opening for your neck.
Attach your yarn with a Slst in the stitch before the shoulder seam, as it blends well with the layout of the design.
R1: Ch1, SC in the same stitch where you attached your yarn, SCDEC in the 2 stitches where you ended your seam (skip the seam), SC in each stitch across until you get to one stitch before the next shoulder seam, SCDEC in the stitches where you ended your seam (skip the seam), sc in each stitch across, Slst to first stitch to join.
R2: Ch1, Slst in the same stitch and in each stitch around (make sure you make your Slst’s are loose as will be going back into them to create the ribbing), Slst into the beginning Ch1 of the row.
Don’t FO.
Neck Ribbing
This will used for all sizes.
R1: ch7, sc in the second ch from your hook and in each remaining ch, Slst in the first stitch and second stitch, TURN (6)
R2: sk the 2 Slst’s, sc in the next stitch, sc in the BLO of next 4 stitches, sc in the last stitch, CH1 and TURN (6)
R3: sc in the 1st stitch, sc in the BLO of next 4 stitches, sc in the last stitch, Slst over the next 2 stitches, TURN (6)
R4: sk in the 2 Slst’s, sc in the next stitch, sc in the BLO of next 4 stitches, sc in the last stitch, CH1 and TURN (6)
Repeat R’s 3&4 around the neck. You will end with R4, you won’t CH1 and TURN. FO and leave a long tail for seaming.
Turn your sweater inside out. Use any seaming technique to bring the 2 ends of the neck ribbing together (I used the Slst seam to bring them together), to close them, going in the 6 stitches on both sides. FO and weave in your ends and remaining ends.
Make sure you block your new sweater.
Thank you for making this sweater with me. Excited to see what colors you are going to choose.
Love this gender neutral sweater? Check out these other patterns!